|
|
Gene Golub SIAM Summer School 2012
Simulation and Supercomputing in the Geosciences |
|
|
Gene Golub SIAM Summer School 2012
Simulation and Supercomputing in the Geosciences |
The easiest way to acquire much of the software we will use and all prerequisites is to install the VirtualBox software and then use the Virtual Machine provided on a memory stick.
After starting the VM, log in as ggsss. The password is also ggsss.
Then view the file README.txt.
See the VirtualBox documentation for more about VMs in general.
Ideally you will download the VM from the memory stick to your own computer and run it from there. However, it is about 3.7GB, so make sure you have enough disk space. If not, in principle you can run it from the memory stick but this may be somewhat slower.
Start VirtualBox
Click the New button near the upper-left corner.
Click Next at the starting page
Enter a name for the VM (ggsss); for OS Type, select “Linux”, and for Version, select “Ubuntu”.
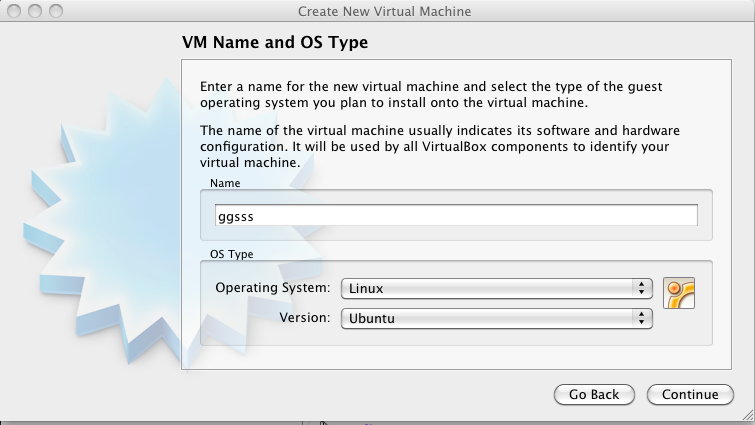
Click Continue. Enter the amount of memory to give the VM, in megabytes. Give it as much as you can spare; 512 MB is the recommended minimum.
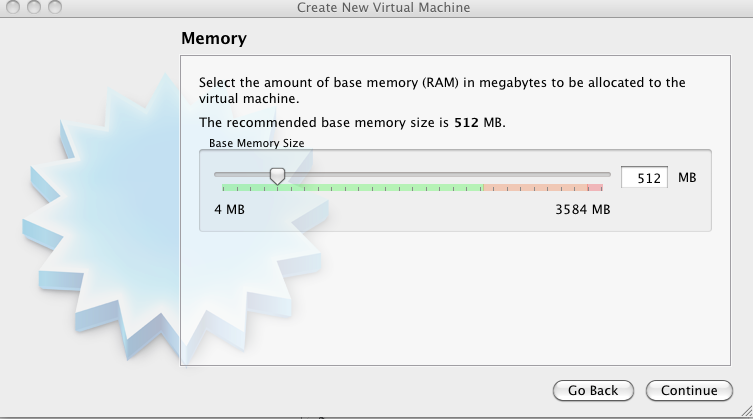
Click Continue. Click Use existing hard disk, then click the folder icon next to the disk list. In the Virtual Media Manager that appears, click Add, then select the virtual machine disk image ggsss.vdi.
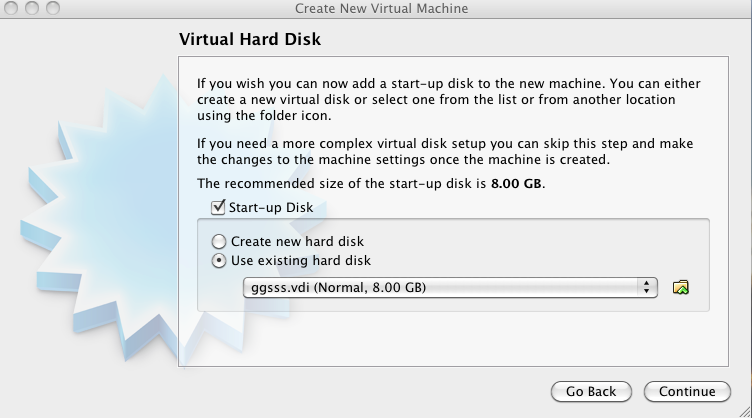
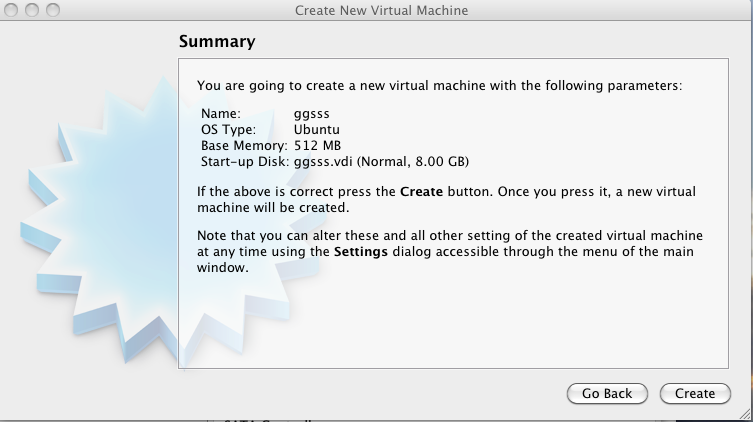
Click Continue. Review the summary VirtualBox gives you, then click Create.
Your new virtual machine should appear on the left side of the VirtualBox window.
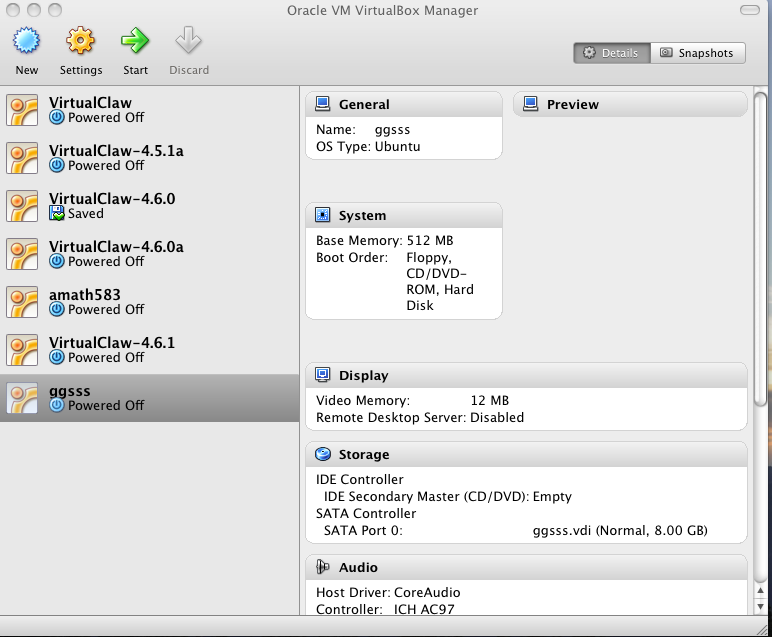
You will only have one one VM listed here if this is your first time using VirtualBox.
Optionally, if you have a reasonably new computer with a multi-core processor and want to be able to run parallel programs across multiple cores, you can tell VirtualBox to allow the VM to use additional cores. To do this, click the VM on the left side of the VirtualBox window, then click Settings. Under System, click the Processor tab, then use the slider to set the number of processors the VM will see. Note that some older multi-core processors do not support the necessary extensions for this, and on these machines you will only be able to run the VM on a single core.
Once you have configured the VM in VirtualBox, you can start it by selecting it from the list of VMs and clicking the Start button at top (the green arrow). The virtual machine will take a little time to start up; as it does, VirtualBox will display a few messages explaining about mouse pointer and keyboard capturing, which you should read.
After the VM has finished booting, it will present you with a login screen.
Log in as ggsss. The password is also ggsss.
Click the 0/1 button in the upper right corner and then enter the password ggsss when prompted.
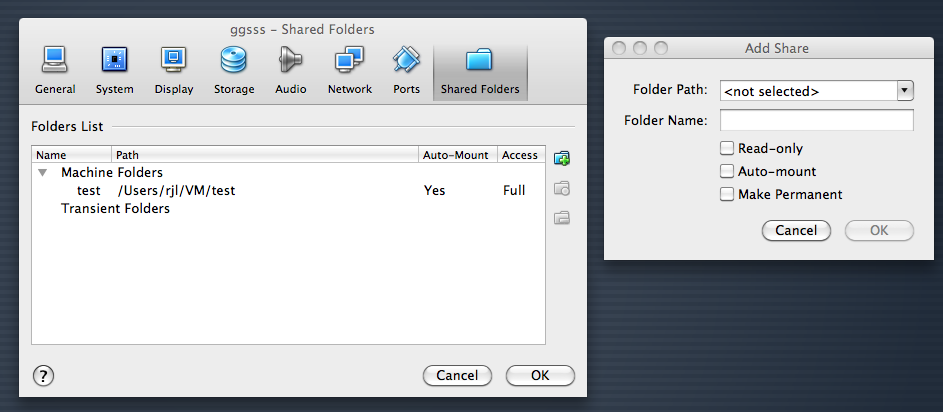
If you create files on the VM that you want to view on the host machine, or vice versa, you need to create a shared folder that is seen by both.
First, from the Virtual Machine application, open Devices –> shared folders or from the VirtualBox Manager click on Settings and then shared folders. Type in the path to the folder you want to share:
You should also check the box labelled Auto-mount if you want this folder to be automatically mounted next time you start the VM.
Then, in the VM (at the linux prompt), type the following commands:
sharename=local-name-for-the-shared-folder ## Whatever you want
sudo mkdir /mnt/$sharename
sudo chmod 777 /mnt/$sharename
sudo mount -t vboxsf -o uid=1000,gid=1000 $sharename /mnt/$sharename
ln -s /mnt/$sharename $HOME/Desktop/$sharename
The last command creates a symbolic link so the shared folder shows up on the desktop, or you can find it in the /mnt directory.
See also the README.txt file in the VM for another set of instructions.
Some people have encountered problems reaching the network from within the VM. If so you might try the following:
Open a terminal and edit the file /etc/network/interfaces to change eth0 to eth1 in two places.
To edit the file you will need to do this as superuser with a command like:
sudo leafpad /etc/network/interfaces
since otherwise it is a read-only file. It may ask for the password, which is ggsss. leafpad is a simple point-and-click editor that’s installed in the VM but you can instead use vi or emacs.
Save this file and then do:
sudo ifup eth1
Or reboot the VM by stopping and restarting it.