Back To Introduction
Prev Tutorial 6
Tutorial 7
Using a WinForm
Library
GOAL: Demonstrate
the advantage of collecting function specific files into a separate software
library, and look at the functionality of the WinFormUtility Library
PREQUISITES:
Tutorial 2
Collecting and
Organizing
- First
Startup a new Application as you have done before
- Inside
the Solution Explorer,
Right-Mouse-Button click ‘Solution’
Tutorial and select Add ->>
Existing Project
- Navigate
to the WinFormUtility Project
folder
- Inside
the WinFormUtility Project
folder find the WinFormUtility.csproj
file and click Open
- Right-Mouse-Button
click ‘Solution’ Tutorial and select Project
Dependicies...
- Select
your project name in the drop-down-menu and then click on the checkbox next to ‘WinFormUtility’
- Finally
in the Solution Explorer
Right-Mouse-Buttom click on the References
tab for your project and Add
Reference ->> ‘WinFormUtility’
- You
have now finished adding this Library
to your project, next we will see the functionality of it.
Using the
WinFormUtility Library to Setup a Graphics Window
- First
add a Quit Button and a Timer to your form, if you don’t
remember how to do this, go back to the past Tutorials.
- Set
the Timer interval to 40, and add a timer1_Tick Event
- Now Navigate
your way to the code to your [Design]Window
- Add a
private GraphicsPanel variable to your code.
- Next
in your [Design]Window drag out
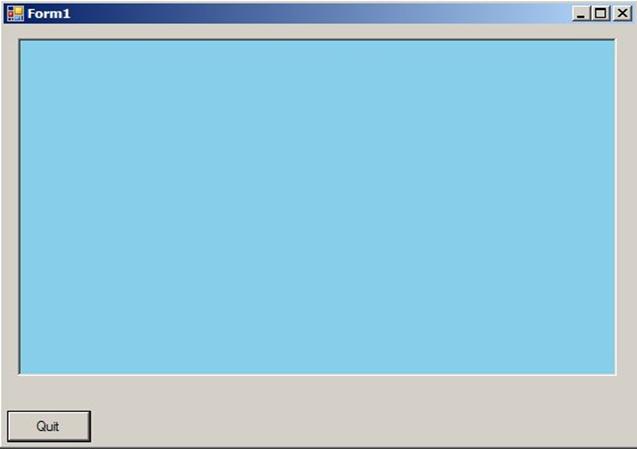
a regular panel onto the window, and resize it to however large you want. Change the name of this panel to “Placeholder”.
- Initialize/Setup
your GraphicsPanel variable in your Form Constructor as follows
- Now inside the function code block for
timer1_Tick(...), add the following
- You now have a simple
Graphics Window. The Graphics
Project comes with its own Model Class, although currently the Model Class
is completely blank.
- When you do choose to add
stuff to the Model Class, you will have to go into the GraphicsPanel Class
and un-comment out the line in the Draw() function that draws the Model.
§
In the Visual Studio project window, click
- Build
>> Build Solution
- Debug
>> Start to run
Next Tutorial 8