Prev Tutorial 1
Tutorial 2
GUI Elements and Control Variables
GOAL: To gain understanding of basic events by showing button
clicks and text echoing.
PREREQUISITES: Tutorial 1
Initially your Form1 [Design] window should be open,
if it’s not:
- Click
the project menu item View >>
Solution Explorer
- Double-Click
on Form1.cs
Now you have your Form1 [Design] window open.
Create “Button Clicks” Text Labels
- Open
Toolbox (View >> Toolbox)
- Drag a
Label to the [Design] window, bring up the properties
window of the Label
- The properties
window is often located at the bottom right of the screen, or you
can bring up the properties window by
Right-Mouse-Click over the Label object.
- As
shown below, the top left of the properties window has a tab
for the object’s properties, with a bunch of attributes which modify the
object directly

C.
Change Text to “Button Clicks”.
3. Drag
another Label next to the “Button
Clicks”, inside the properties window:
A.
Name to “Echo_Area”
B.
Text to “0”
C.
BorderStyle to “Fixed3D”
D.
AutoSize to “false”
Create “Add” Button
- Drag a
Button above the “Button
Clicks” Text, inside the properties window:
A.
Name to
“Btn_Add”
B.
Text to
“Click to Add”
Create “Quit” Button
- Drag a
Button anywhere on the [Design] Window, inside properties
window:
A.
Name to
“Btn_Quit”
B.
Text to
“Quit”
Add Event Handlers
There are two ways you can do
this, We illustrate the first way with the “Click to Add” button:
- Click
on the “Click To Add” Button in
the [Design] window
- Bring
up the properties window
- Instead
of clicking on the properties tab, go to Events
tab as shown below
- As
shown below, inside the properties window, there is an
Event’s tab.

- At the
very top in the events tab you’ll see the boxes
for your “Click To Add” Button,
where you can add event handlers. In this case, we are interested in the click
event.
- Click
and add Event handler (Btn_Add_Click) for the click event as shown
above. Typing in the event handler’s name will take you into the Form1.cs
file. To go back to the [Design]
window, go to the Solution
Explorer again and double click on Form1.cs
(For
future reference you can also just double-click your left mouse button on the
blank space here and have it create the Event handler with its default name).
We illustrate the second way of
adding event hander with the “Quit” button:
- In
your [Design] window,
double-click on the “Quit” Button.
Notice that in both cases, we created functions with the buttons’ names
followed by the “_click”. These are the event handler functions for the “click”
event on the buttons.
Setting Variables and Function
- In
your Solution Explorer go to
Form1.Designer.cs
- At the
bottom you’ll see some private functions, above these functions add in a
private int variable: private int
numClicks;
- Now go
to your [Design] window, right
click on the window and view code.
- You
should see your Form1 constructor, and your two buttons functions.
- In
your Form1 constructor, add the code to initialize numClicks
- Now
inside the function code block for Btn_Add_Click(...), add the following
code

- Now
inside the function code block for Btn_Quit_Click(...), add the following
code
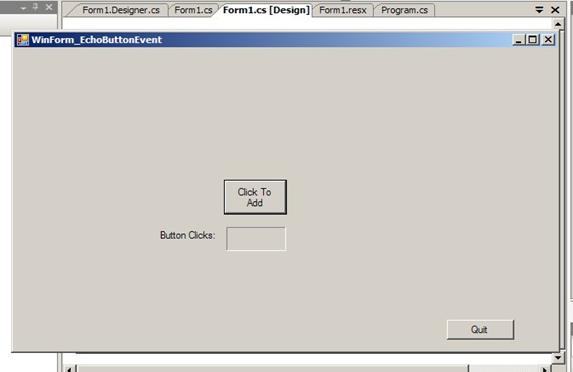
Your basic application should now
be done.
§
In Visual Studio Project Window, click
1.
Build
>> Build Solution
2.
Debug
>> Start to run
You should now see your Form,
clicking on the “Click to Add” button should display an increasing number in
the textbox/label and clicking on the “Quit” button should end the application.
Next Tutorial 3
