
Public Digital History
Goals:
- How can historians leverage digital tools and online access to primary sources to tell stories and make arguments that reach wide audiences?
- What makes an effective public history project? Can podcasts effectively convey historical arguments?
Listen to these podcasts before class (this is also on the syllabus). Compare the content, narrative styles, and goals of these podcasts. Take some notes and come ready to talk about them. All three links will take you to podcast transcripts and a link to play the podcasts. You can also find them, especially the RadioLab episode, “on Spotify, Stitcher, in the Apple App Store, or wherever you get your podcasts.”
-
- RadioLab (WNYC Studios) Episode “Fu-Go” (April 25, 2019), 35 mins
- Angela King, “These Black Women Got the Mail Delivered in Europe in WWII. A Push is On to Honor the 6888th,” KUOW (Sept. 1 2020)
- Angela King, “A Conversation with One of the Last Survivors of the 6888th – The Only Black Women’s Unit to Serve Overseas in WW2,” KUOW (Sept. 2 2020)
Then, after class, you will complete an Audacity Workshop and make your own 3-minute podcast to be turned in on Canvas.
Workshop: Podcasting With Audacity
In this workshop you will learn how to record and edit your own podcast using Audacity, a free open-source audio recorder and editor.
The podcast should be 2.5 to 3.5 minutes – short and sweet! The goal of this workshop is familiarize you with Audacity as a digital history tool.
Your Assignment:
You’ll be responsible for writing and recording a mini-podcast that makes a connection between All Quiet on the Western Front and an oral history interview conducted with Second Lieutenant Arnold S. Hoke of the 42nd Infantry Division, US Army. Hoke’s interview was collected by the Library of Congress American Folklife Center as part of their Veterans History Project.
In 2016 the collection was digitized. Take a few minutes to poke around in Hoke’s digital collection, here. You can see that the Library of Congress has highlighted a few especially interesting sections of his interview, but you can also listen to and download two large audio files that contain the whole conversation, which lasted about two hours. The digital collection also includes several photos of Hoke and a digital copy of a family history project written by his granddaughter. Hoke’s interview was conducted decades after his service in WWI.
I have gone in and chosen two very short clips from Hoke’s interview and trimmed them into MP3 files for you, so you don’t have to listen to the whole interview and won’t be working with large files.
Your job is to listen to these two short clips and find a 15 to 30 second section that you can put in conversation with a specific scene or moment in All Quiet on the Western Front. Choose just one clip to work with. Both of these sections have obvious connections to Remarque’s novel, you pick the one that is more exciting to you.
- Clip 1, here – Hoke talks about an experience towards the very end of the war, mentions German troops and French civilians.
- Clip 2, here – Hoke talks about the Armistice and the end of the war.
Once you choose which clip you will sample in your podcast, download the MP3 file to your computer by clicking on the three dots in the media player that opens and clicking Download.
(If you want, feel free to listen to more of the interview in the digital collection – You can download Audio Files 1 and 2 yourself and choose any clip to use, but this is not required. No matter what, you will still need to compare Hoke and Remarque in your podcast.)
Now, prepare a mini-script for yourself. This could just be some informal notes about what you plan to say. It should:
- Start with 2 or 3 sentences introducing the Hoke interview as a primary source (who, what, when, where) and the section you plan to use.
- Note for yourself which section of the interview you will use, this is where you will play that section.
- Conclude with 2 or 3 sentences comparing Hoke’s account of the Armistice (or his account of fighting in the village) to Remarque’s account in All Quiet on the Western Front. Be specific about the connection or comparison you make to the novel, maybe you will even want to read a short quotation to prove your point. The goal here is to put Hoke’s account in context, comparing and contrasting it with another account of the war.
- Strong podcasts will end with just one or two sentences reflecting on the broader conclusions we can draw by bringing these two very different primary sources into conversation with one another. You might also comment on the limits of these comparisons.
Your mini-script is for your eyes only, you shouldn’t take more than a few minutes to jot down your plan.
In order to complete the workshop, you will need:
- Your short plan for your podcast
- The MP3 file of the interview section you will use. Download Clip 1 here or Clip 2 here if you haven’t already done so.
- The latest version of Audacity (2.4.2). To download and install Audacity, go to the project website and select the version of Audacity that matches your operating system. Audacity is compatible with Windows 10, MacOS 10.07-10.15 and GNU/Linux.
Follow the installation instructions on the website. If you are running Windows, select the Audacity 2.4.2 Installer (not the zip file).
Part One: Editing Your Audio Clip
Now that you’ve downloaded and installed Audacity, you’re reading to begin recording and editing audio! Note that the screenshots below reflect the Windows 10 version: Mac and GNU/Linux users may see a slightly different interface.
Start by importing the MP3 file of the Hoke interview clip that you picked. Navigate to File > Import > Audio, then select the file entitled “Hokes_Armistice” or “Hokes_French_Village” from the folder you’ve saved it in.
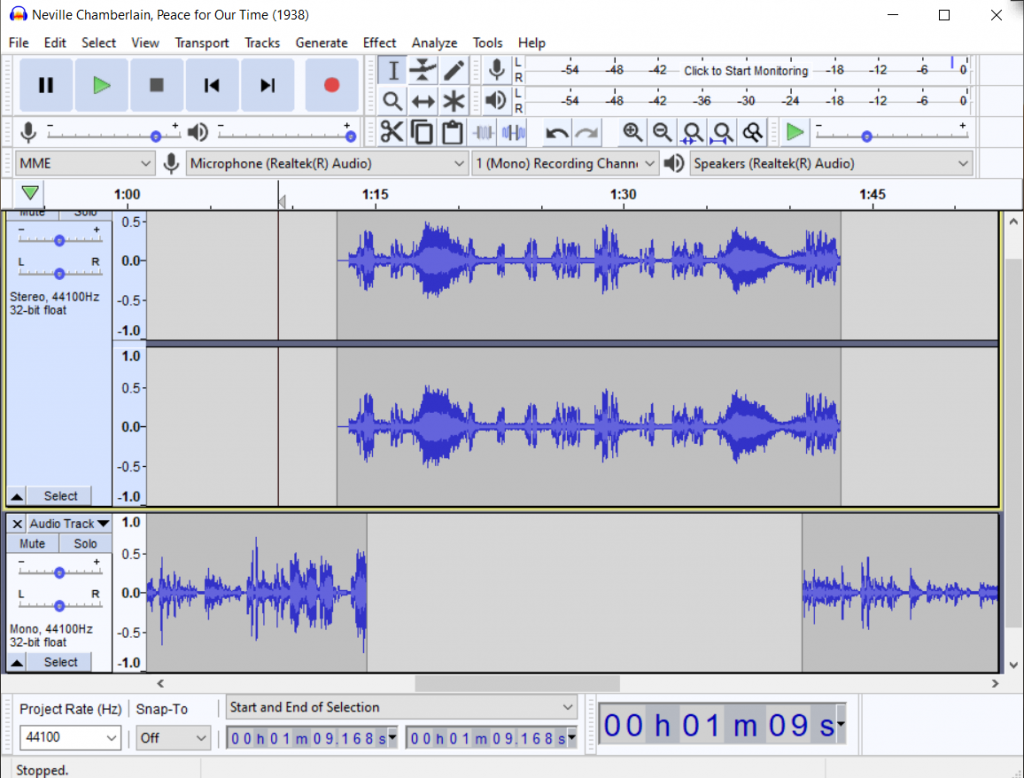
Now your screen should look something like this:
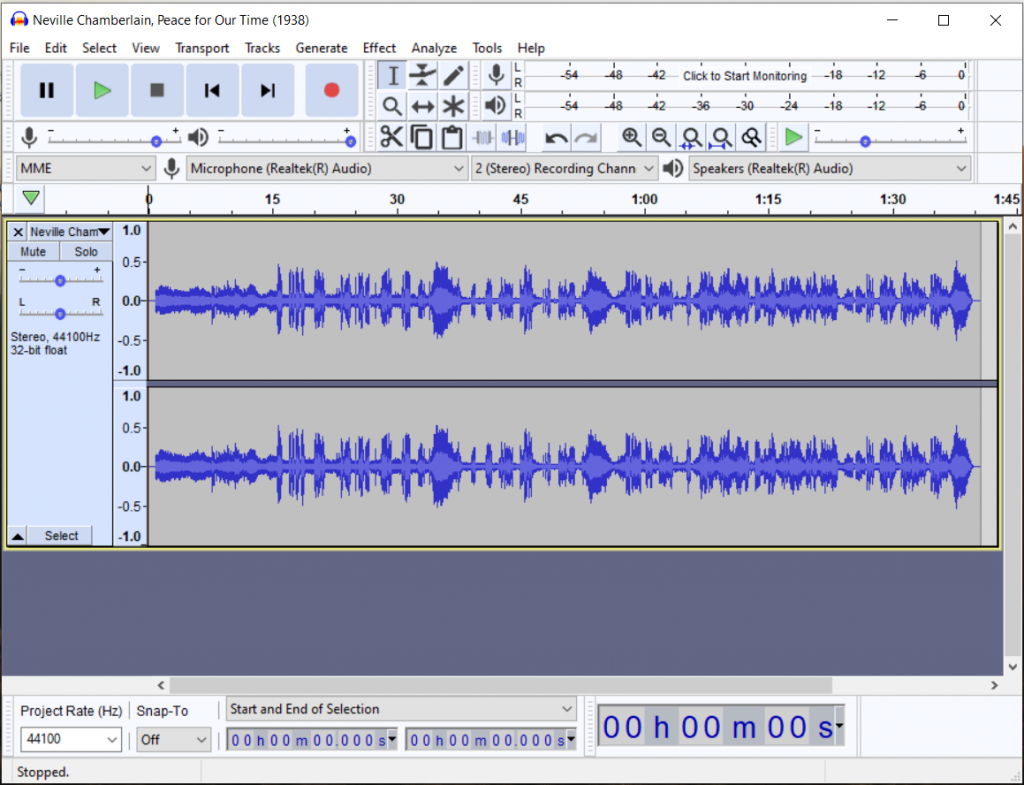
You should see the speech as a stereo track in your interface, with a waveform representing sound. The time in seconds is indicated by the increments at the top of the track, while the height of the waveform (amplitude) represents roughly how loud or soft the audio track is.
Next, you can listen to the full interview clip you’ve chosen. Verify which which brief (15-30 second) clip you’d like to use in your podcast. To do so, navigate to the transport palette:

This palette follows a standard pattern for audio playback. From left to right, the functions are: Pause, Play, Stop, Skip to Beginning of Track, Skip to End of Track, and Record.
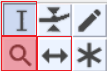
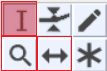
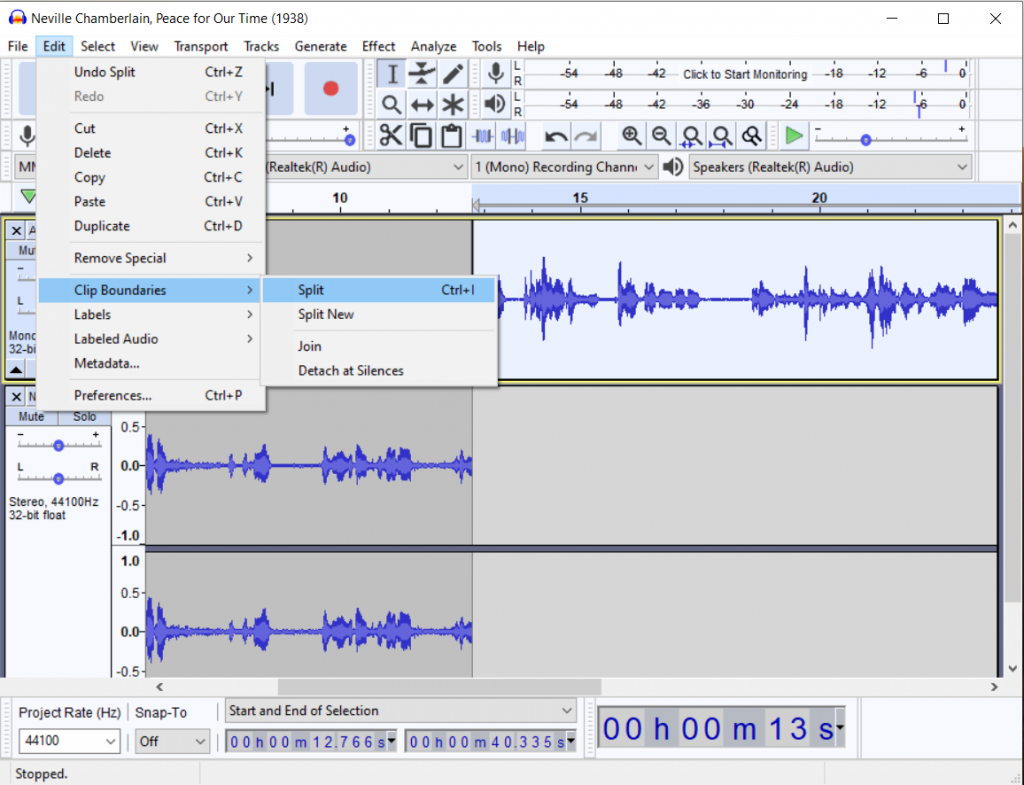
Next, when you’ve listened to the interview and picked out a clip you’d like to use, it’s time to select and isolate that clip using the Audacity tool palette:
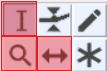
Of the editing tools included in the palette, the ones we’ll be focusing on for this tutorial are Zoom, Selection and Time Shift (highlighted in red).
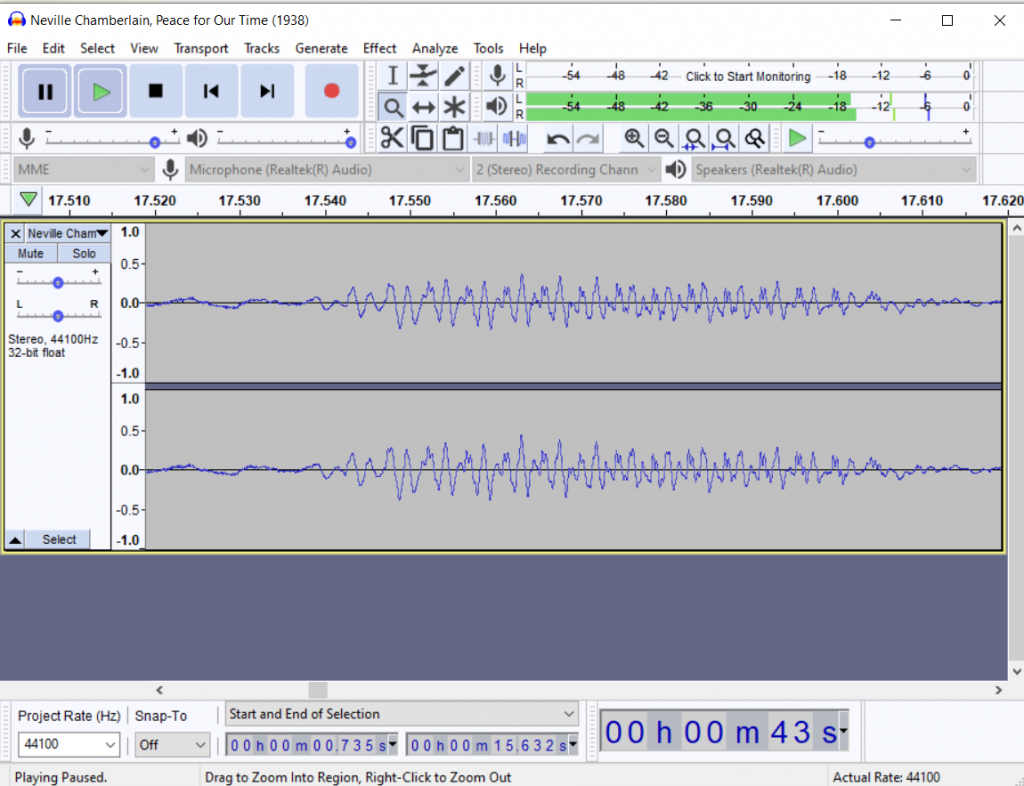
Zoom
is the first tool you’ll want to use. By zooming in on a selected portion of your track, you’ll be able to make more finely calibrated selections, precise down to tenths or hundredths of seconds. With the Zoom tool, you can zoom in by left-clicking on the track, and zoom out by right-clicking. As you zoom in you’ll notice that the waveforms look longer and lower-amplitude. Your tracks will now look something like this:
Selection
is the next crucial tool in your palette. You’ll need to select and delete portions of the audio track that you don’t want to keep. The Selection tool works much like a cursor in a word processing program: click the point on the track where you intend the selection to start, then drag the cursor to the endpoint. Audacity will highlight the selected portion of the track in light blue:
When you’ve highlighted the portion of track you want to get rid of, you can hit “Delete” or “Backspace” to remove it, just as you would in a word processor. Alternatively, you can cut the selection using the small scissors icon directly underneath the tool palette.
NOTE: Be sure that the selection you’re saving includes a second or two of track before AND after the portion of the clip you want to use. This will give you space to fade in and out, making the transition between your recorded audio and the clip smoother (described below.)
Time Shift

will be discussed in more detail once it’s time to put your recorded audio and the clip together. For now, try clicking on your remaining selection of track and slide it right or left. You’ll see that the beginning of the selection now aligns with a different time stamp at the top of the screen.
Part Two: Recording Your Own Audio
So you have your primary source selected and ready to drop into your podcast. Now it’s time to record your podcast itself!
Before you begin, make sure that you’ve selected the correct input for the recording device you’re using. For most people this will automatically select your computer’s built-in microphone, so you’ll only need to worry about changing the input if you’re using an external microphone of some kind.
Also make sure that your recording channel is set to Mono rather than Stereo. The dropdown menu for this is highlighted in red below:

Finally, be sure to note where you intend to insert your clip of Hoke’s interview. You’ll want to stop talking there for 2-3 seconds, again, to give yourself space to fade in and out without having to cut off any of your script or the interview.
Next, hit the round red button on the transport palette to begin recording.
Put on your best NPR (or broadcaster of your choice) impression and read your mini-script for your computer mic. If you need to stop midway through, just hit the square Stop button on the transport palette or your space bar, then press the red button to begin recording again when you’re ready.
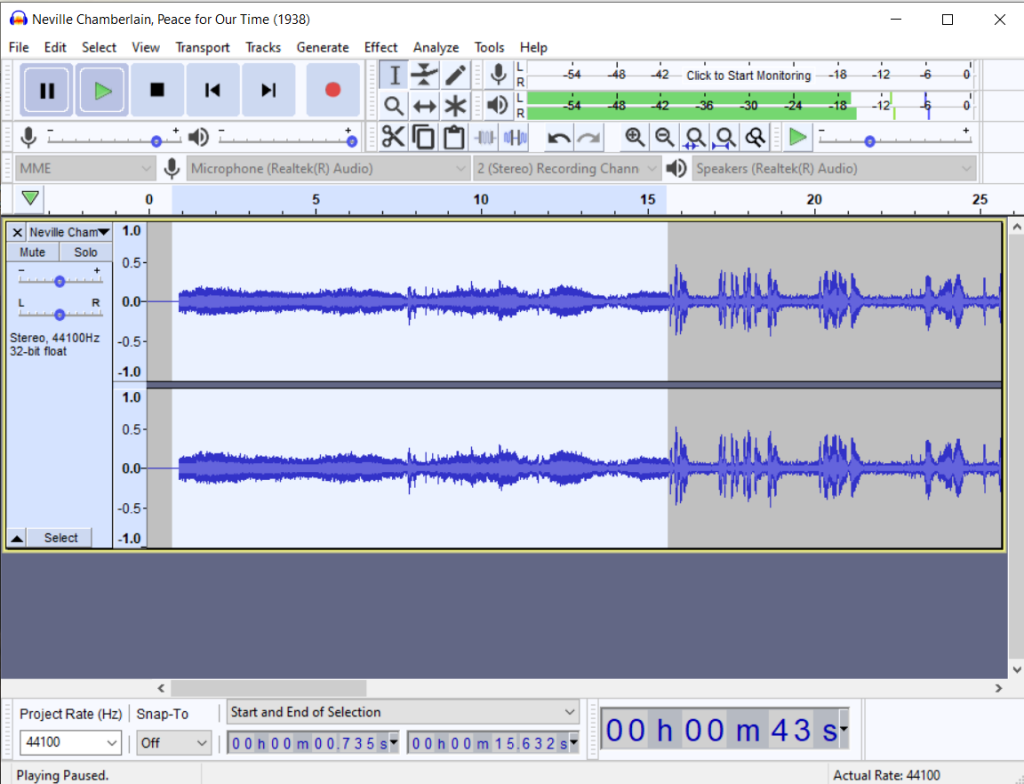
Audacity should automatically align your new recorded track with the end of your interview section. Now your interface should look something like this:
You can clean up any errors in your recorded track using the tools described above. Say you sneezed in between sentences: just zoom in until you’ve isolated the portion of the track where the sneeze is recorded, highlight it, and delete it.
Part Three: Putting it All Together
Now that you have your two clips ready to work with, it’s time to put them together!
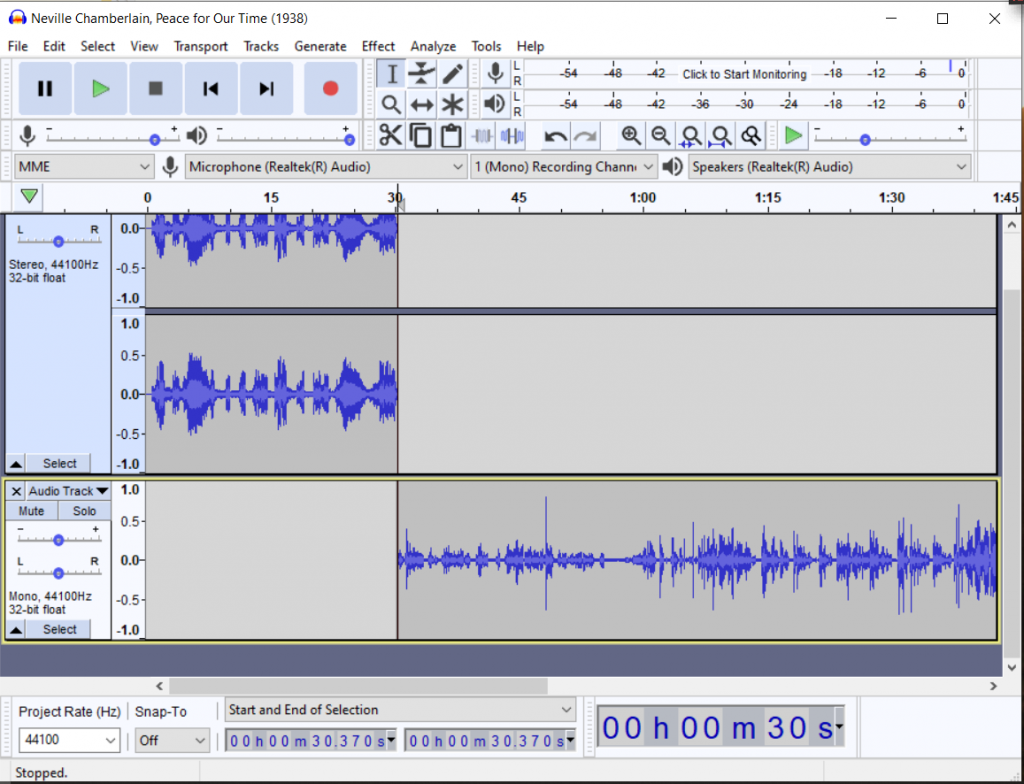
First, we’re going to use the SPLIT function to divide your own recording into two at the point where you plan to insert the interview clip:
- Using the Selection tool, click on the point in your own recording (the mono track) where you want to split the track. This should appear as a dark vertical line.
- Navigate to Edit > Clip Boundaries > Split. Alternatively, you can use the hotkeys: Ctrl + I
Now your track consists of two segments that can be time-shifted independently.
Next, it’s time to use the Time Shift tool. Drag the two sections of your recorded mono track apart, leaving a 15-20 second gap between them—this gap should be the length of your chosen clip from Hoke’s interview, minus the ~1 second overlap. In the stereo track above, drag the interview clip over until it aligns with the gap in your podcast recording, with a slight overlap:
Now, when you play the podcast, you should hear your own voice cut off and the interview clip take its place for this brief interval. Zoom in and continue adjusting the clips until the transition from one track to another is smooth.
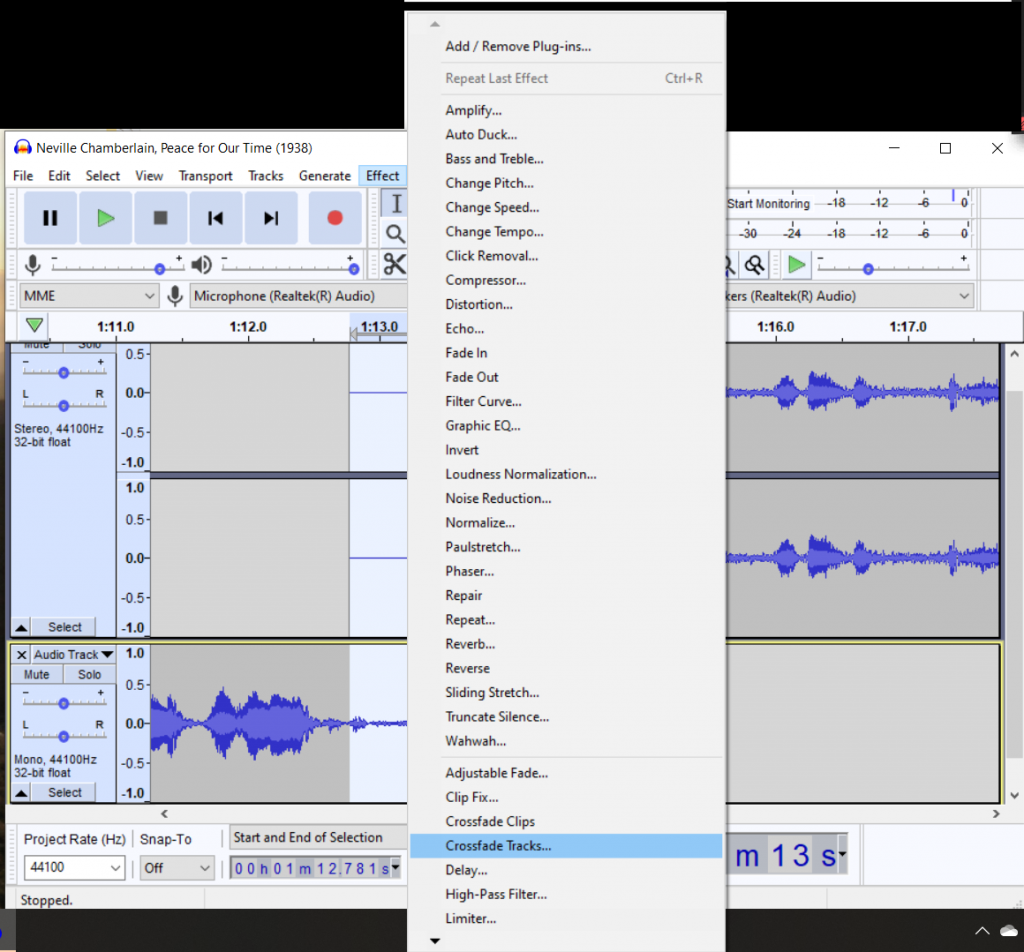
Finally, Audacity’s CROSSFADE TRACKS tool offers an easy way to tidy up the transition between clips by having the interview track fade in as the recorded track fades out, and vice versa:
- Select the overlapping section of the tracks at the beginning of the interview clip, just before the gap in the recorded track. Be sure that the same section is highlighted in light blue on both tracks.
- Navigate to Effect > Crossfade tracks. You can accept the automatic options—which will create an effect where both tracks fade evenly in and out—or customize them by adjusting the slider. Either way, when you’re happy with the settings, select ‘OK’
- Repeat Steps 1 and 2 for the overlapping section of tracks at the end of the clip.
And there you have it! A 2-3 minute podcast, complete with an audio primary source!
This tutorial, of course, is just scratching the surface of what Audacity can do. People who are curious to try more have a massive effects menu to choose from, as well as other tools on the tool palette—the Envelope tool, for instance, which you can use to adjust the amplitude of an entire track or the Draw tool, which can be used to redraw individual sections of waveforms (to edit out a click or noise, say). Keep in mind, though, that this is a three-minute informational podcast: make sure that any effects you use help to emphasize the content, rather than distracting from it.
Part Four: Saving and Exporting Your Podcast
You can save your podcast in one of two formats:
If you want to go back and edit it in Audacity, navigate to File > Save Project > Save Project. A pop-up will remind you that you’re saving the file in a format that’s only compatible with the Audacity software; press ‘OK.’ Your file will be saved as a .aup file, which you can then open and edit in the future.
If you’re finished and ready to save your podcast as an MP3, navigate to File > Export > Export as MP3. Keep the preset save options as they are; press ‘Save’. You now have a completed podcast you can listen to with your preferred audio player!
Finally, turn in your podcast on Canvas, where you can upload MP3 files under Digital Workshop 3. If you have any issues uploading the file, don’t worry, just send us an email.
For additional instructions, including more about Audacity’s editing tools, you can consult the UW IT Connect tutorial here