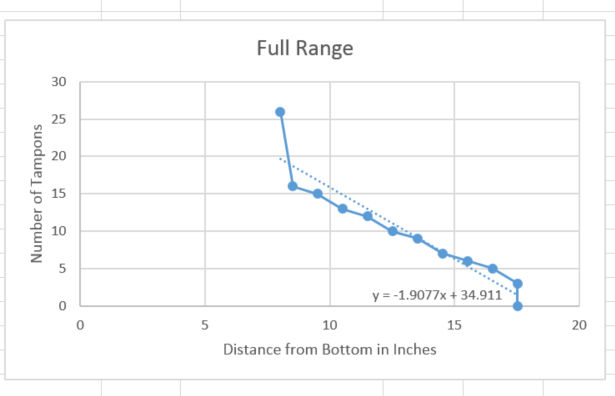
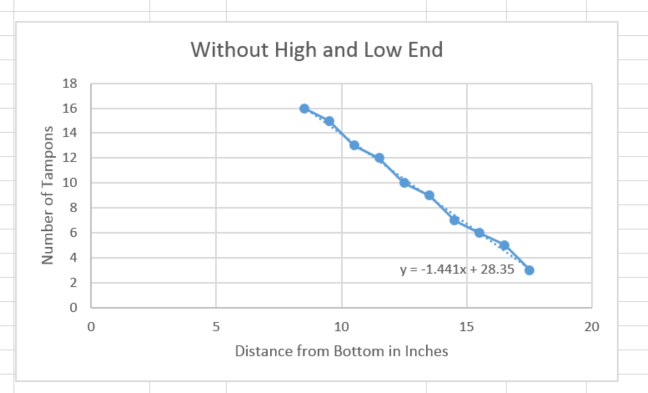
 This week I worked with the current sonic sensor to test how accurate it would be in use. The graphs above are my observations about reported distance and the number of tampons in the dispenser. I was trying to generate a function that would calculate the number without a lookup table. The first graph, it did not work out well because I included the ends, where the biggest outliers are. Removing those outliers, it gets much better. Unfortunately, this means it will be hard to tell how much product is left when the dispenser is close to empty. This sensor is unable to tell the difference between empty and 3 tampons left. I also discovered an issue where the current sensor needs about a minute of calibration time with an empty dispenser, which will be hard in the field. To this end, I began researching similar sensors and will be trying a new one in the near future.
Design: Week 2
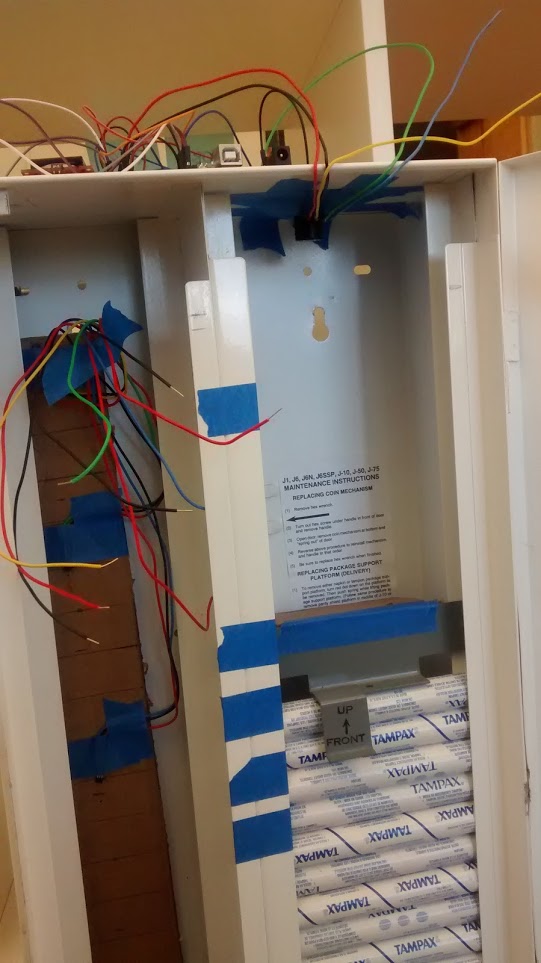
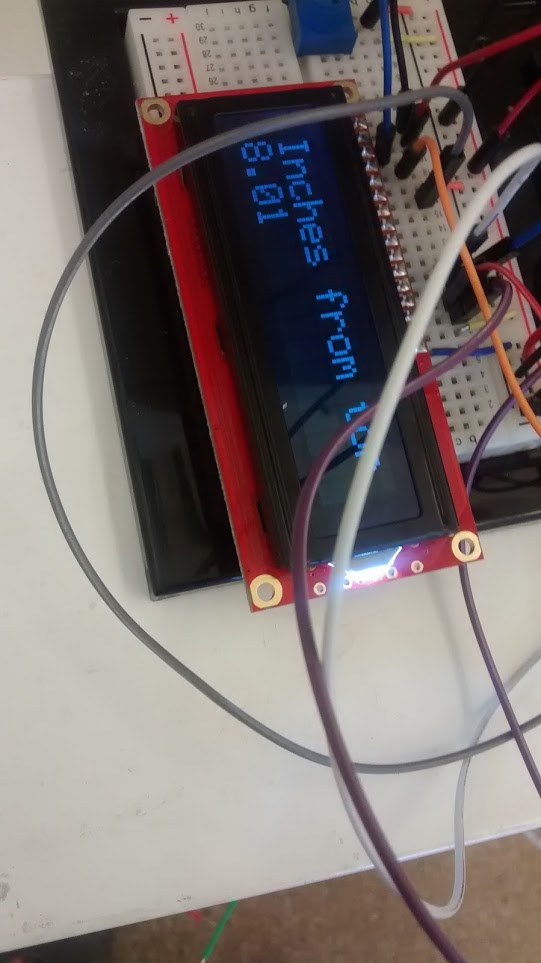
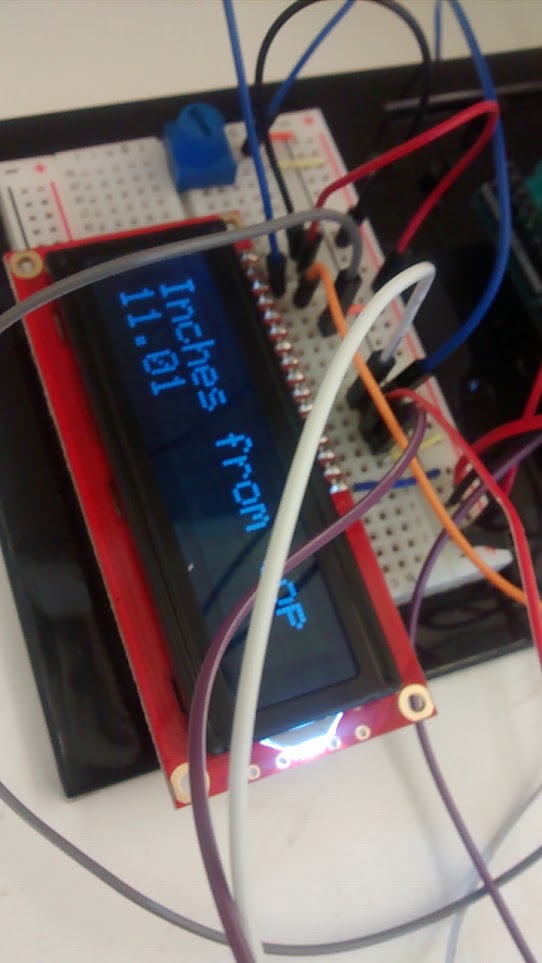

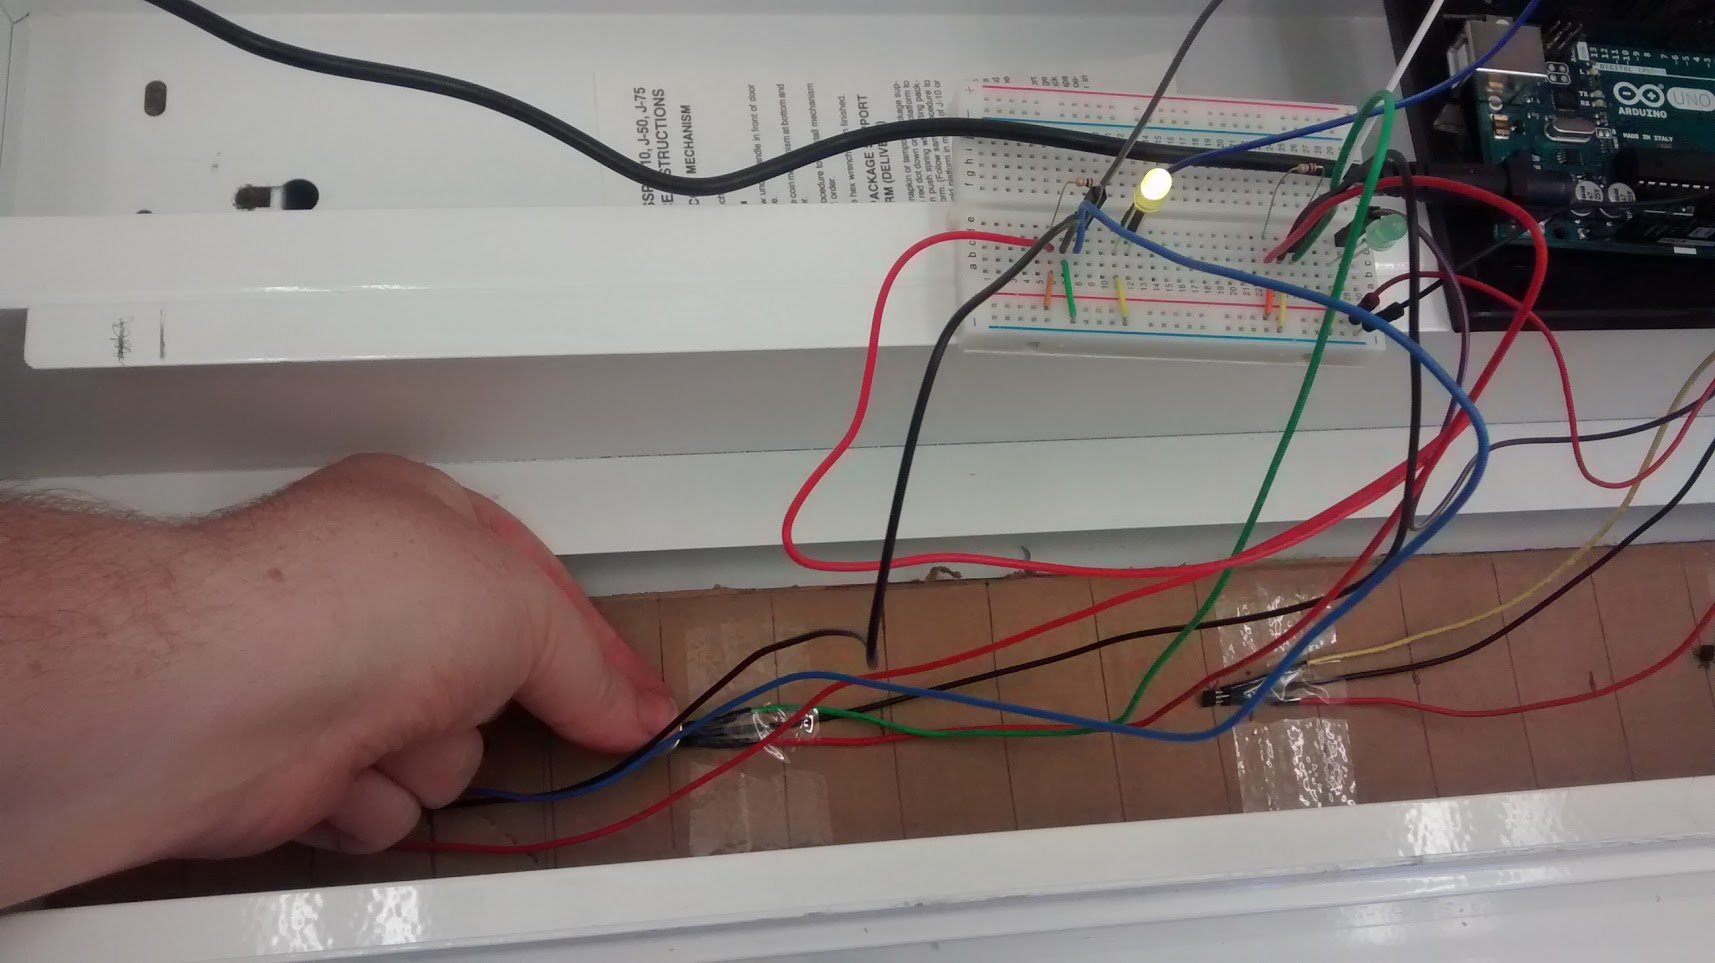
This week I successfully got the sonic sensor, which was the other option for a sensing platform, working in the casing. I soldered wires to the relevant pins of the sensor and mounted the sensor to a small piece of cardboard attached to the top of the tampon side of the dispenser. I quickly discovered that it was hard to properly line up the sonic beam to hit the weight on top of the tampons, but I solved this problem by adding some extra cardboard to the back side of the weight. This doesn’t affect the operation of the machine but makes it easier for the sonic sensor to see. After hooking up an LCD, I was able to easily see the readings from the sonic sensor. I determined that the sensor has a blind spot within about the first 9 inches or so of its reading, but after that it works like a charm and with many fewer wires and mess than the hall sensors from last week. This week, my goal is to turn the inches reporting into more relevant numbers and come up with a solution to properly handle the sonic sensor’s blind spot. Finally, I got the Pro Trinket, an Adafruit micro-controller with most of the same guts as the Arudino in a much smaller package, working (as you can see in the final image). It is harder to debug on, but it will be used in the final product due to size constraints.
Design: Week 1
Our initial supplies finally arrived a week ago, and I finally got to dig into the development for real. Below, you can see a photo of the supplies. They are organized by type: on the left you see the sensors, in the middle the micro-controllers, and on the right the communication platform (more on that at a later date). 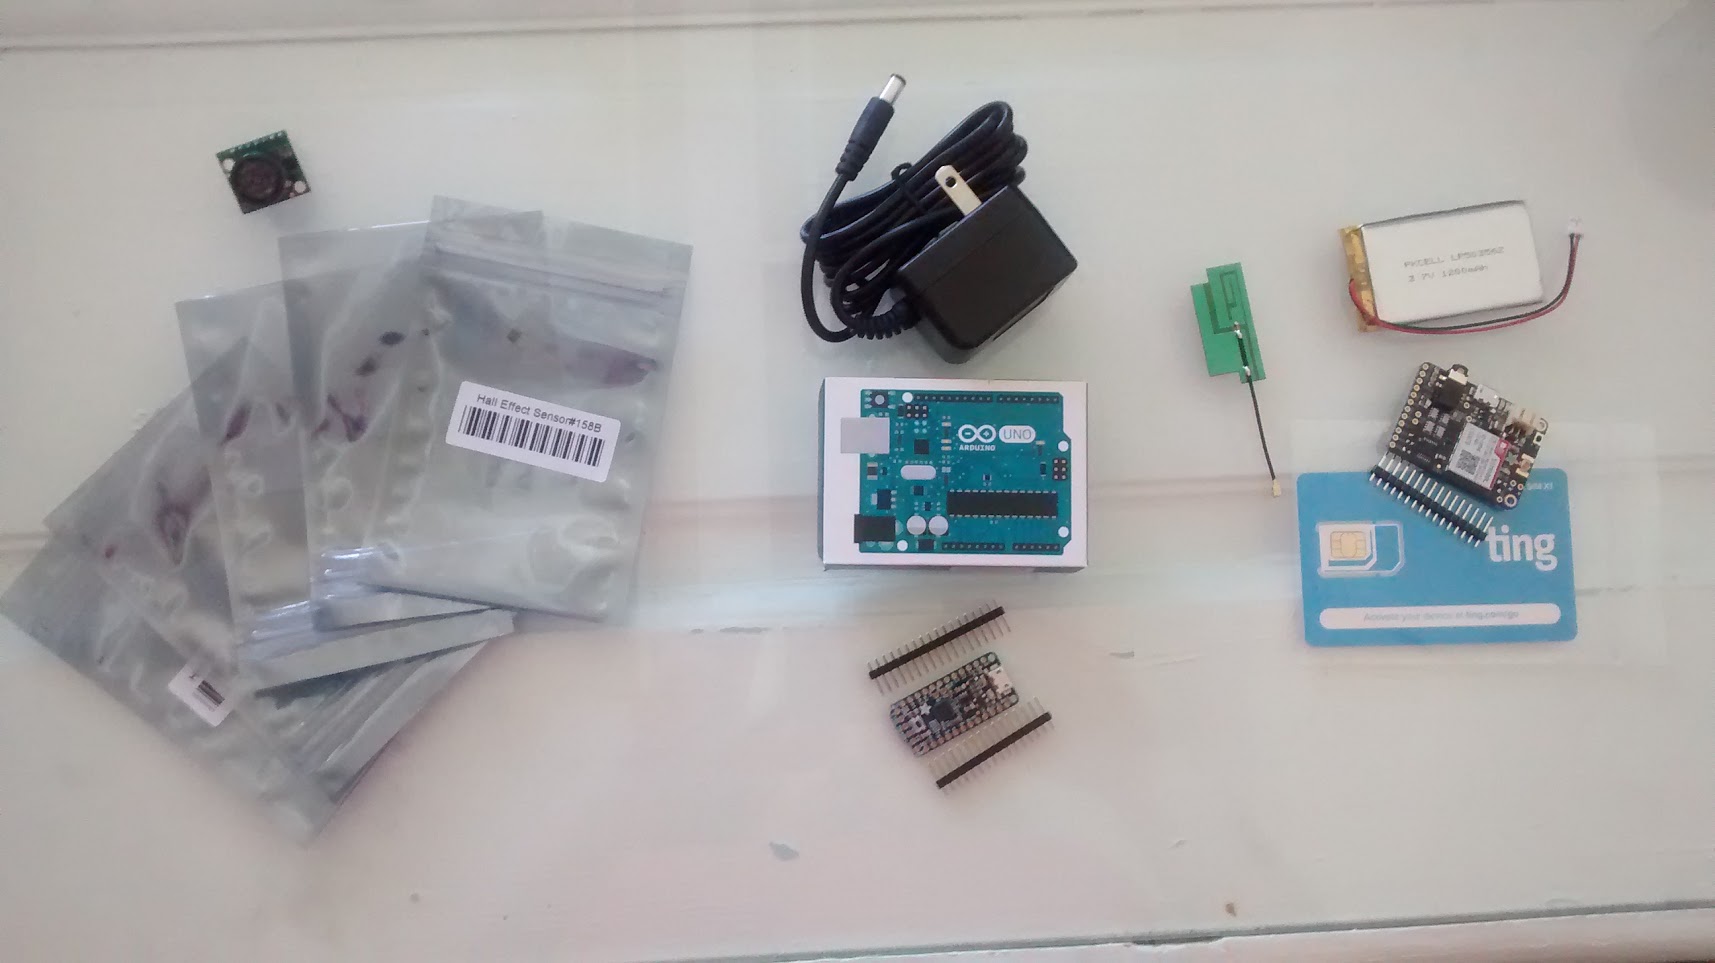
I decided to start with the Hall Effect sensors since I had never used them before and because they felt very promising. Each small bag on the left contains 1 sensor, so I had 5 to work with in all. I began by simply plugging a single sensor into a breadboard and wrote code to get that working. At first, I struggled to get the readings from the sensor to make sense because they weren’t reading reliably. After a bit of research, however, I discovered that adding a 10K pull-up resistor was the trick, and then the sensor worked beautifully.
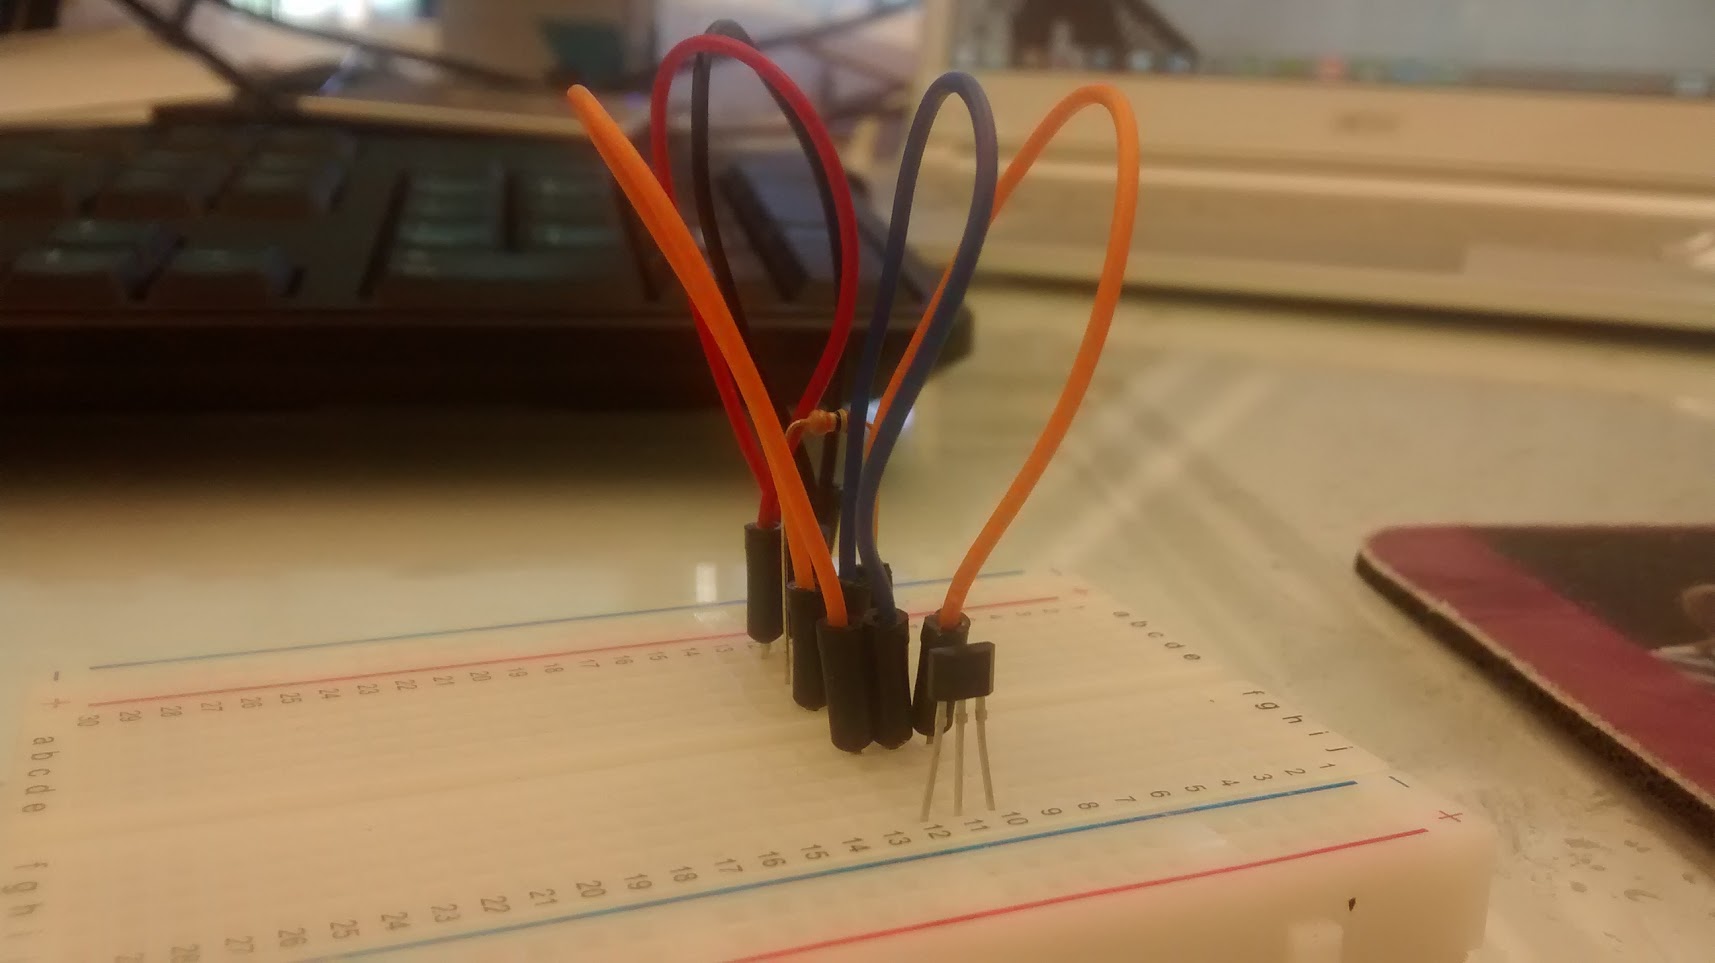
Next, I confirmed that 2 sensors would work in close proximity to each other. That went very smoothly and I discovered that the magnet has to be directly in front of the sensor to set it off, which can work well for our purposes, as long as we line up the sensors directly where the piece of metal that rest on top of the products sits.
Next, I wanted to get the sensors into the dispenser itself. This required soldering long wires to the end of each sensor pin to allow them to be farther away from the Arduino and to free them from the breadboard. I also added an LED to each connection which would turn off while the sensor was being triggered so that I could more easily see the state of each sensor.
I then mounted the sensors to a long piece of recycled cardboard, which allowed me to more easily move them around and to regulate the amount of space between each sensor. This version of the prototype has a lot of wires, as you can see below. One of my goals for the next week is to work on the wire management aspect of this design. The horizontal lines on the cardboard are roughly the size of one pad box and the sensors are placed every 5 lines, except for the bottom one which would signal an empty dispenser. If there is a case where the dispenser is ever filled but not completely loaded (thus triggering the top sensor), this could present a problem for measuring the amount of product and it will have to be studied further.

Finally, the sensor can be see in action. Notice that in the first photo, the green light on the right is on, while in the second photo it is being triggered by the sensor and is off. A video of this can be found here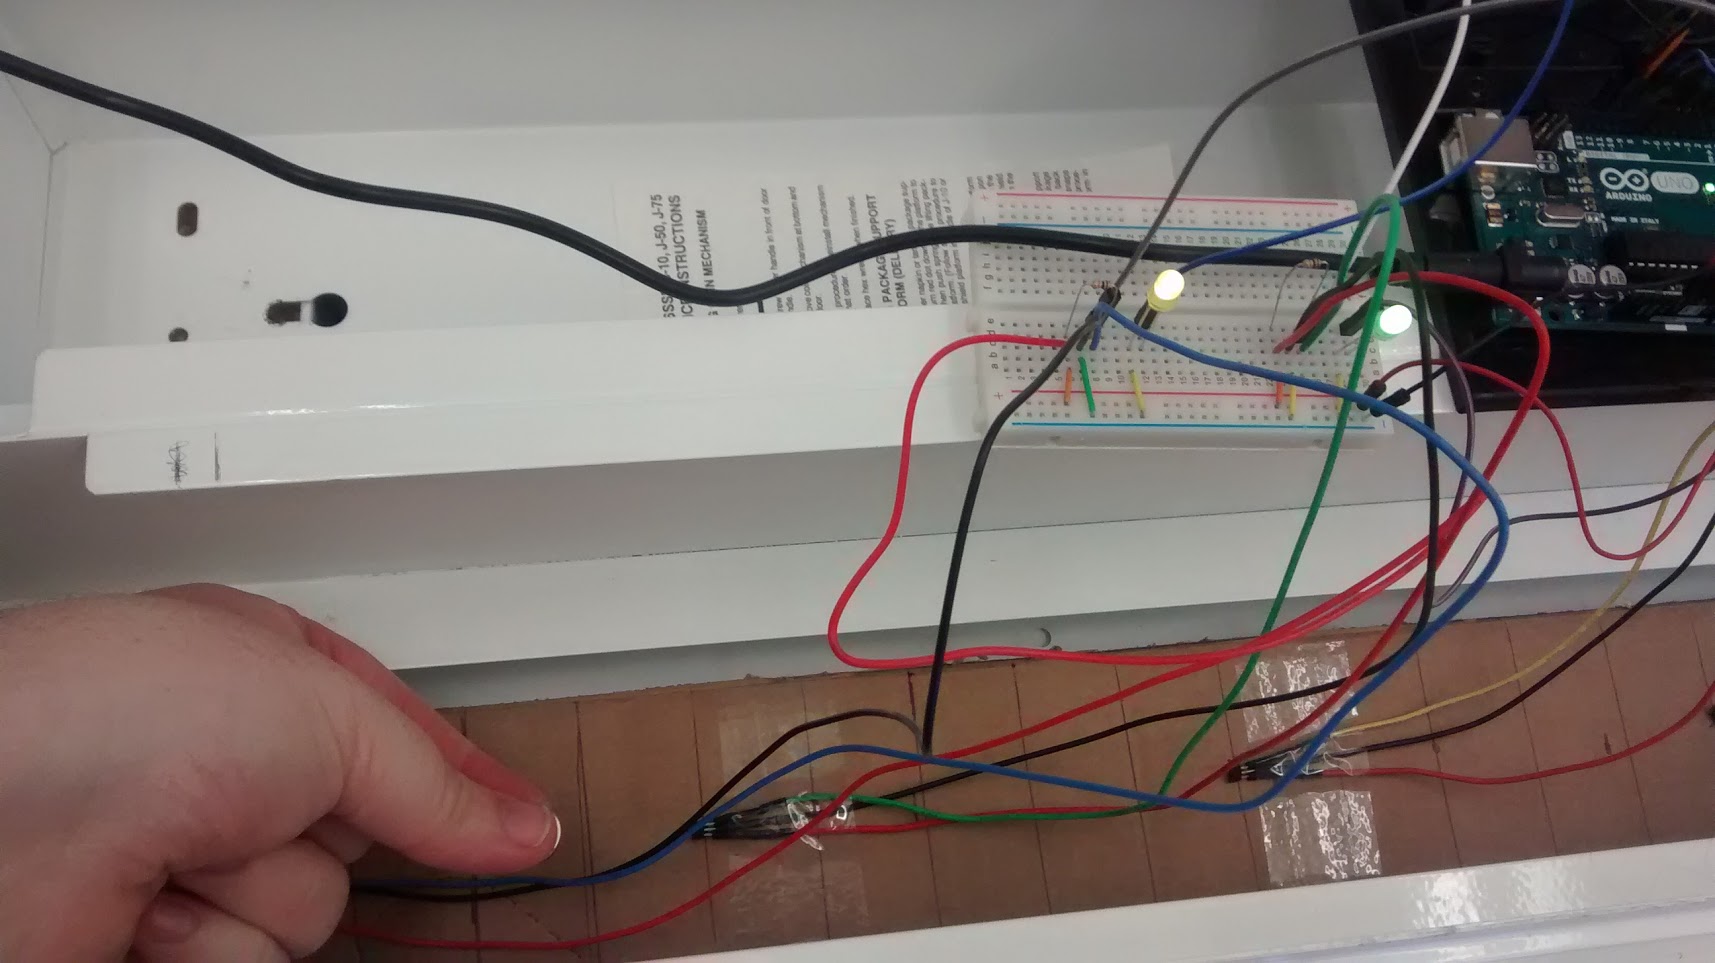
Overall, things this week went very well. The biggest lesson I learned was that I need to plan more for issues around wire management, because it can quickly get out of hand. I think now that designing the casing for this project is going to be more important than getting the sensors working. In that vein, I have begun looking into some basics of 3D printing and boards that will allow me to more permanently mount the components in the hopes of designing a robust container.
Jefferson Park
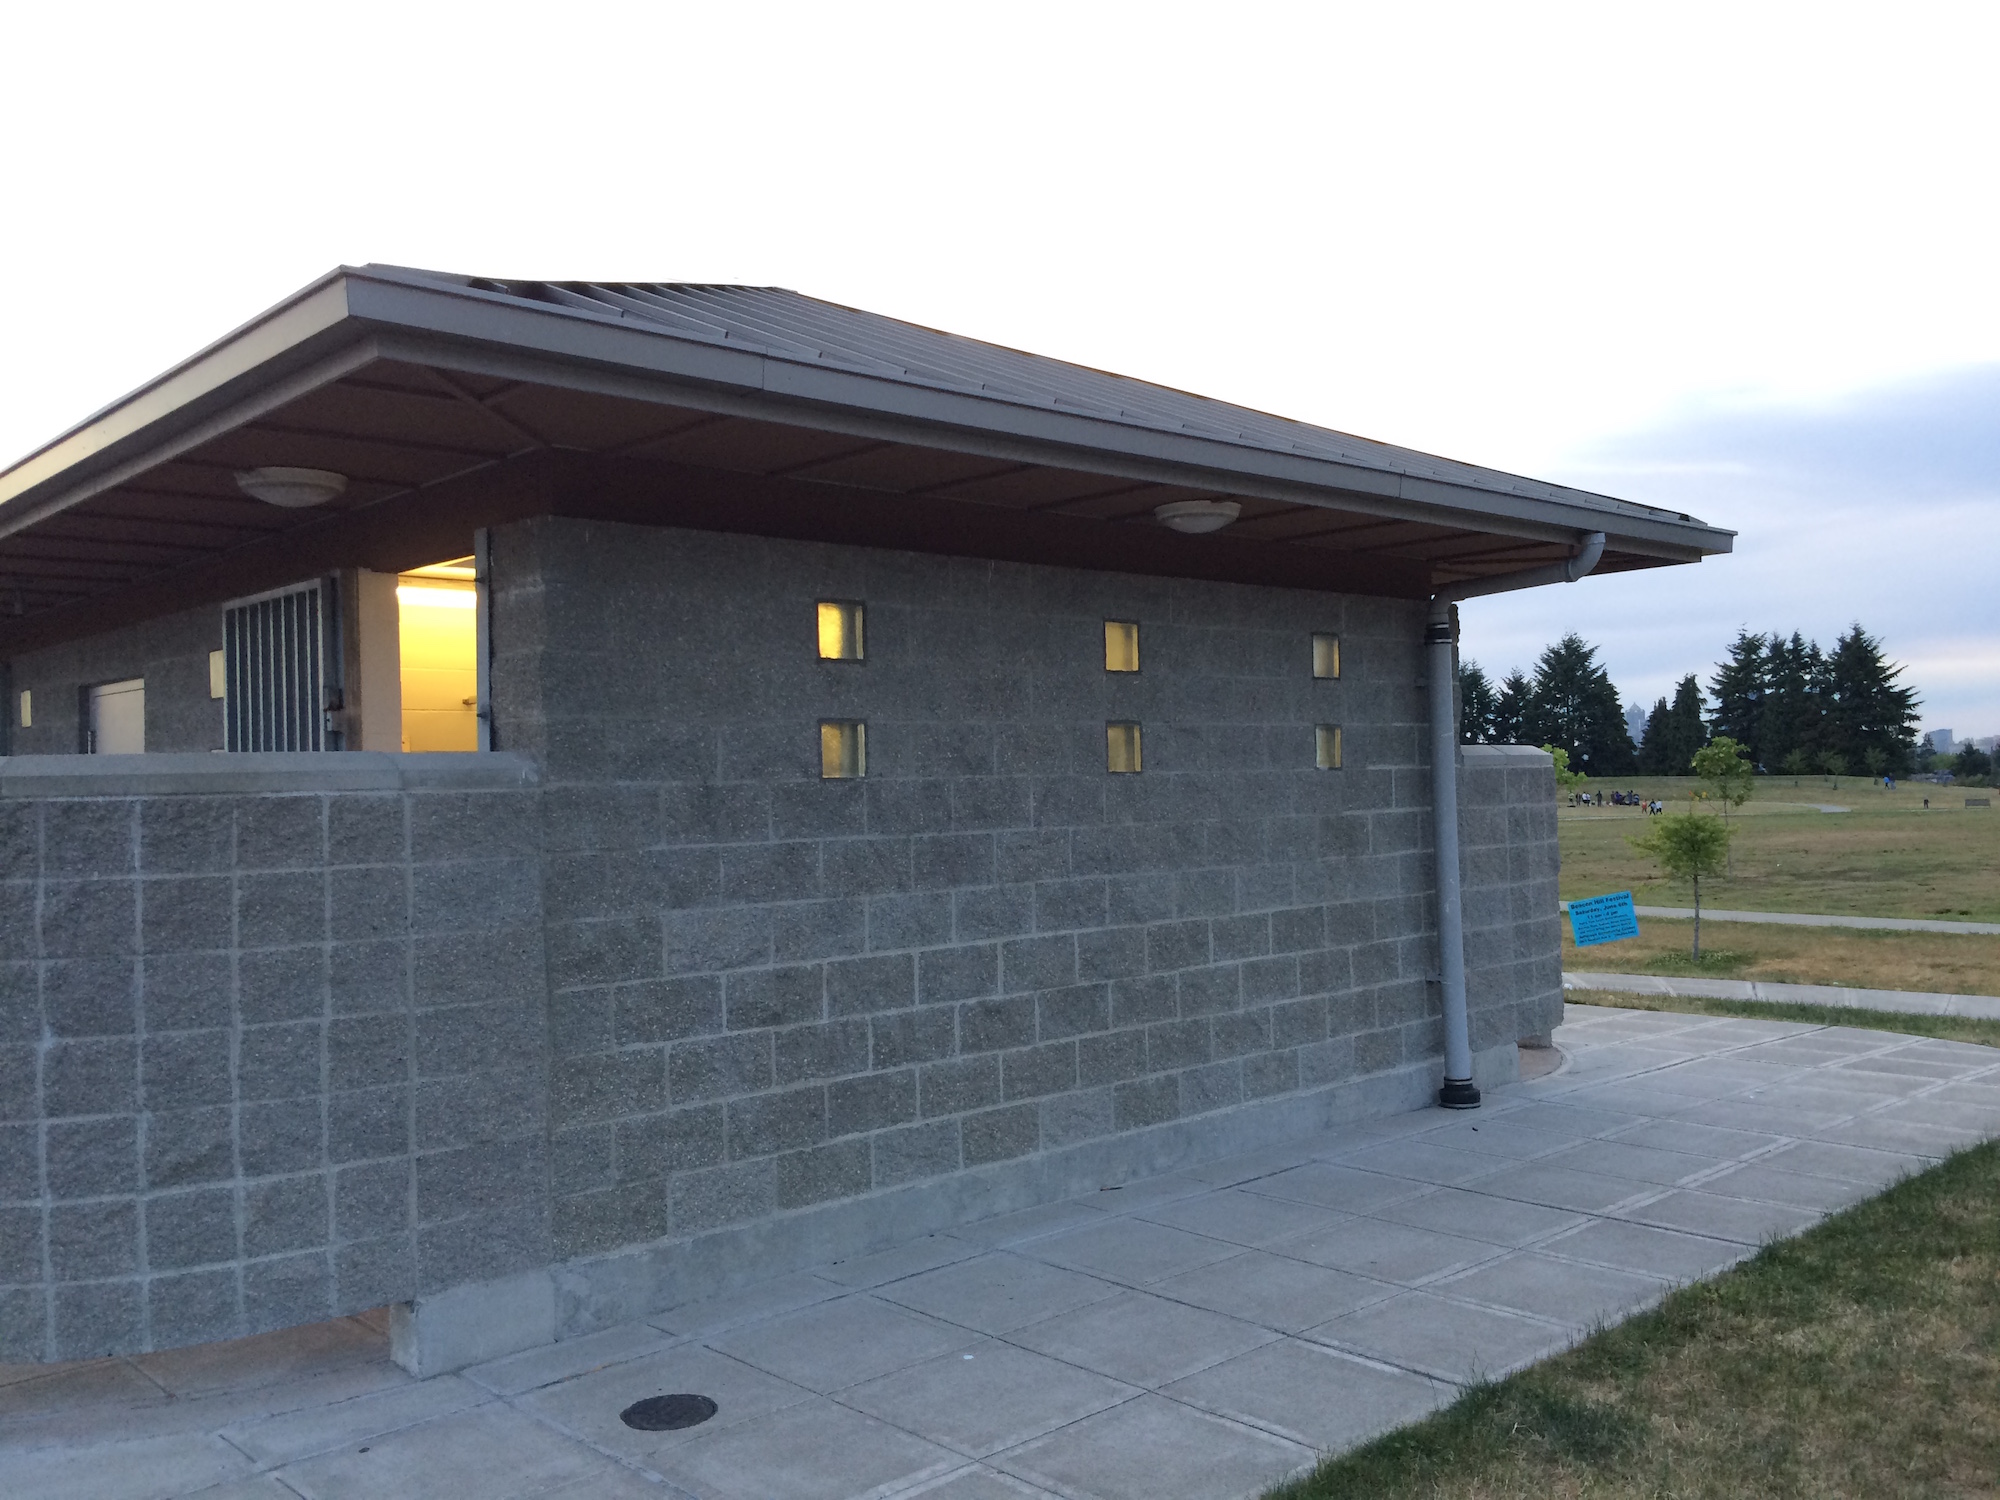
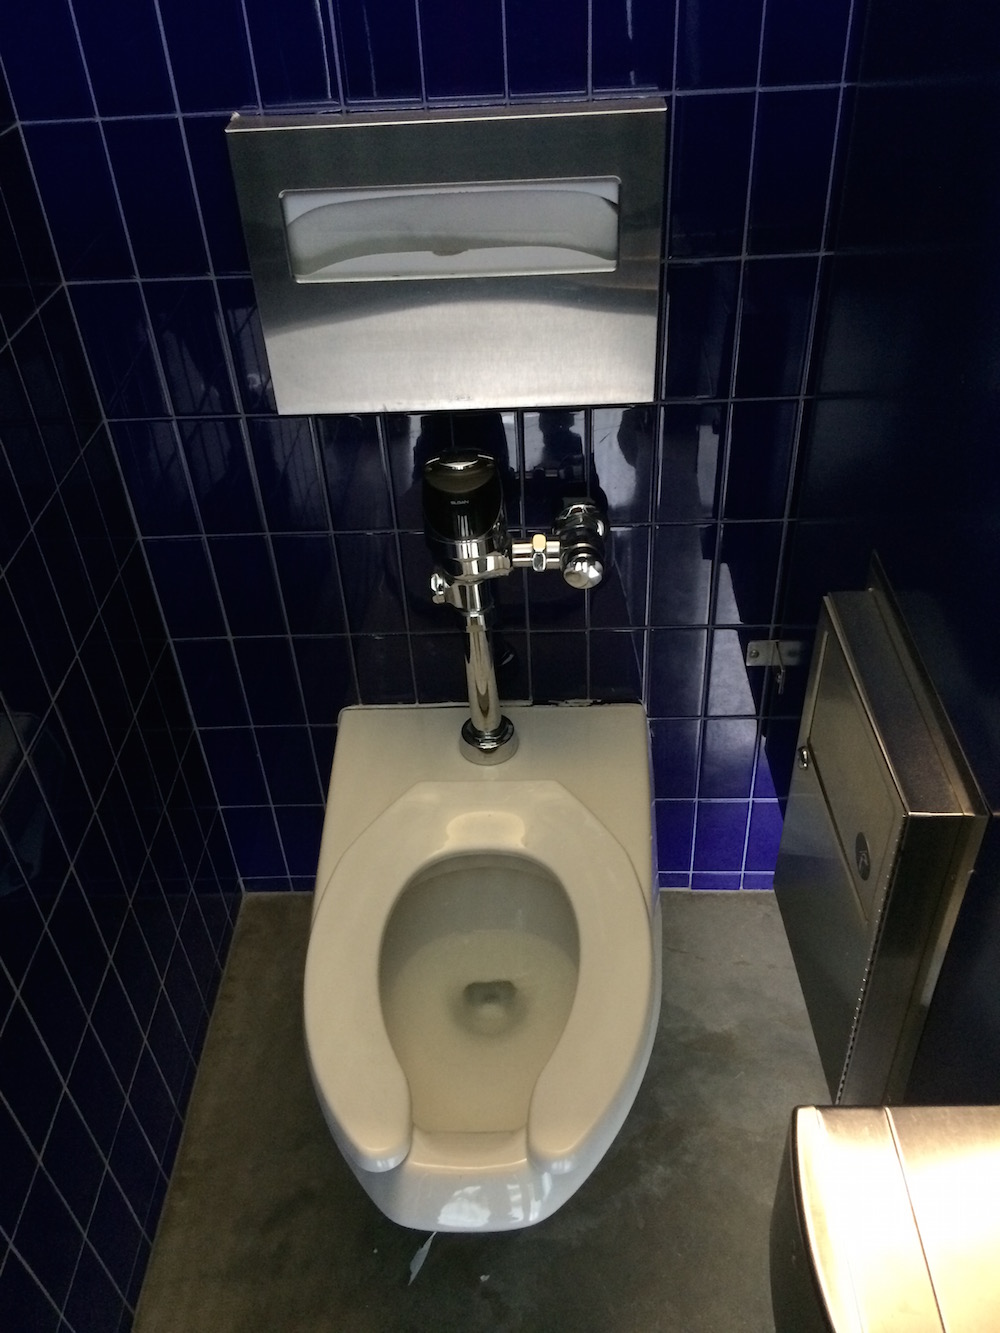
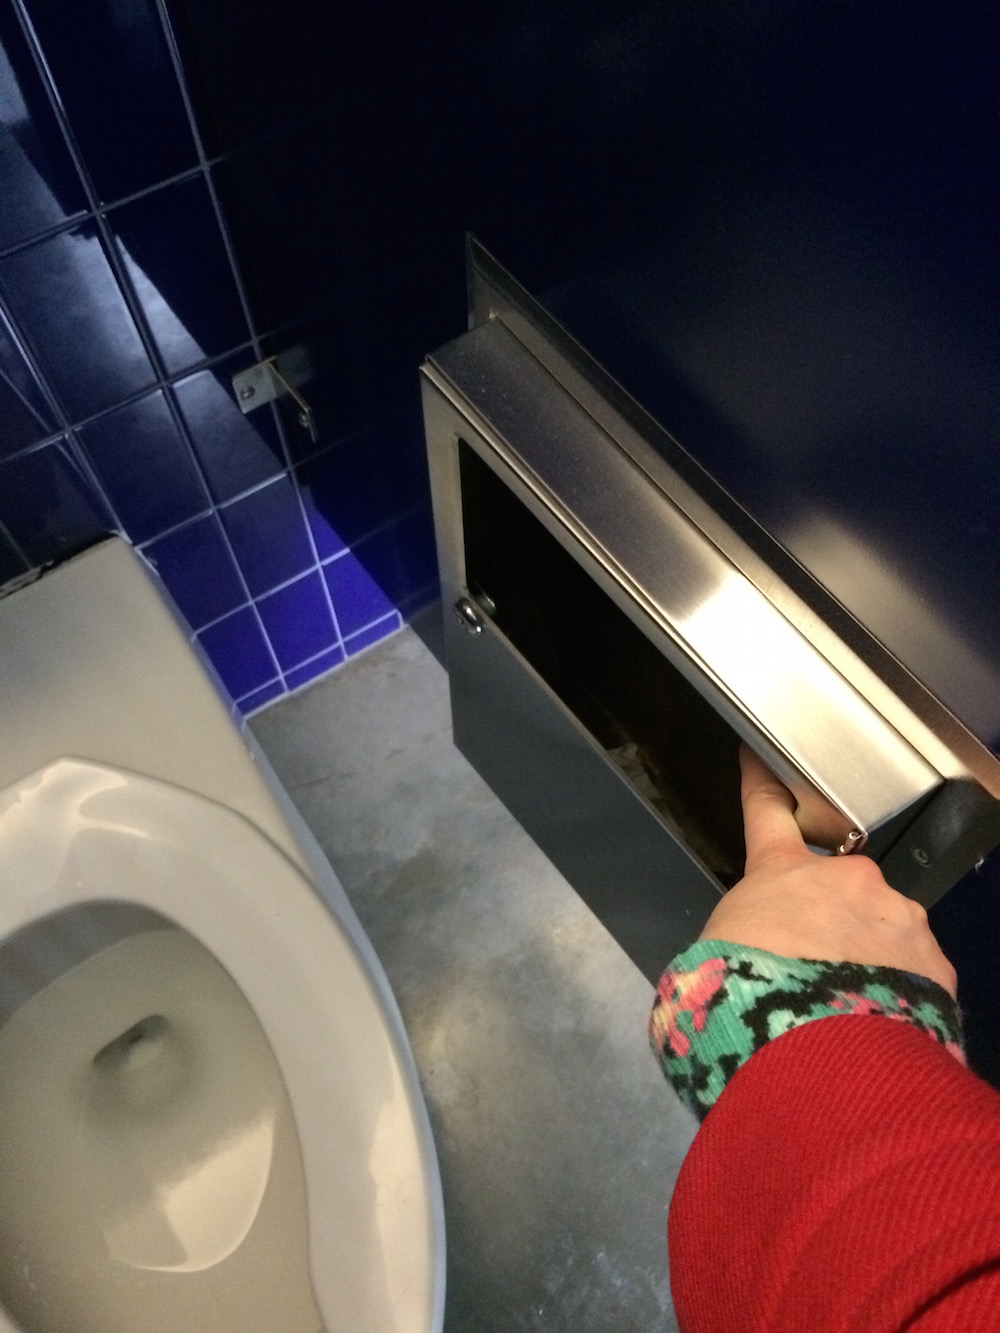
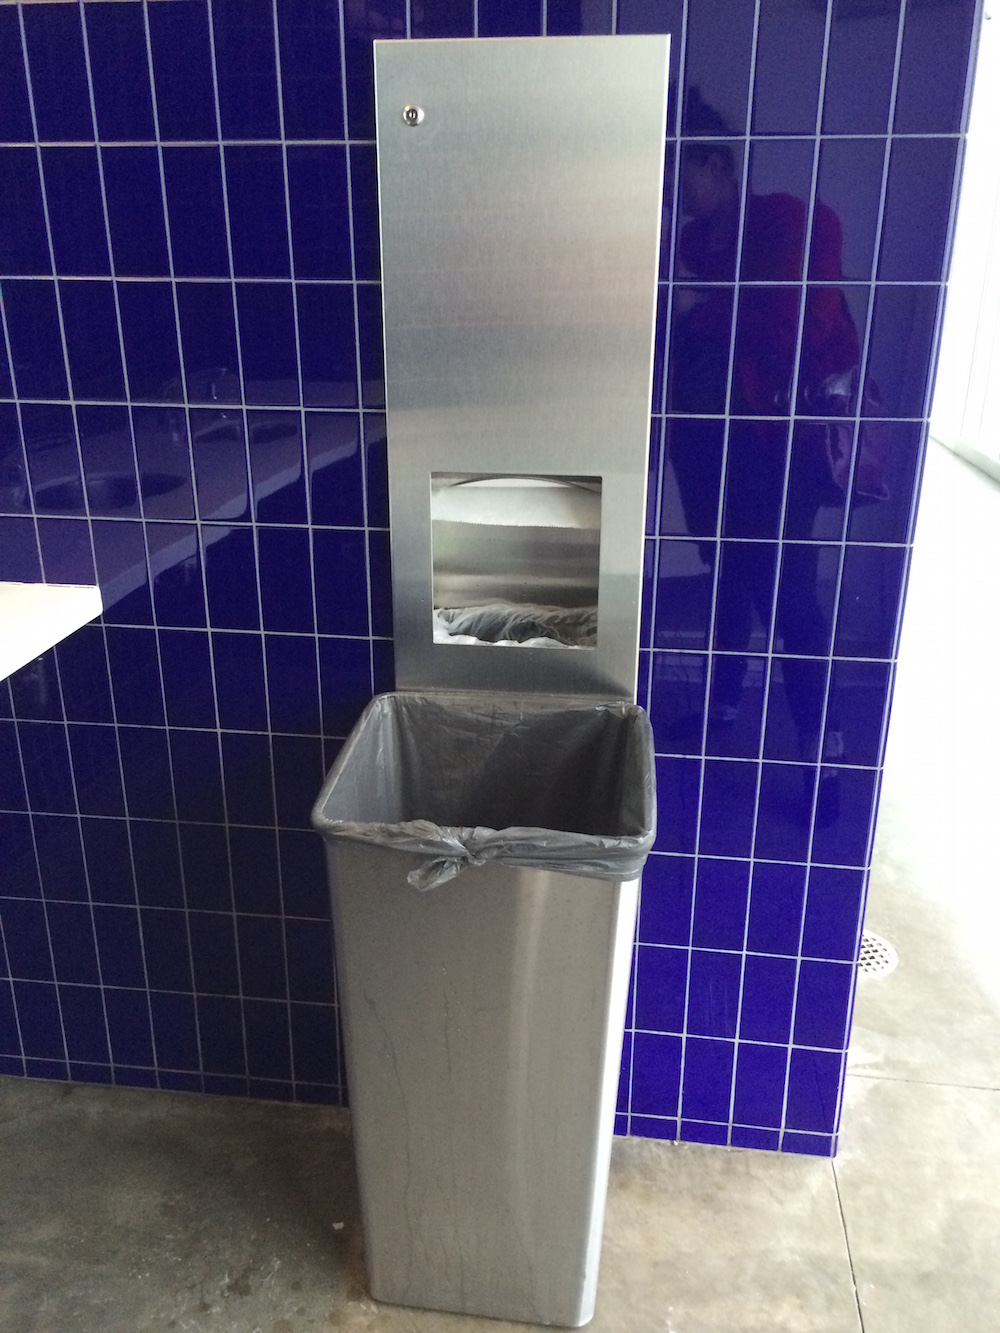
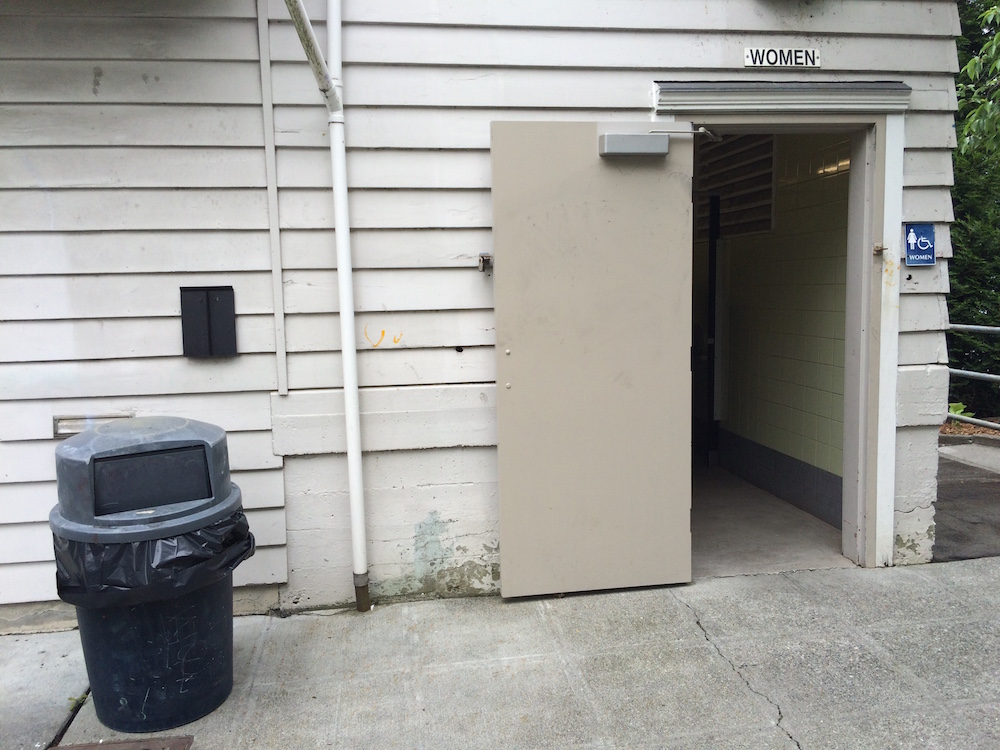
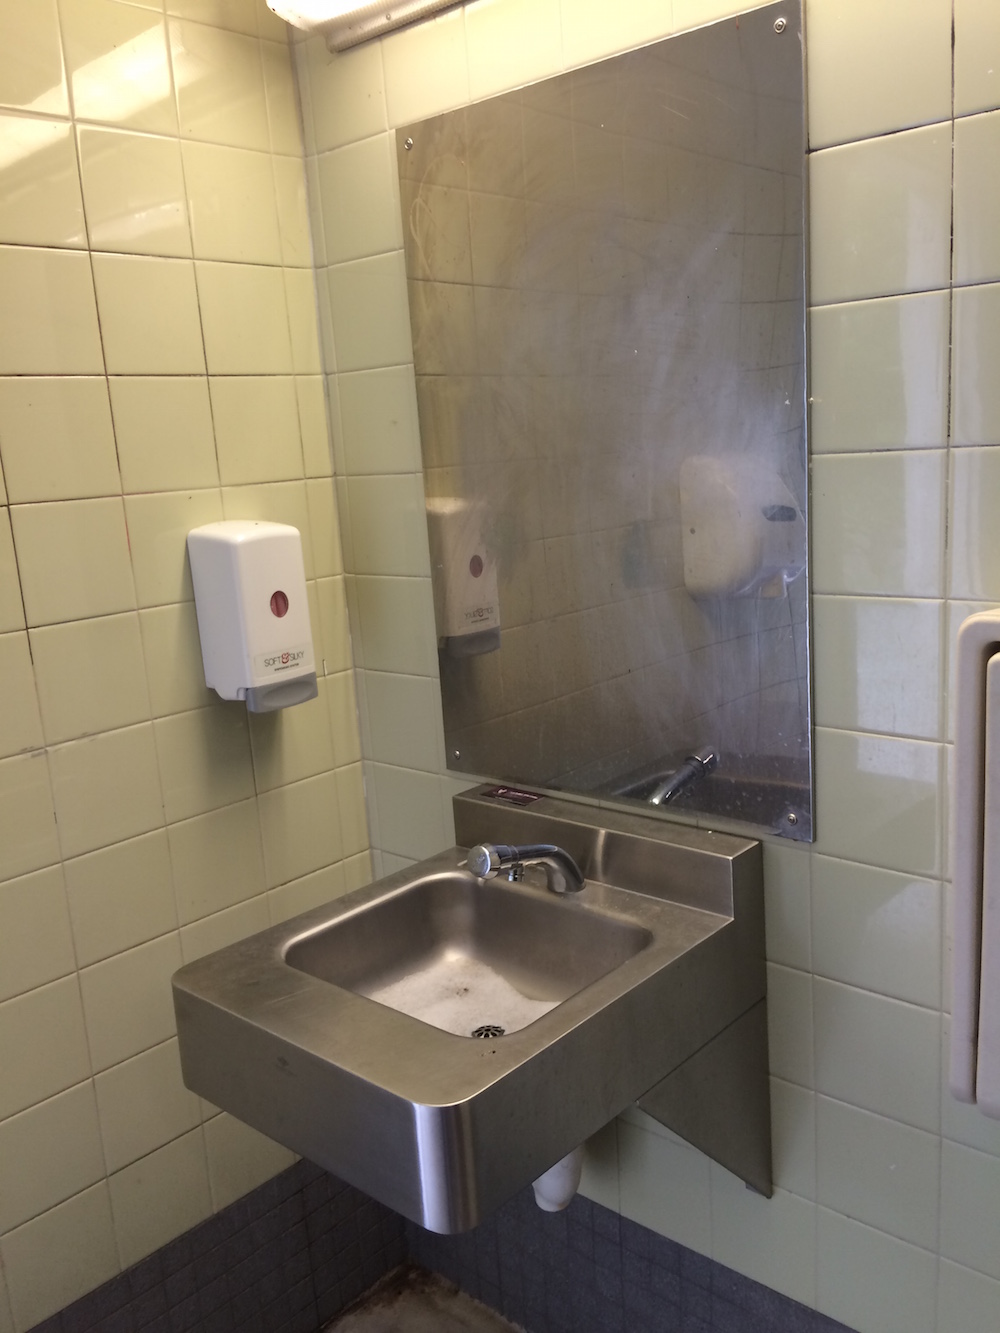
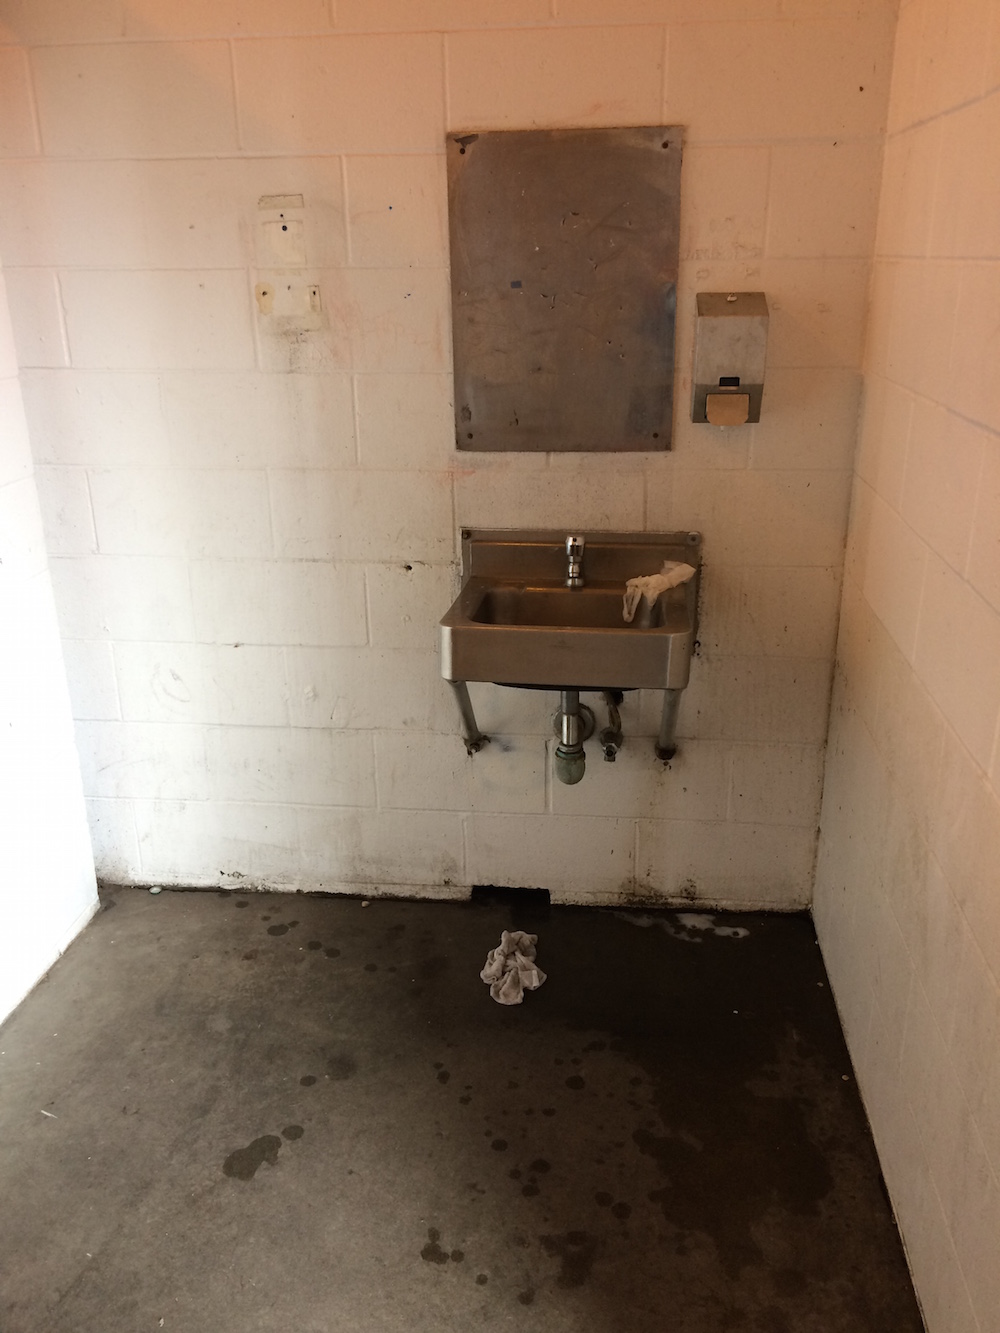
Kiley and I opportunistically stopped in to check the bathrooms at Jefferson Park while out with a group of friends. The restrooms were quite easy to find not only because they were housed in their own freestanding building, but also the lights from within each restroom seemed to glow as the sun sank. Honestly, we kept talking about how great the lighting was at the time (see documentation photos)!

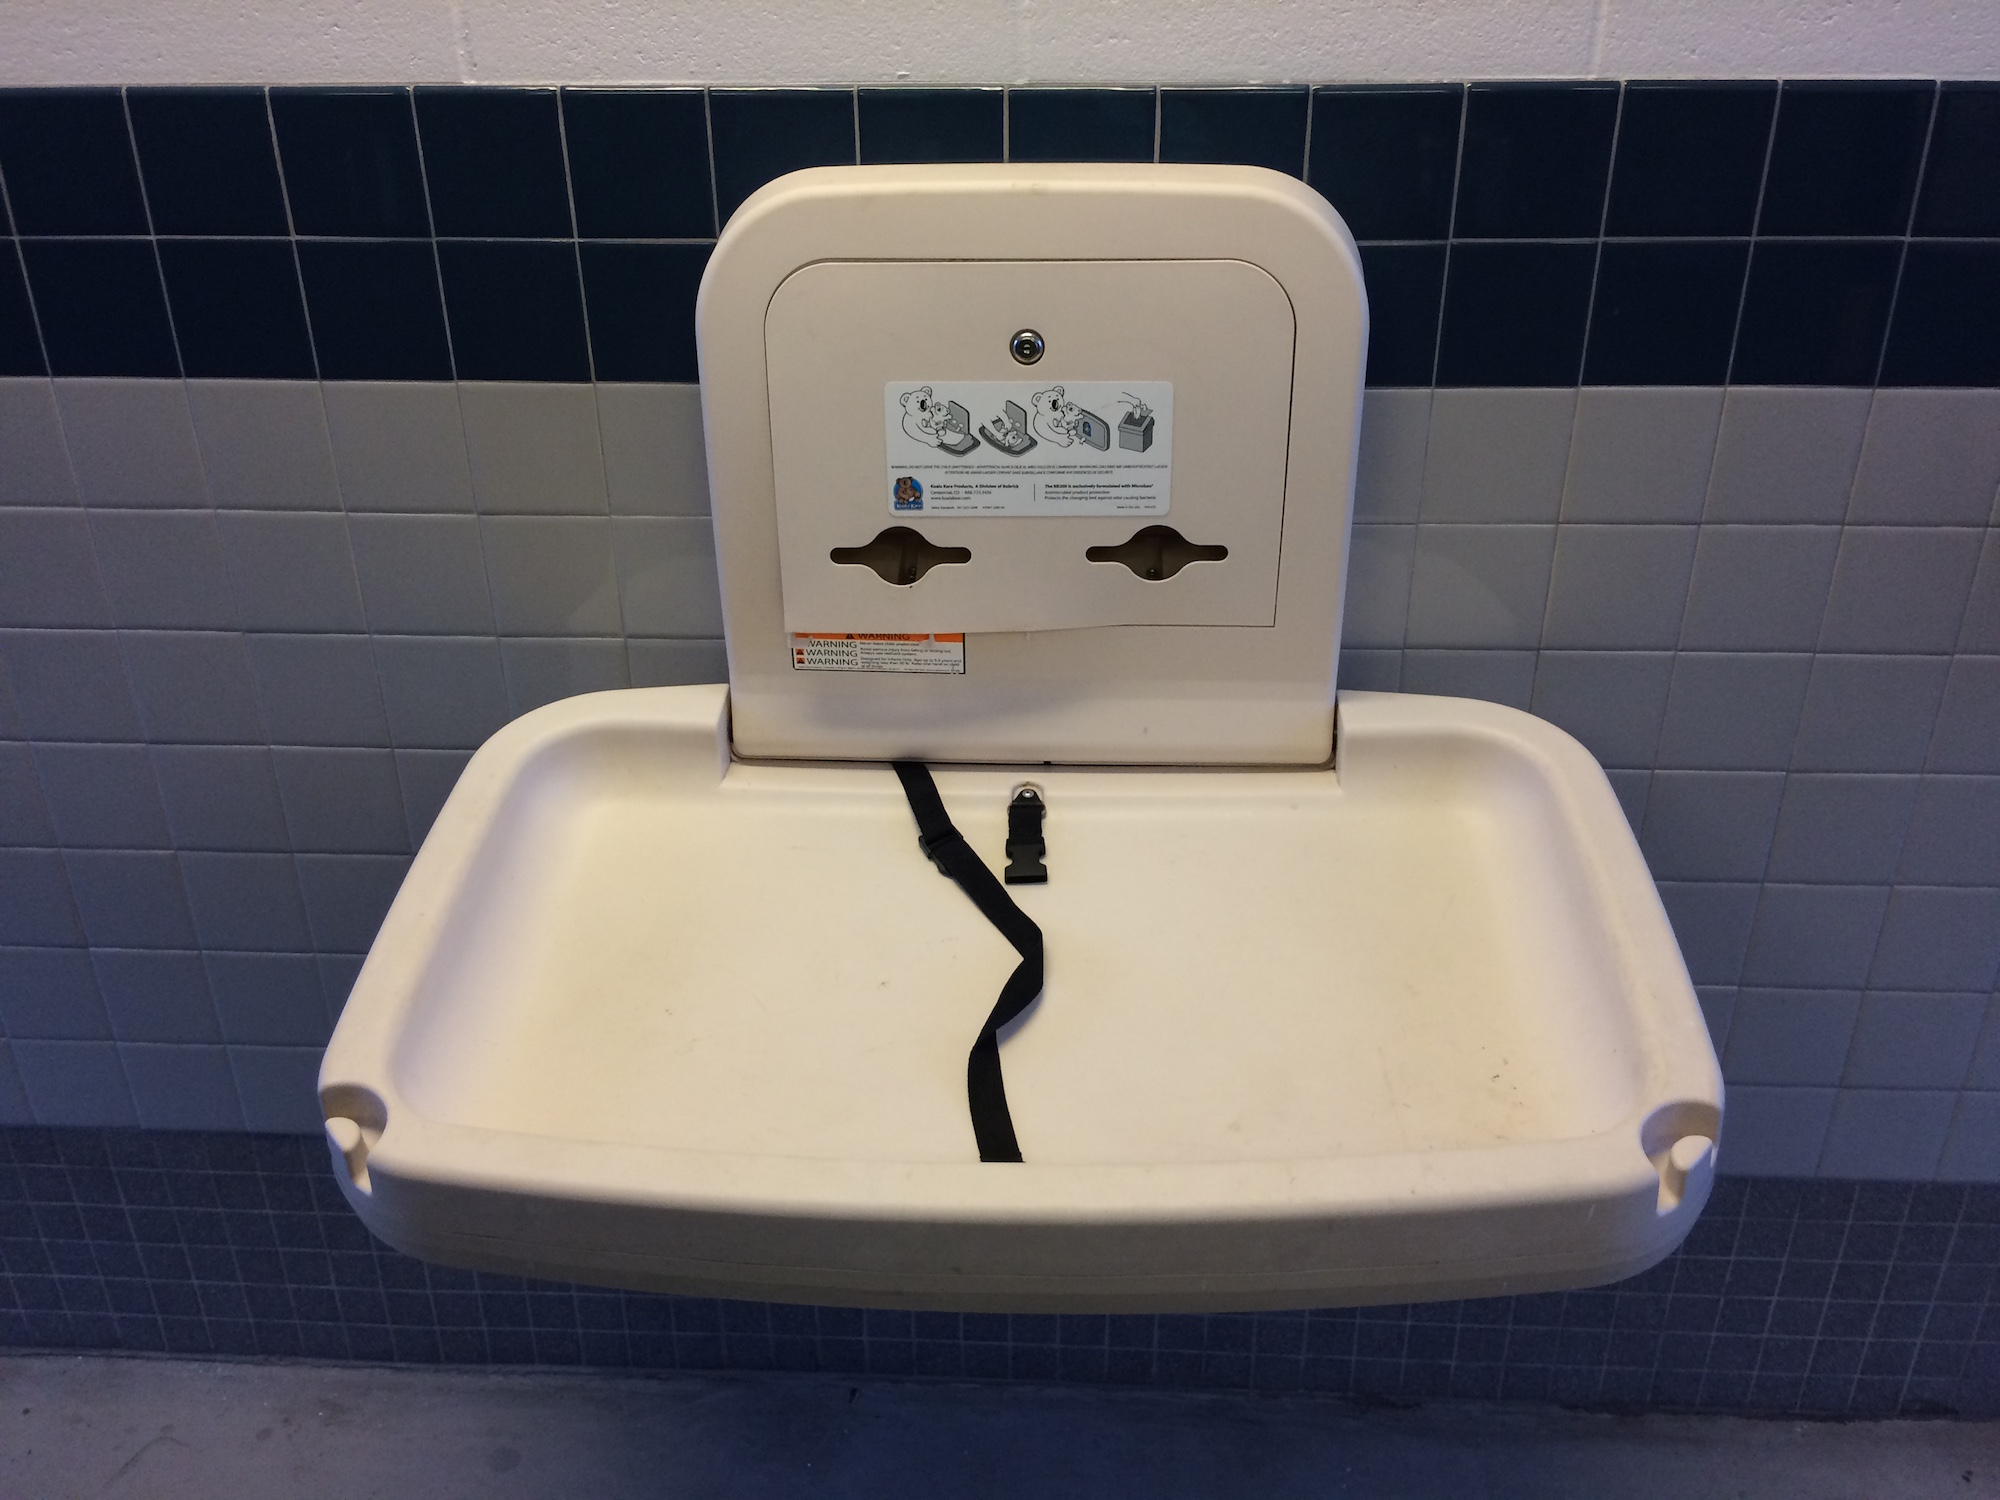
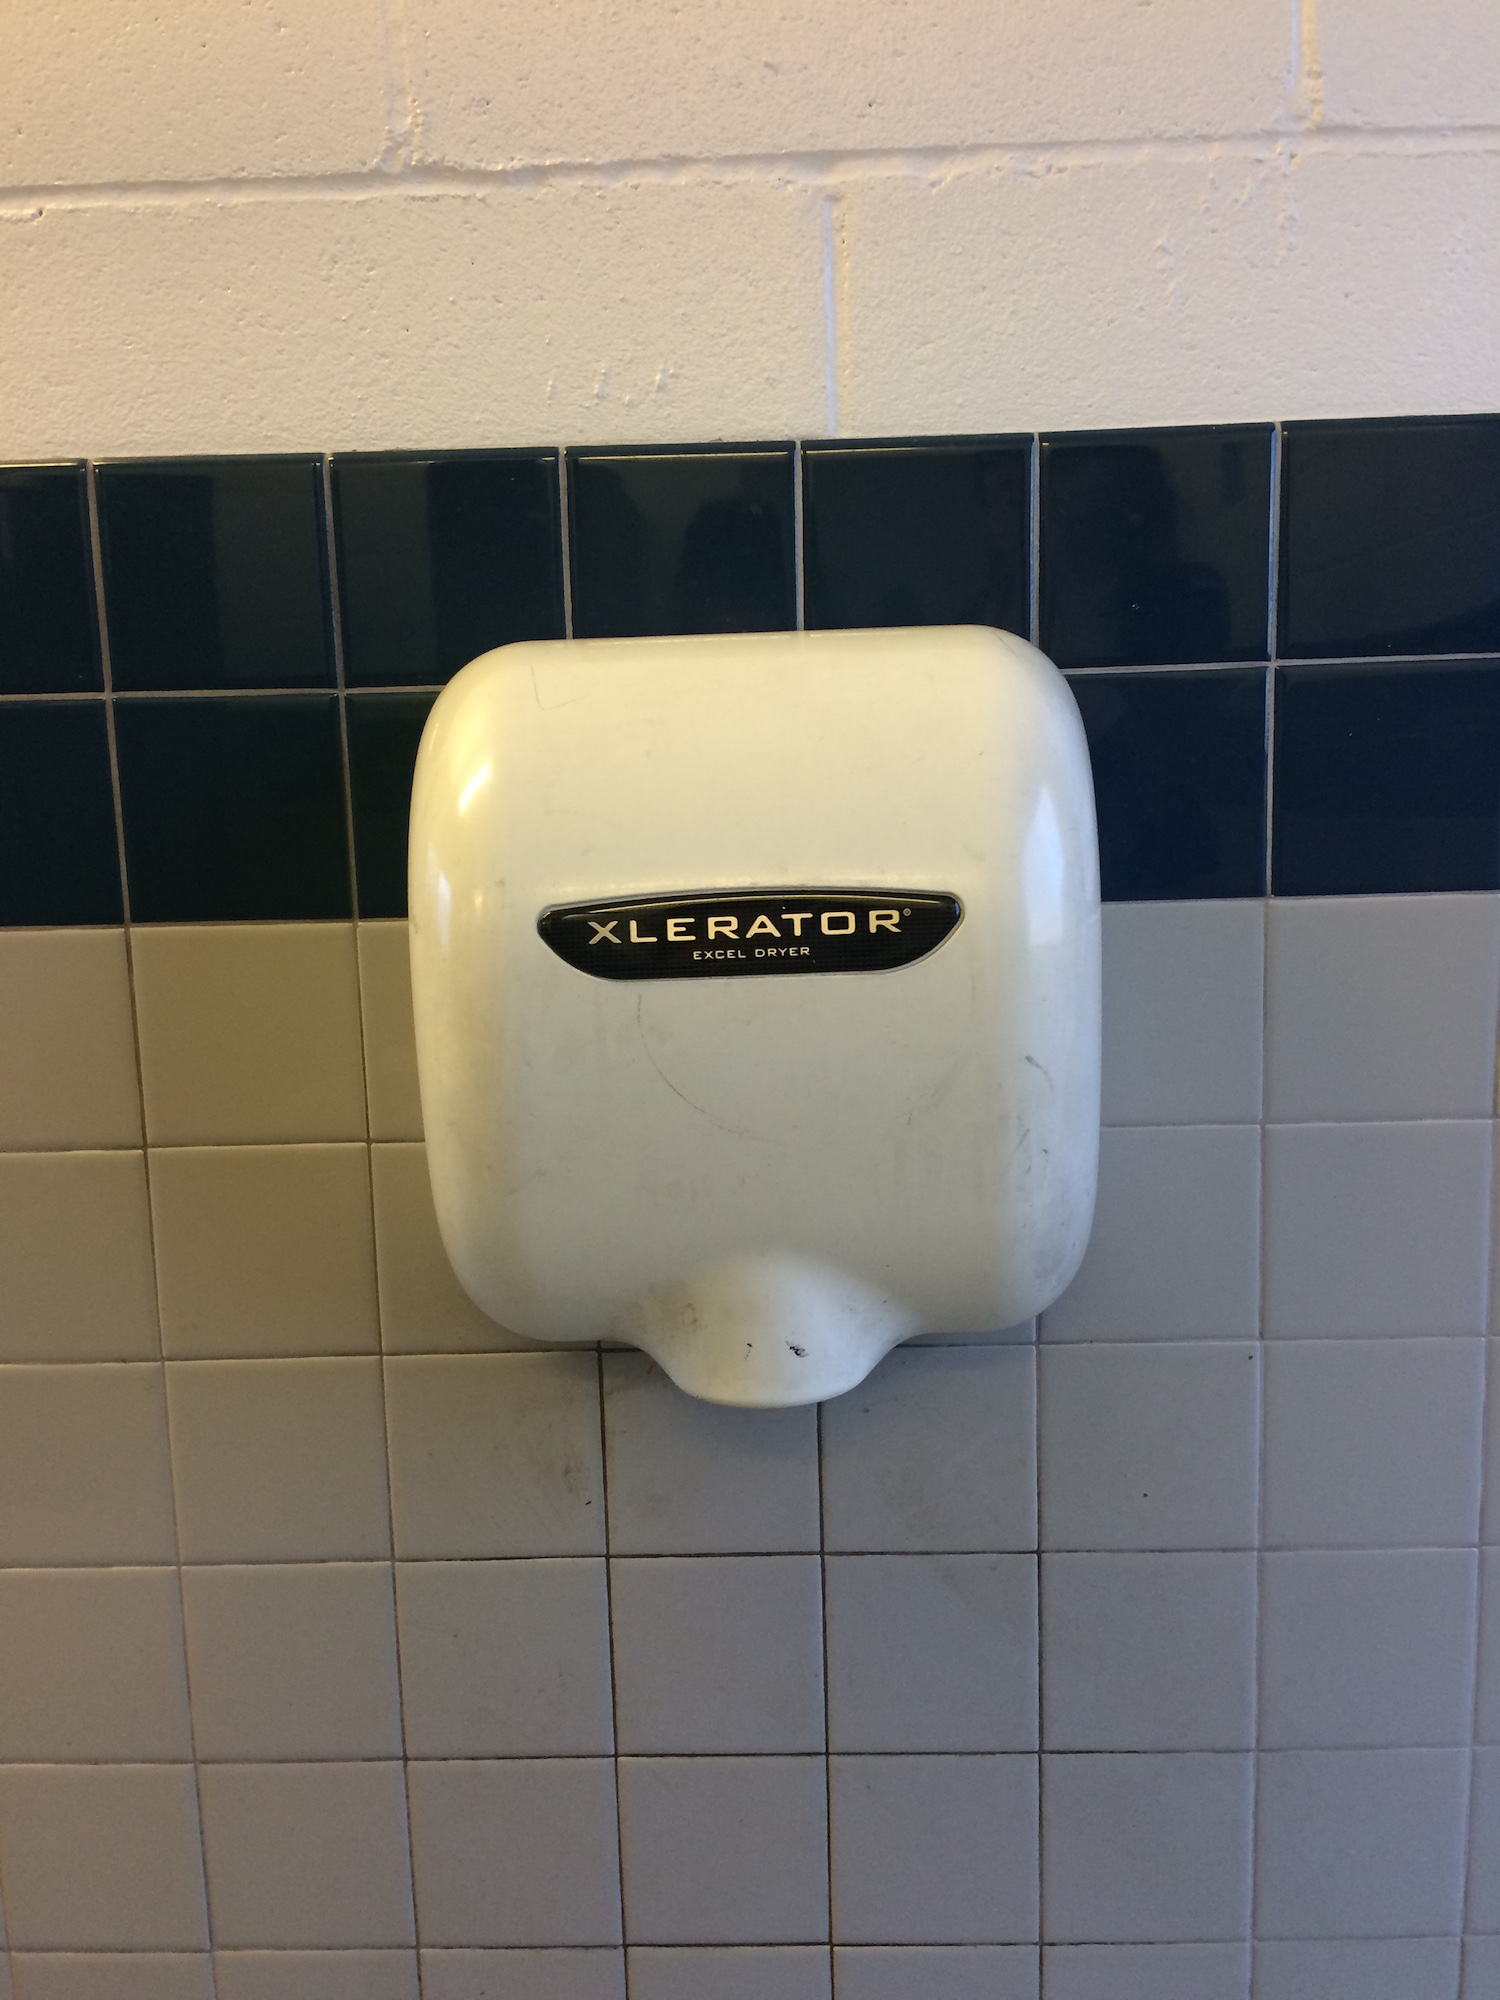
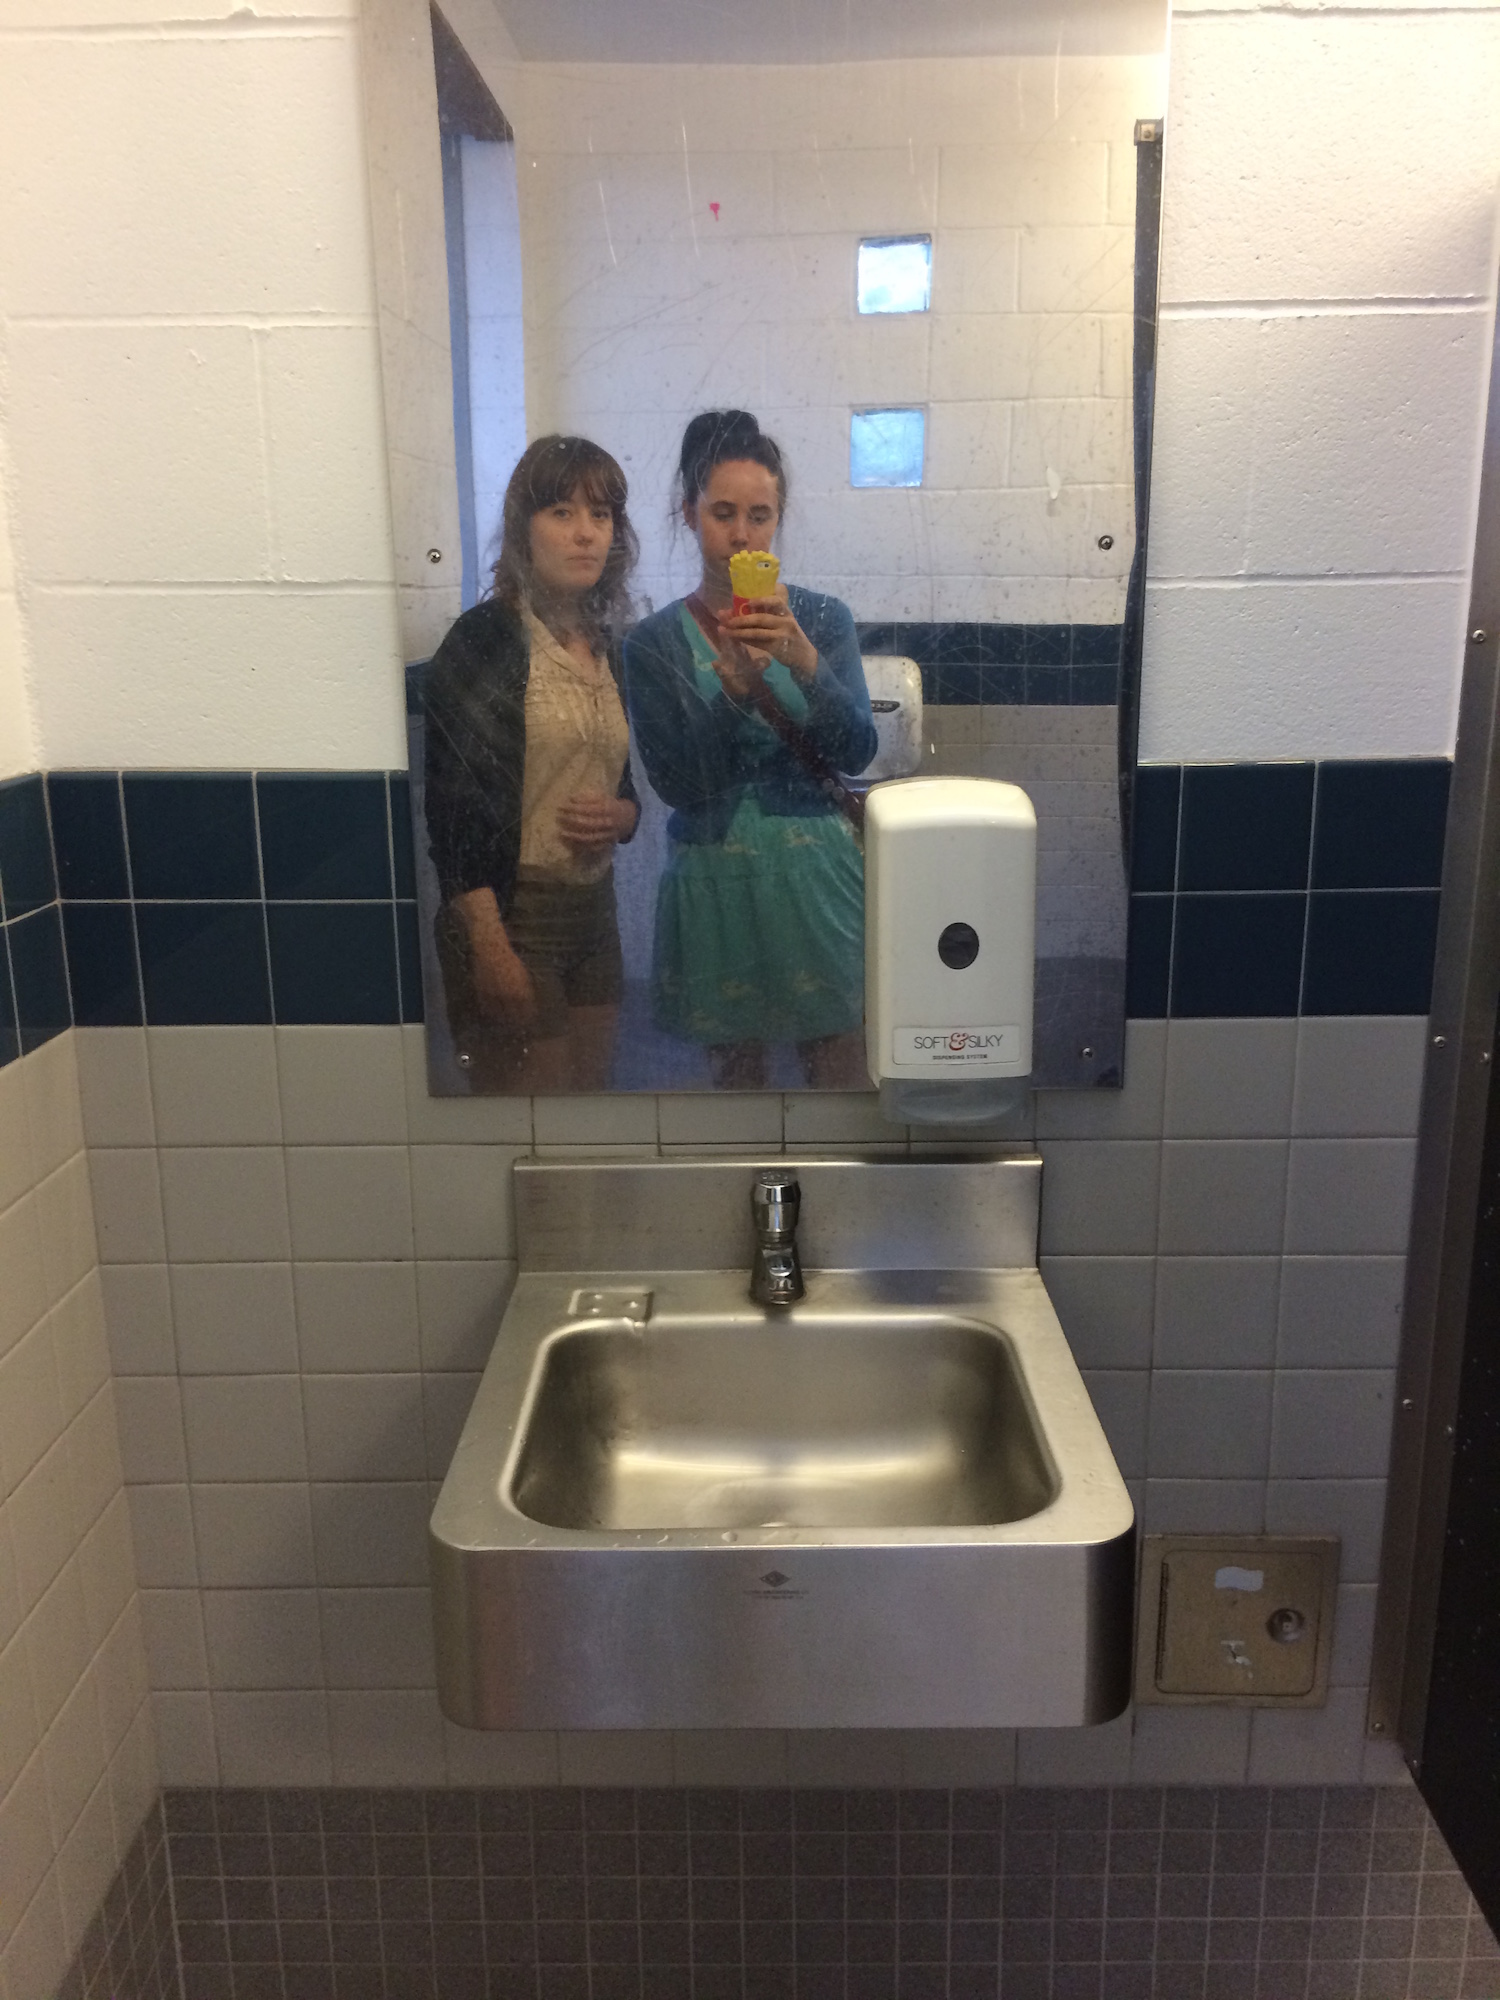
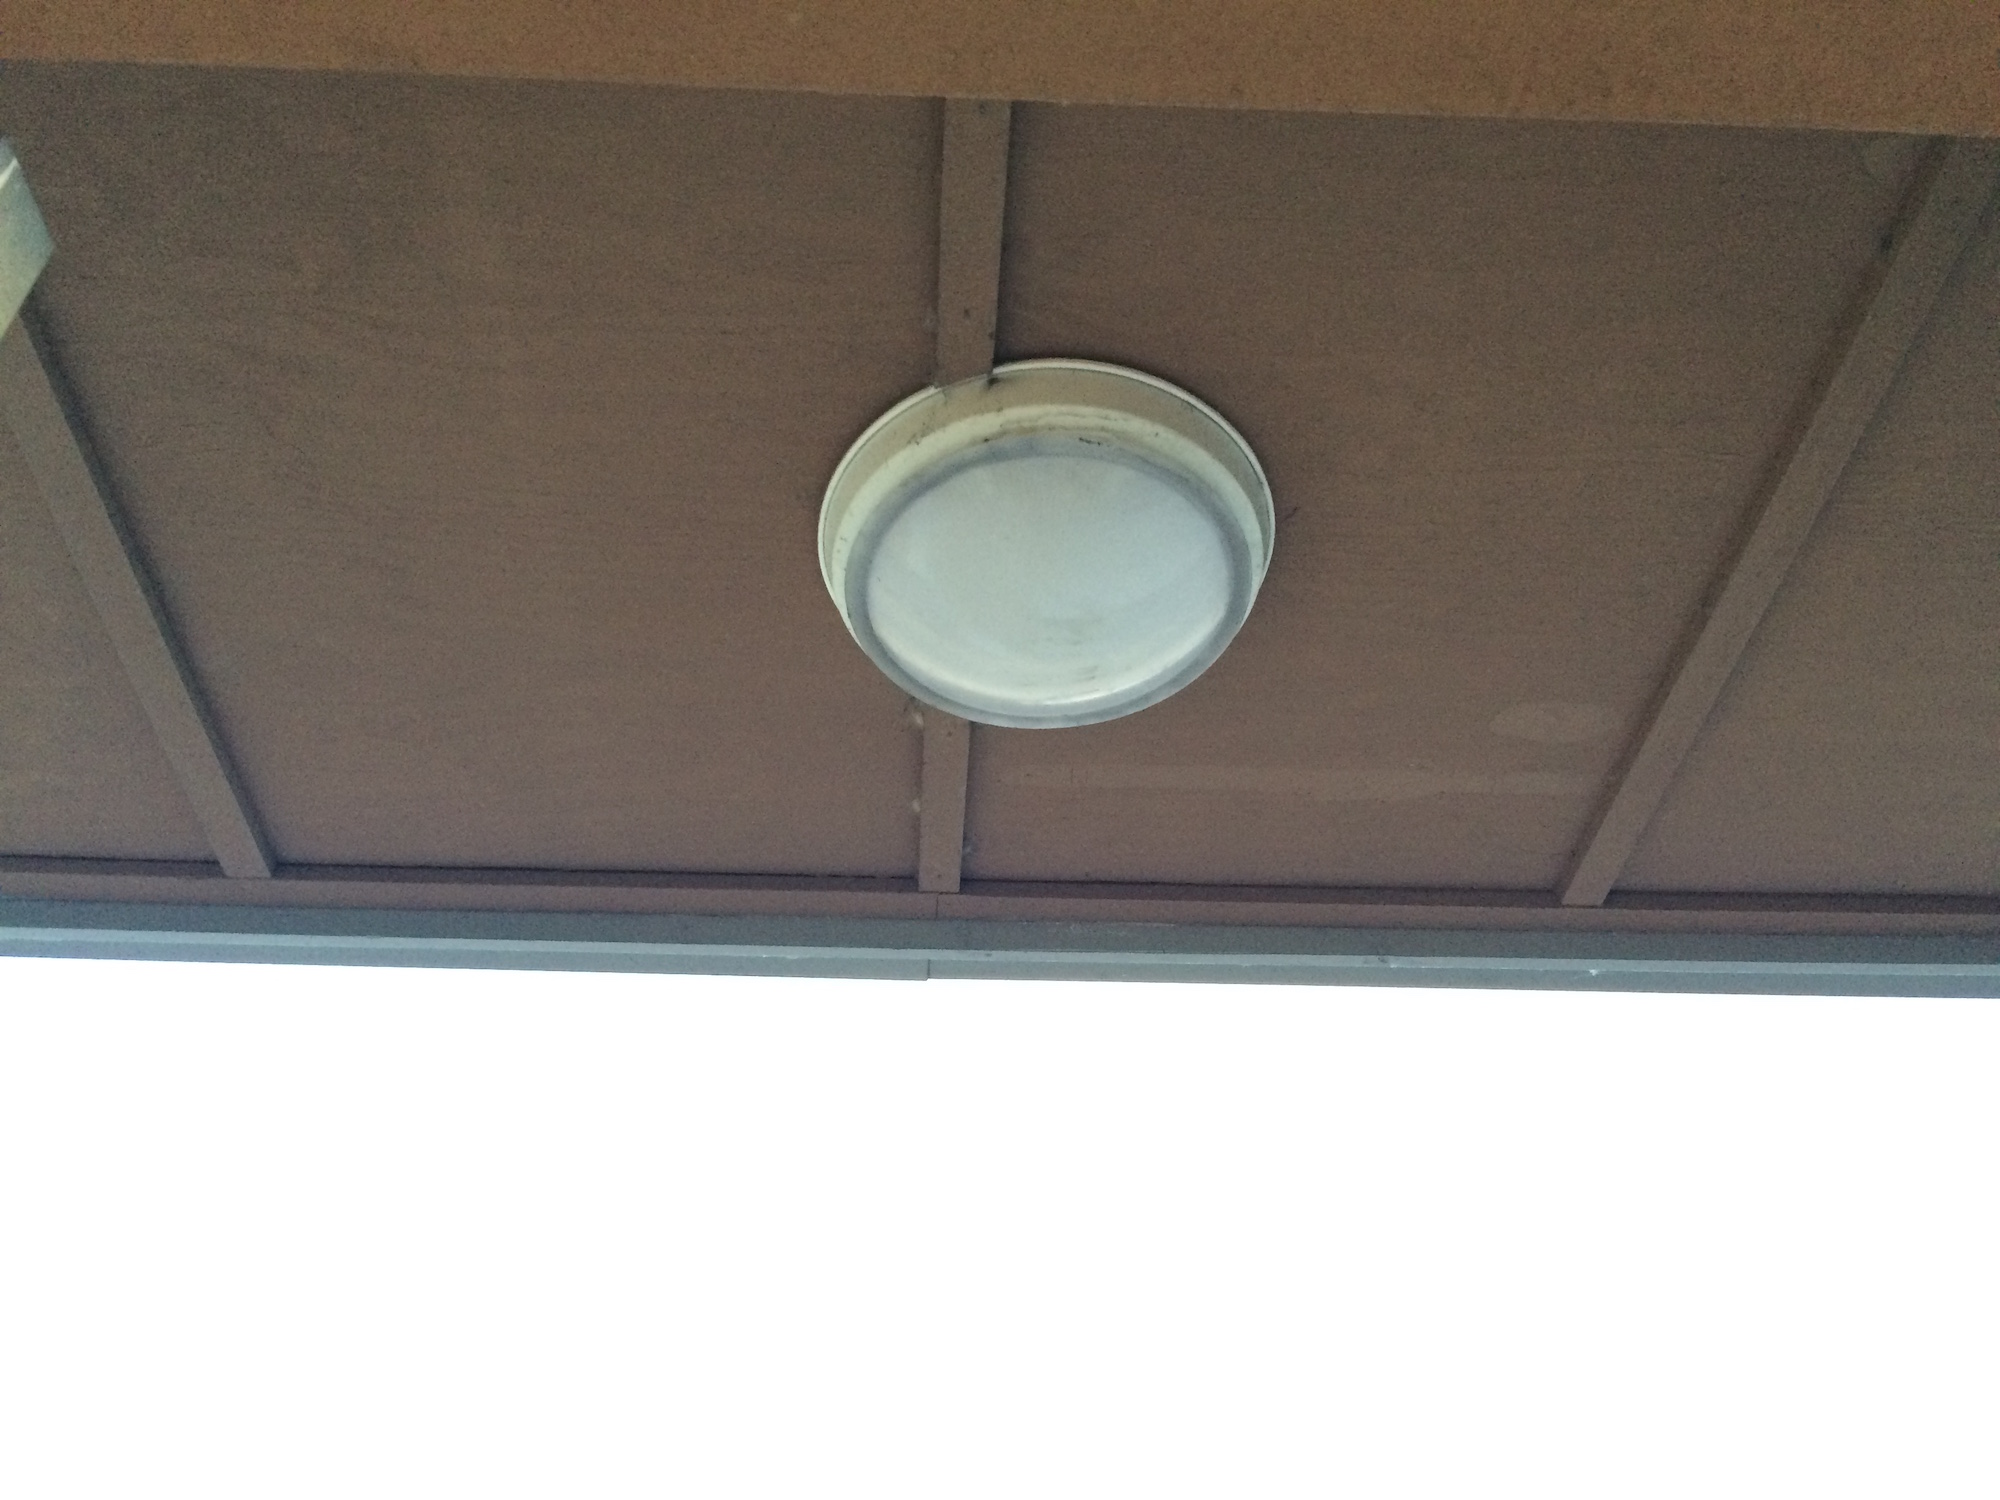
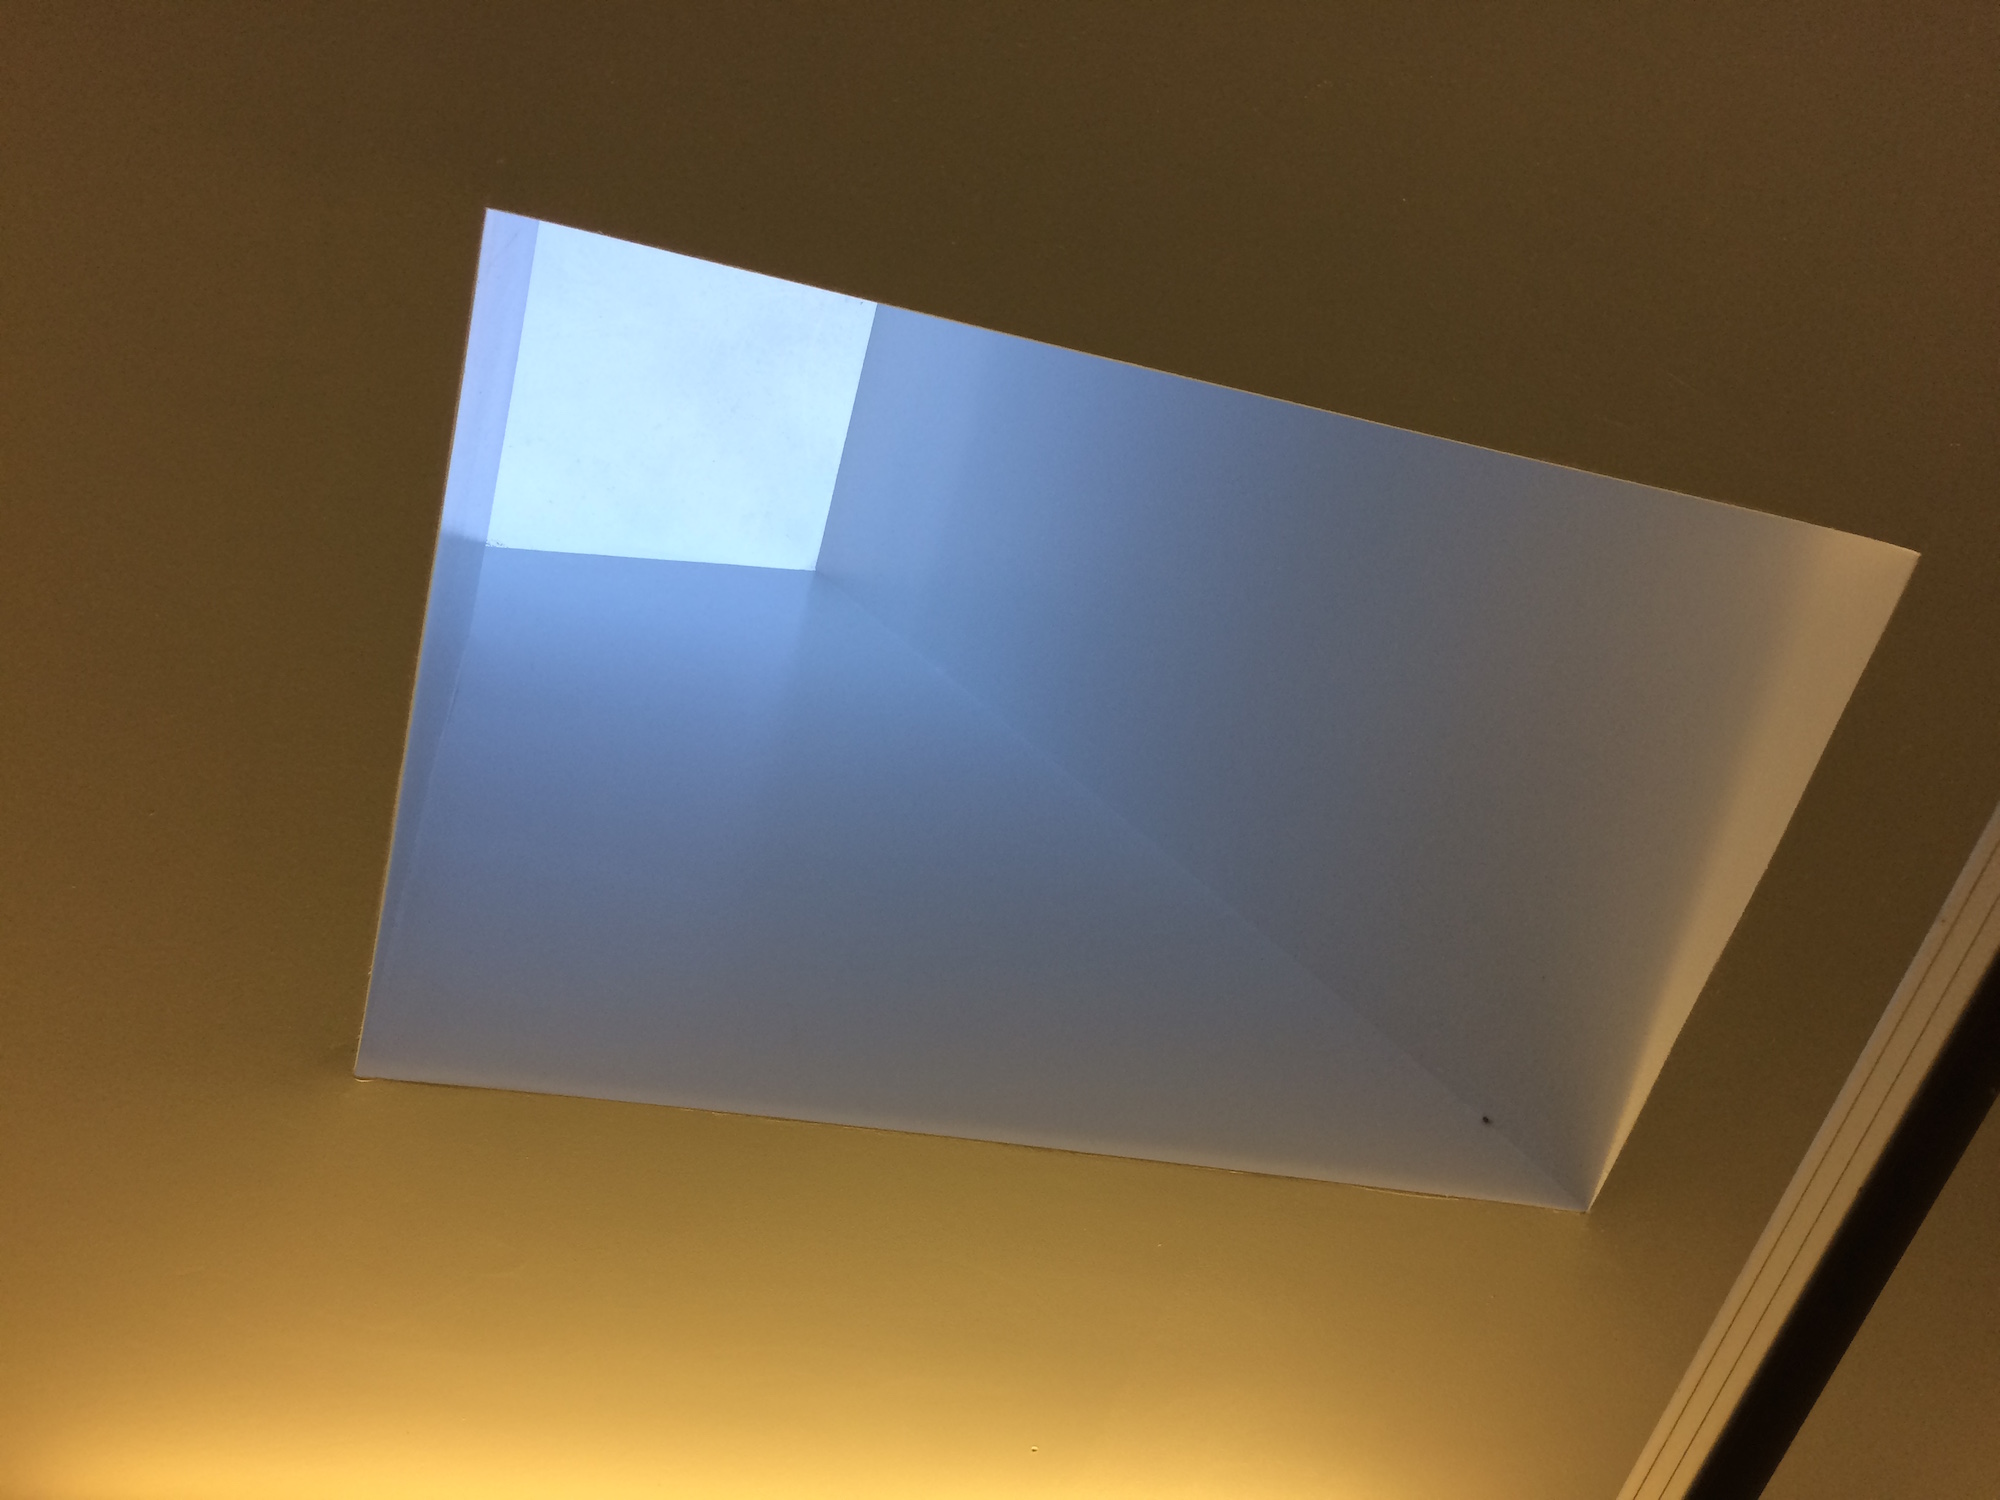
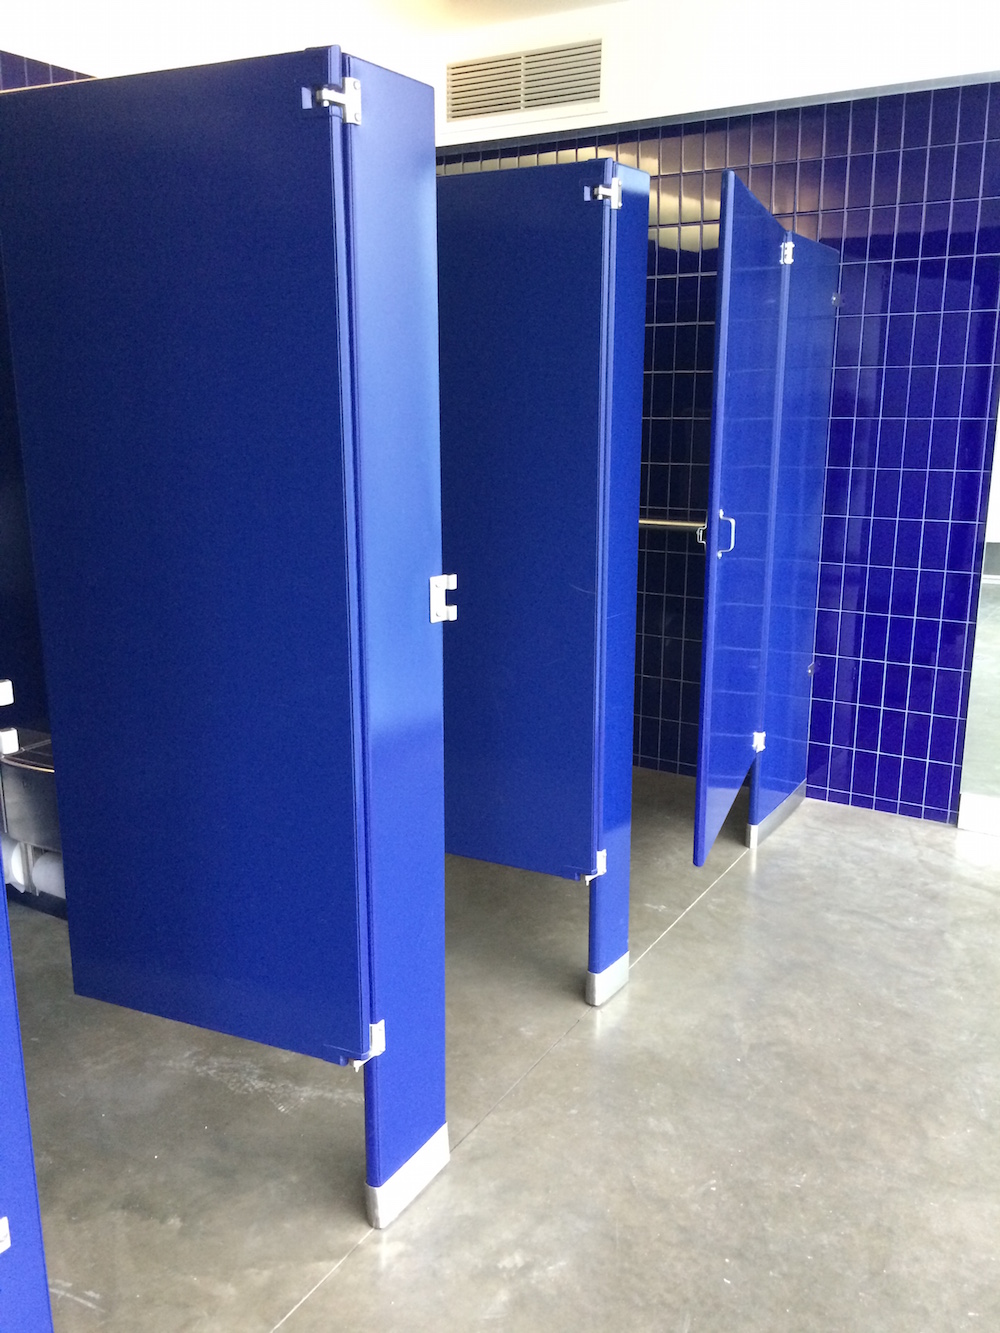
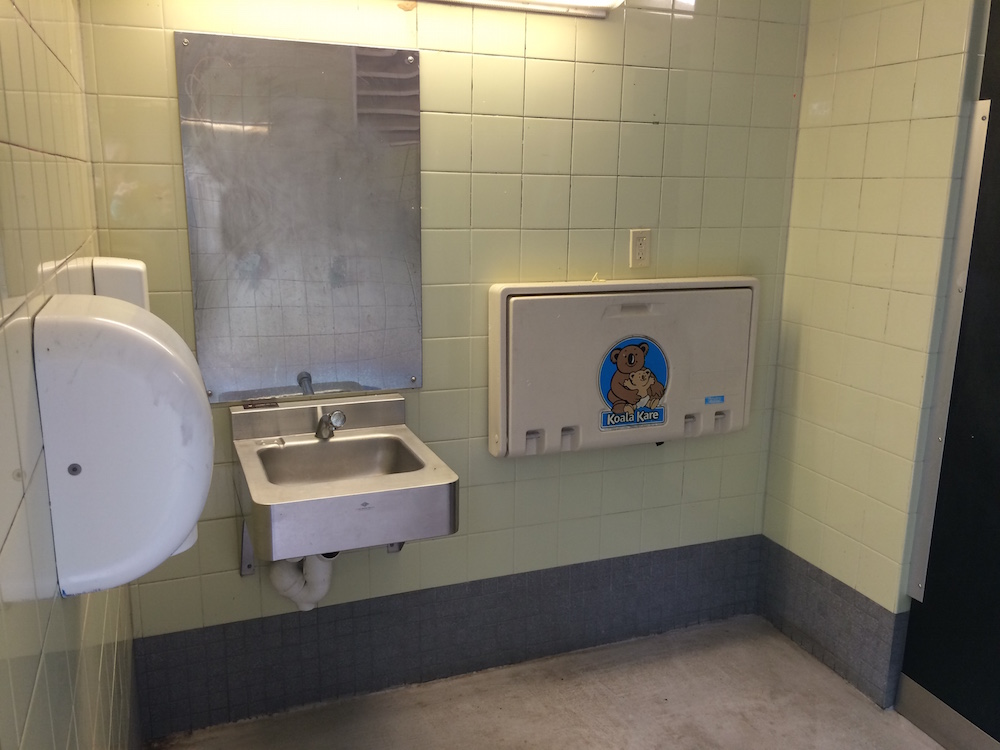
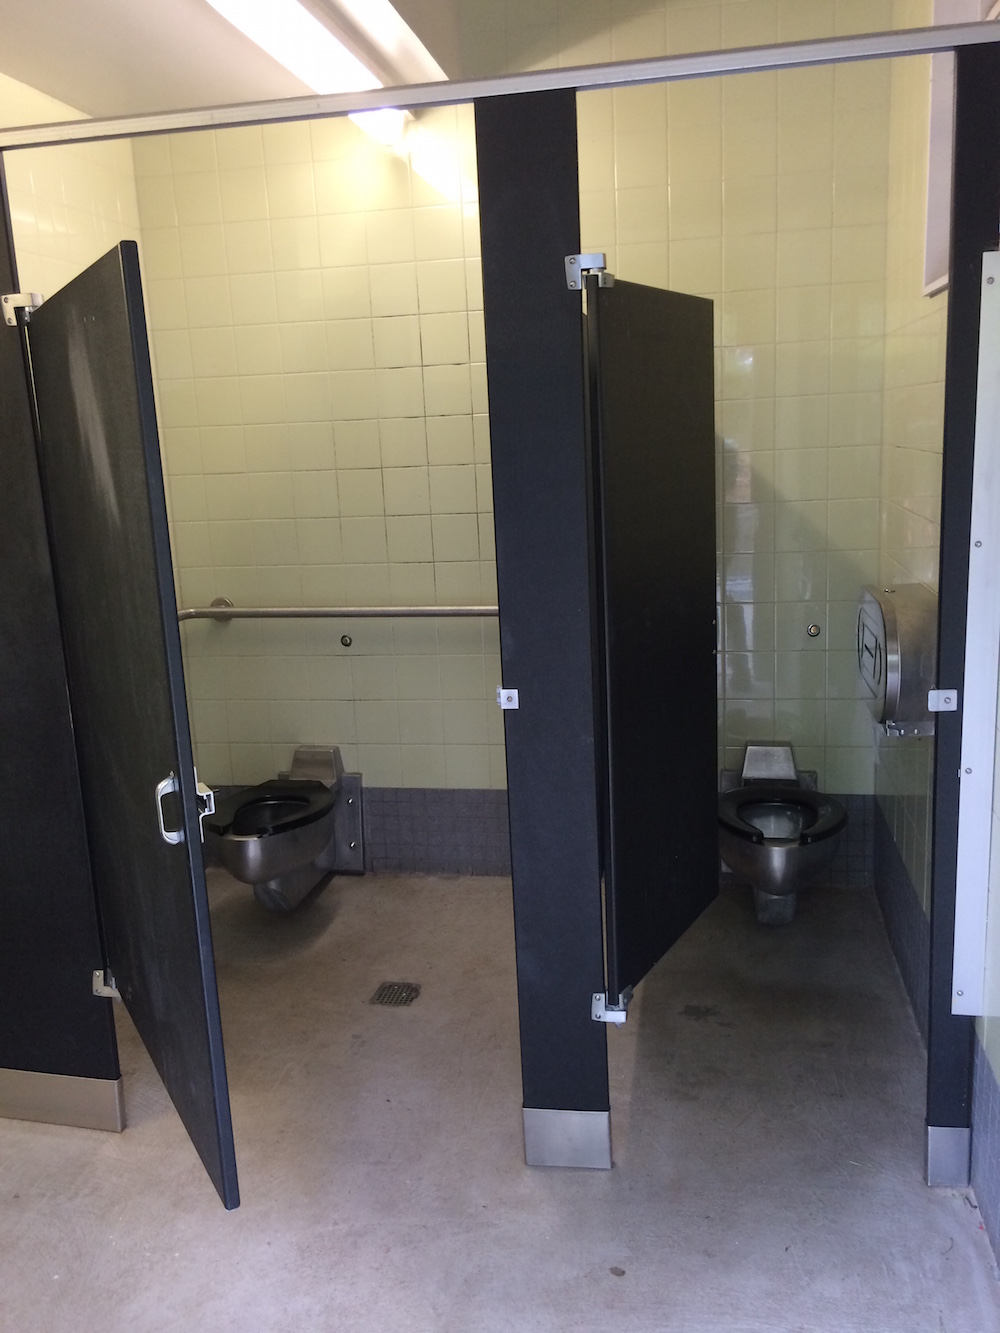
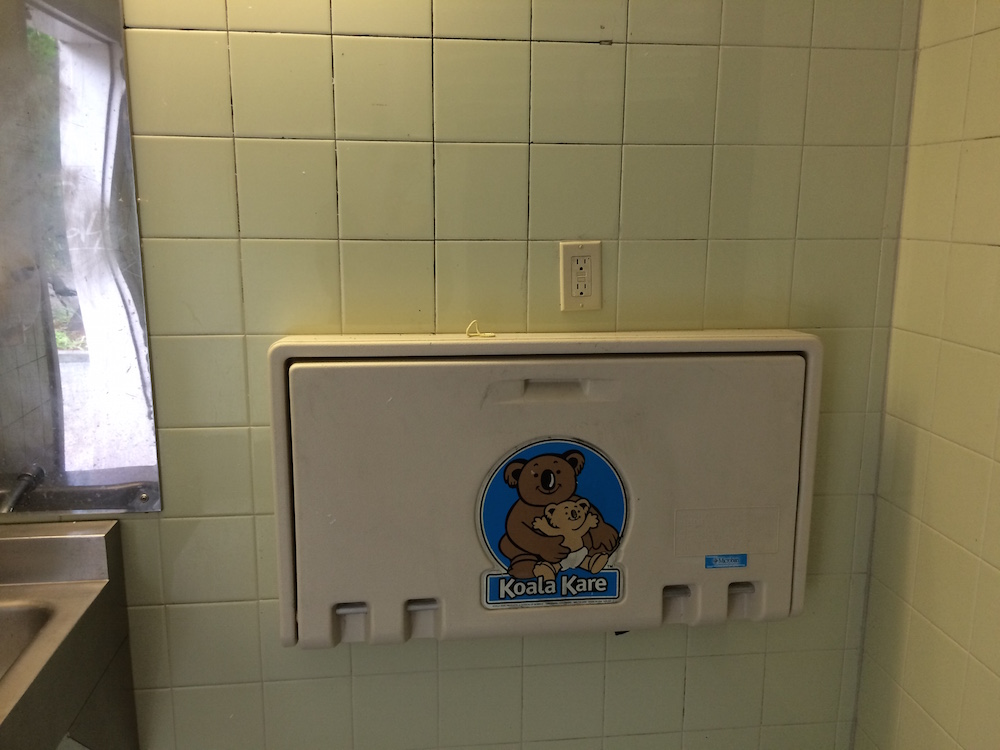
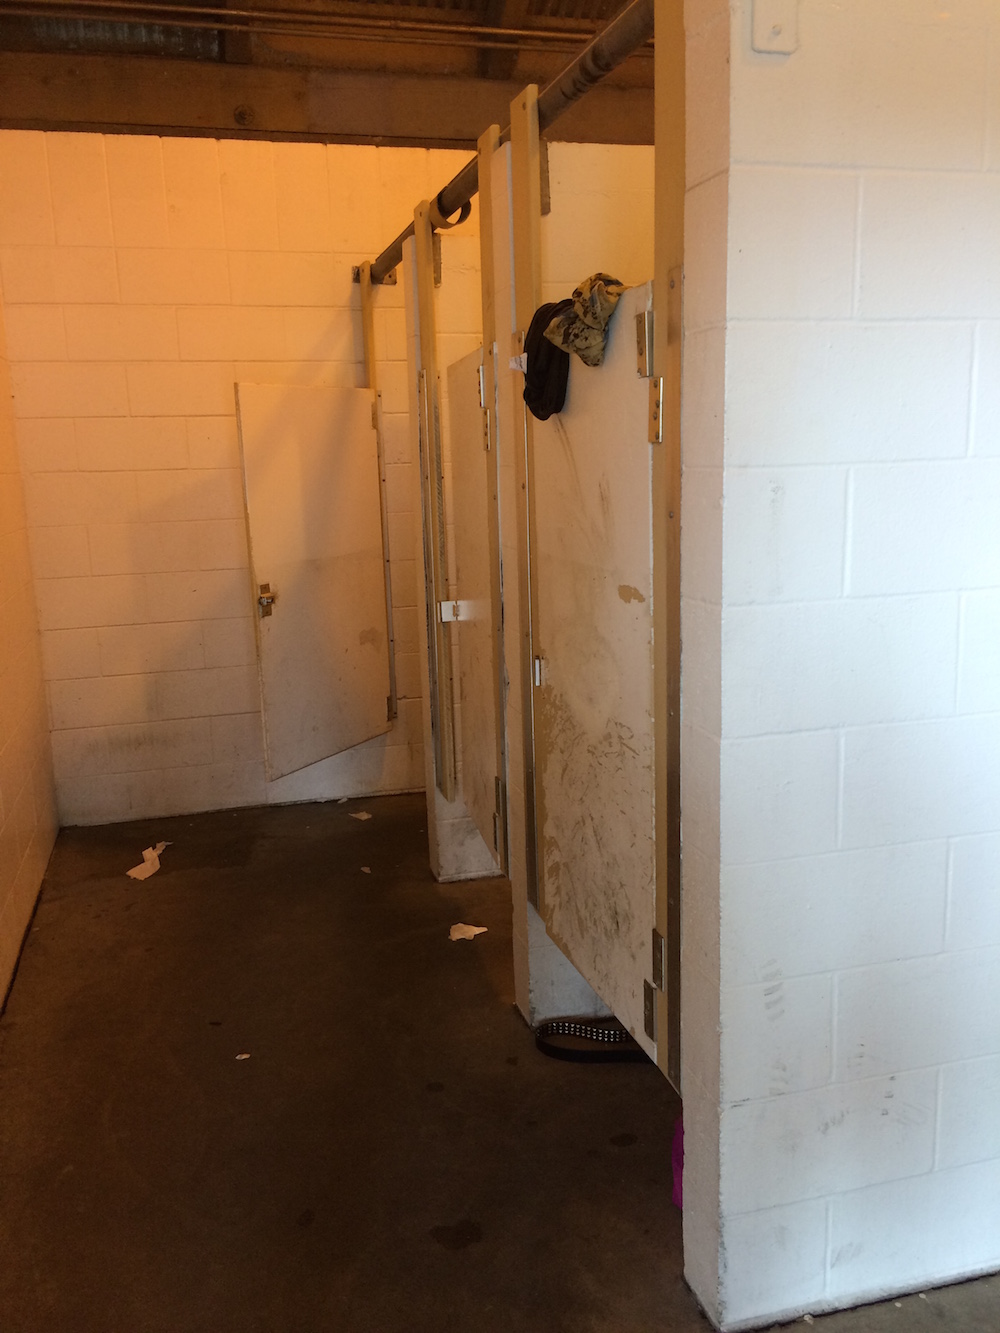
As we approached the building from the west side of the park, we noticed it had the gate doors that we’d learned a bit in our meeting with the Lead Worker a couple of days before. We reflected on how the reasoning behind installing those verses the solid doors was a still unclear to us. We walked inside and quickly noticed an open baby changing table and a hand blower directly beside it. There were three or four stalls (one occupied during the time of observation), one sink, one soap dispenser, and one metal mirror (much clearer/less worn than the other ones we’ve seen [we could actually see our reflection in this one — see very serious looking documentation photo]). Surprising to me was the amount of light in the bathroom: two skylights (most notability), overhead lights at each entrance, 6 or so textured glass bricks to the outside and rather normal looking lighting above the mirror and over the stalls to provide adequate coverage. Also notable was that there were two entrances into the bathroom, one from the west (where we entered) and one from the east (where we eventually exited). Both had the gated doors and overhead bulb lighting (not illuminated at the time of observation) mentioned before.
We walked through the east door and looked to the right where we saw a large trashcan and a small metal cover on the side of the concrete building. We opened the cover and found a spigot, presumably for a hose. In the same interview mentioned above, we learned that the restrooms a washed down daily with water from a hose so it made sense to use that it was there.

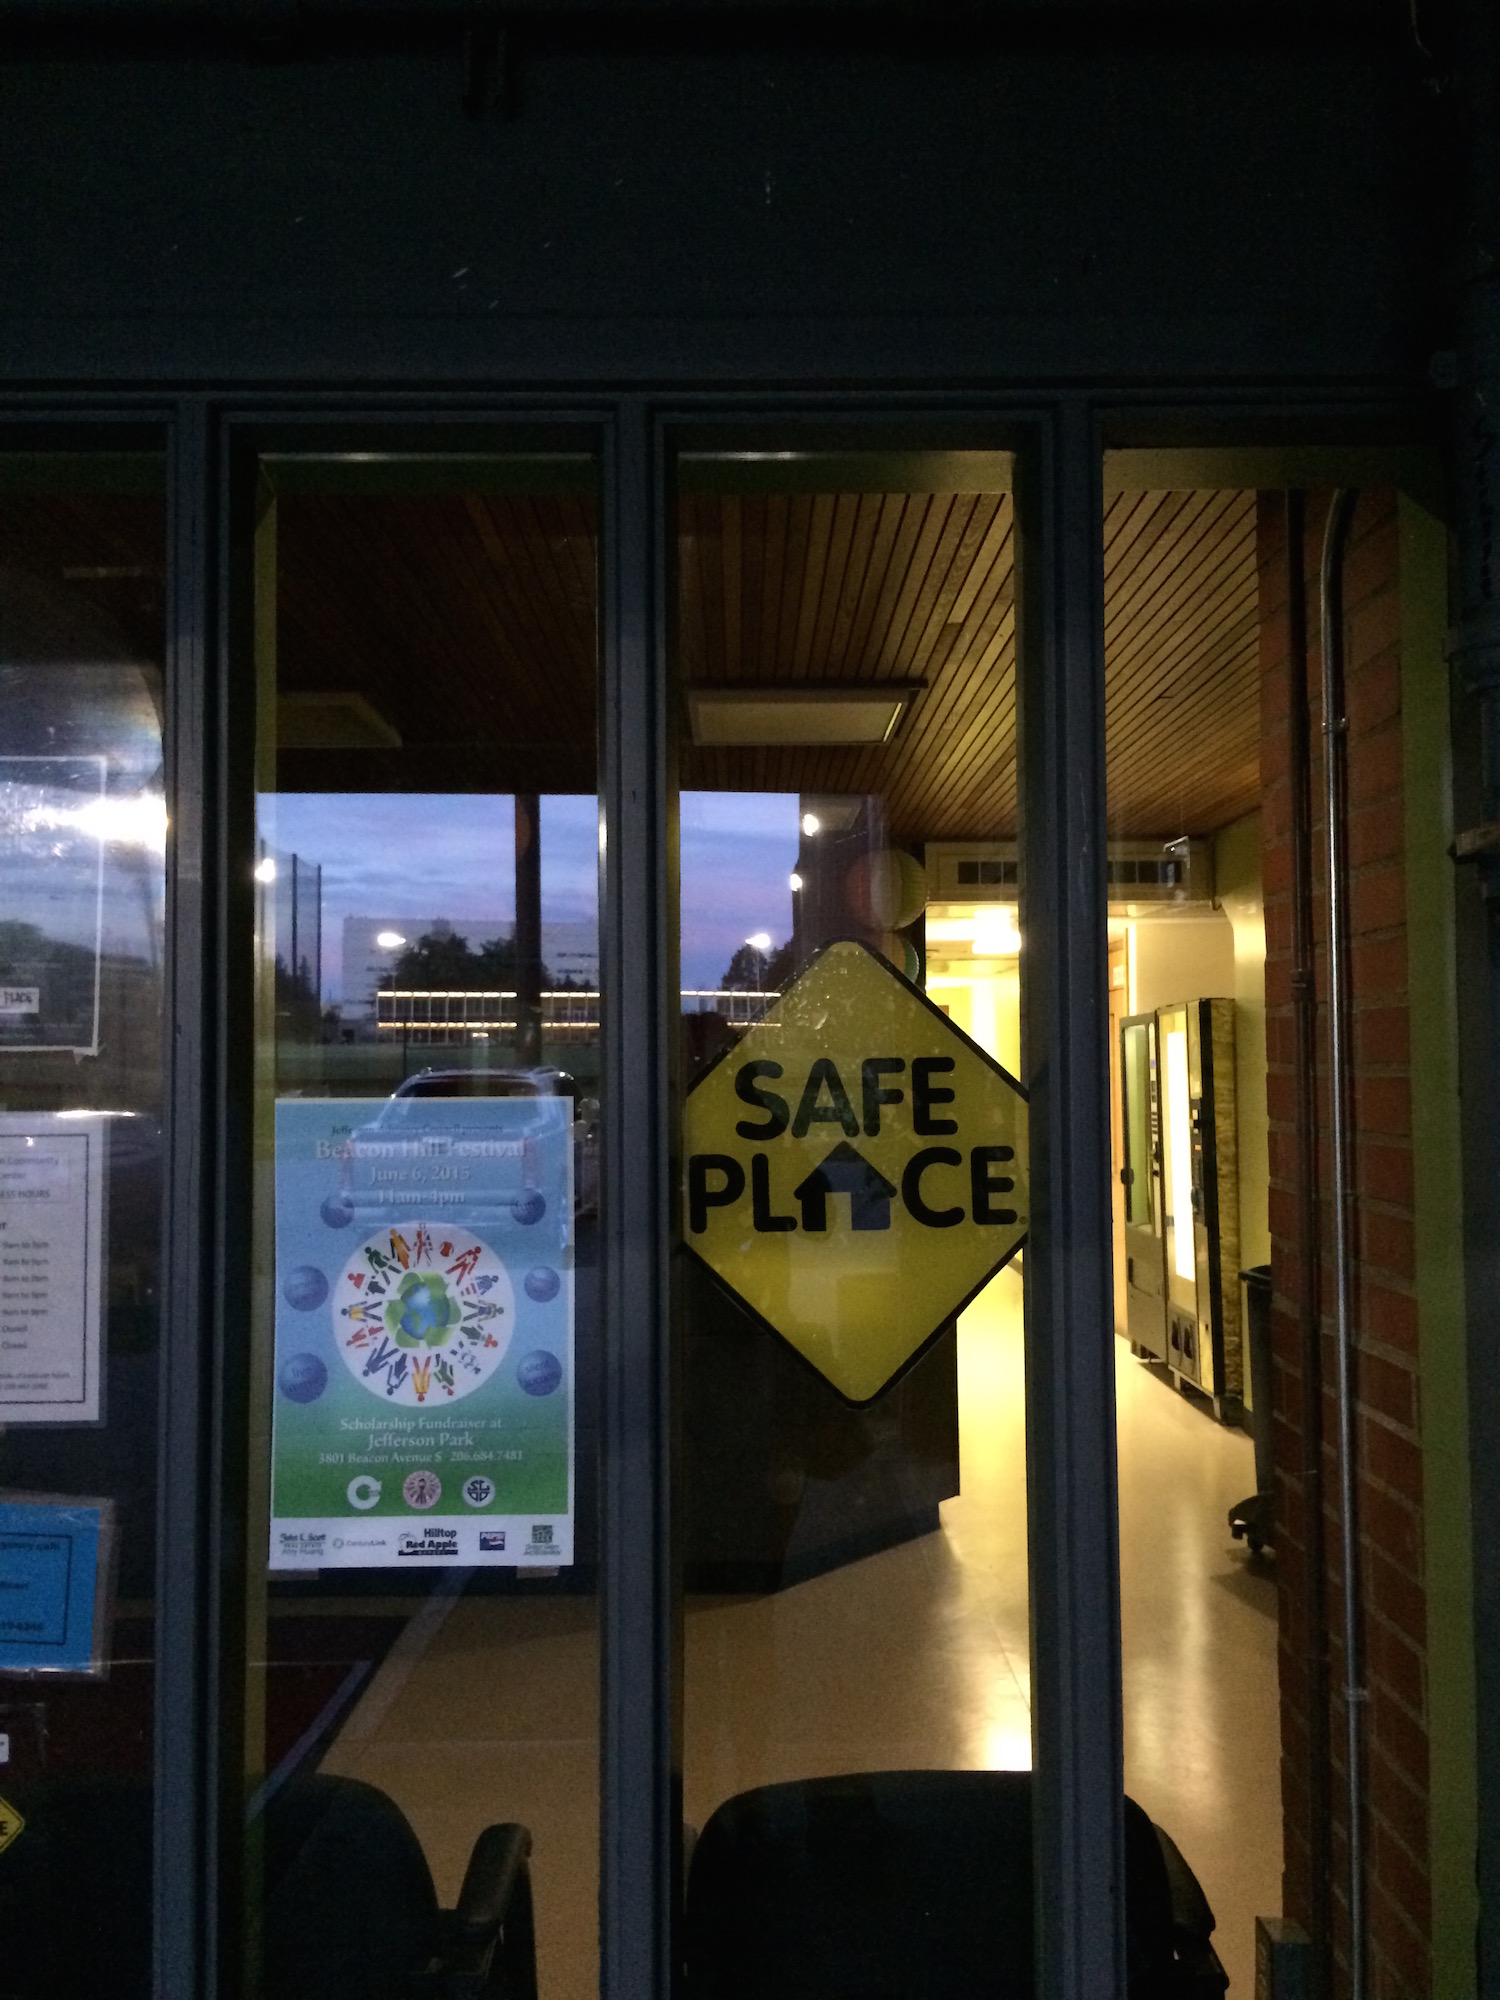
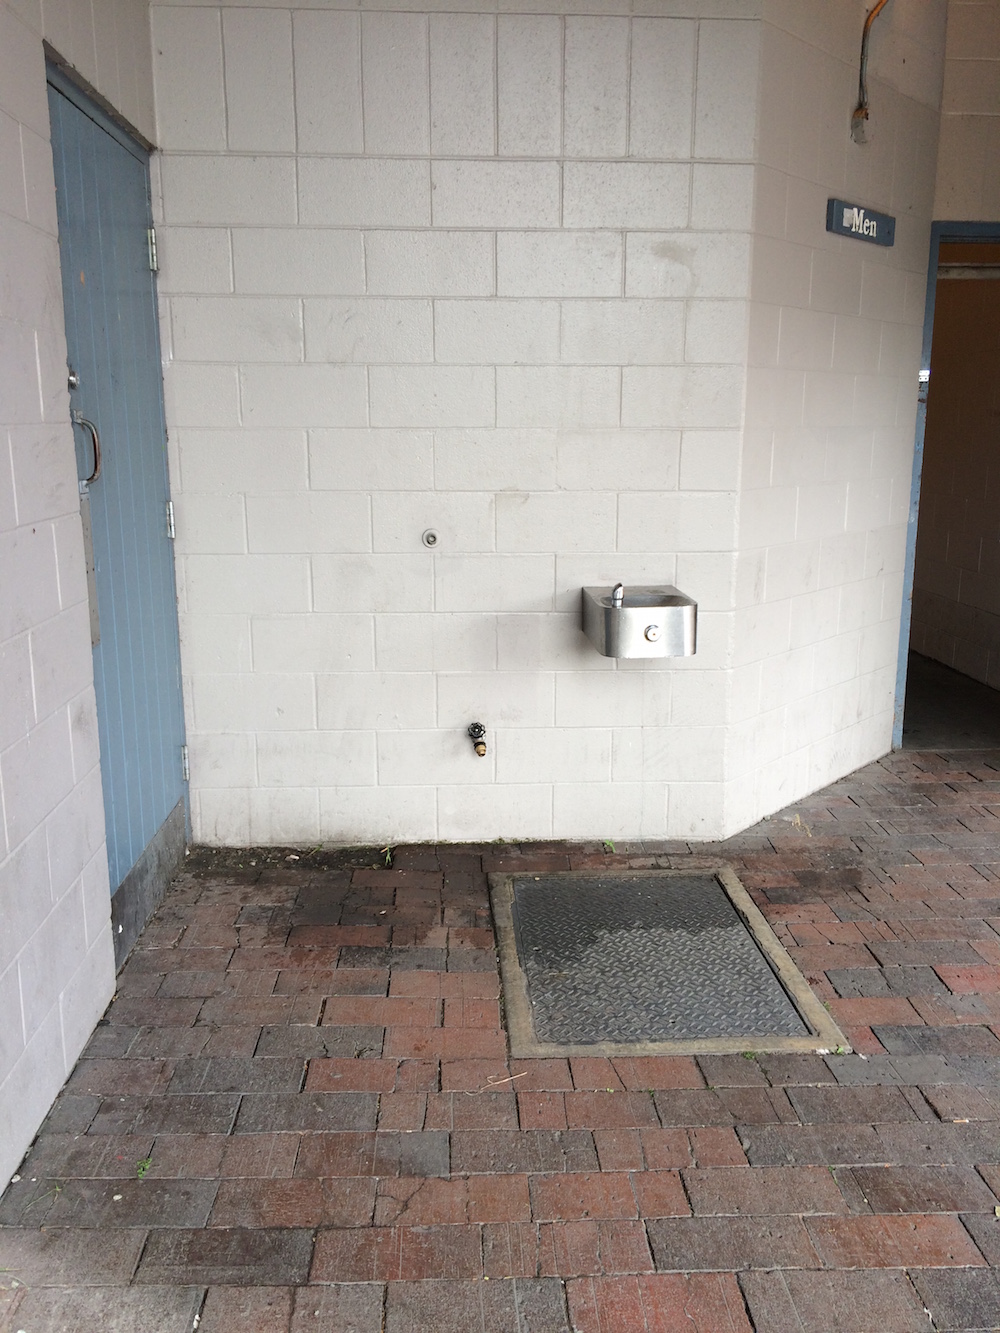
I had been to this park before and remembered a passerby talking about going to the restroom in the community center in the park. I suggested we walk by to see if the restrooms are accessible to the outside, like the ones we’d visited in Greenlake. As we made our way around the building, we found an electrical outlet near several raised beds. Along another side of the building, we found a water fountain. And cutting through the next two, we saw a large entrance to the building. Kiley walked up to the door and found that it’s closed on the weekend (she also noticed a “Safe Place” sign posted on the door). We figured we’d have to come back during the week to see if restrooms are open to the general public during the open hours. As we walked back to our friends on the east side of the building (near the basketball court), we found another spigot on the wall. I looked around for a door (hoping it might mean a bathroom), but didn’t find one.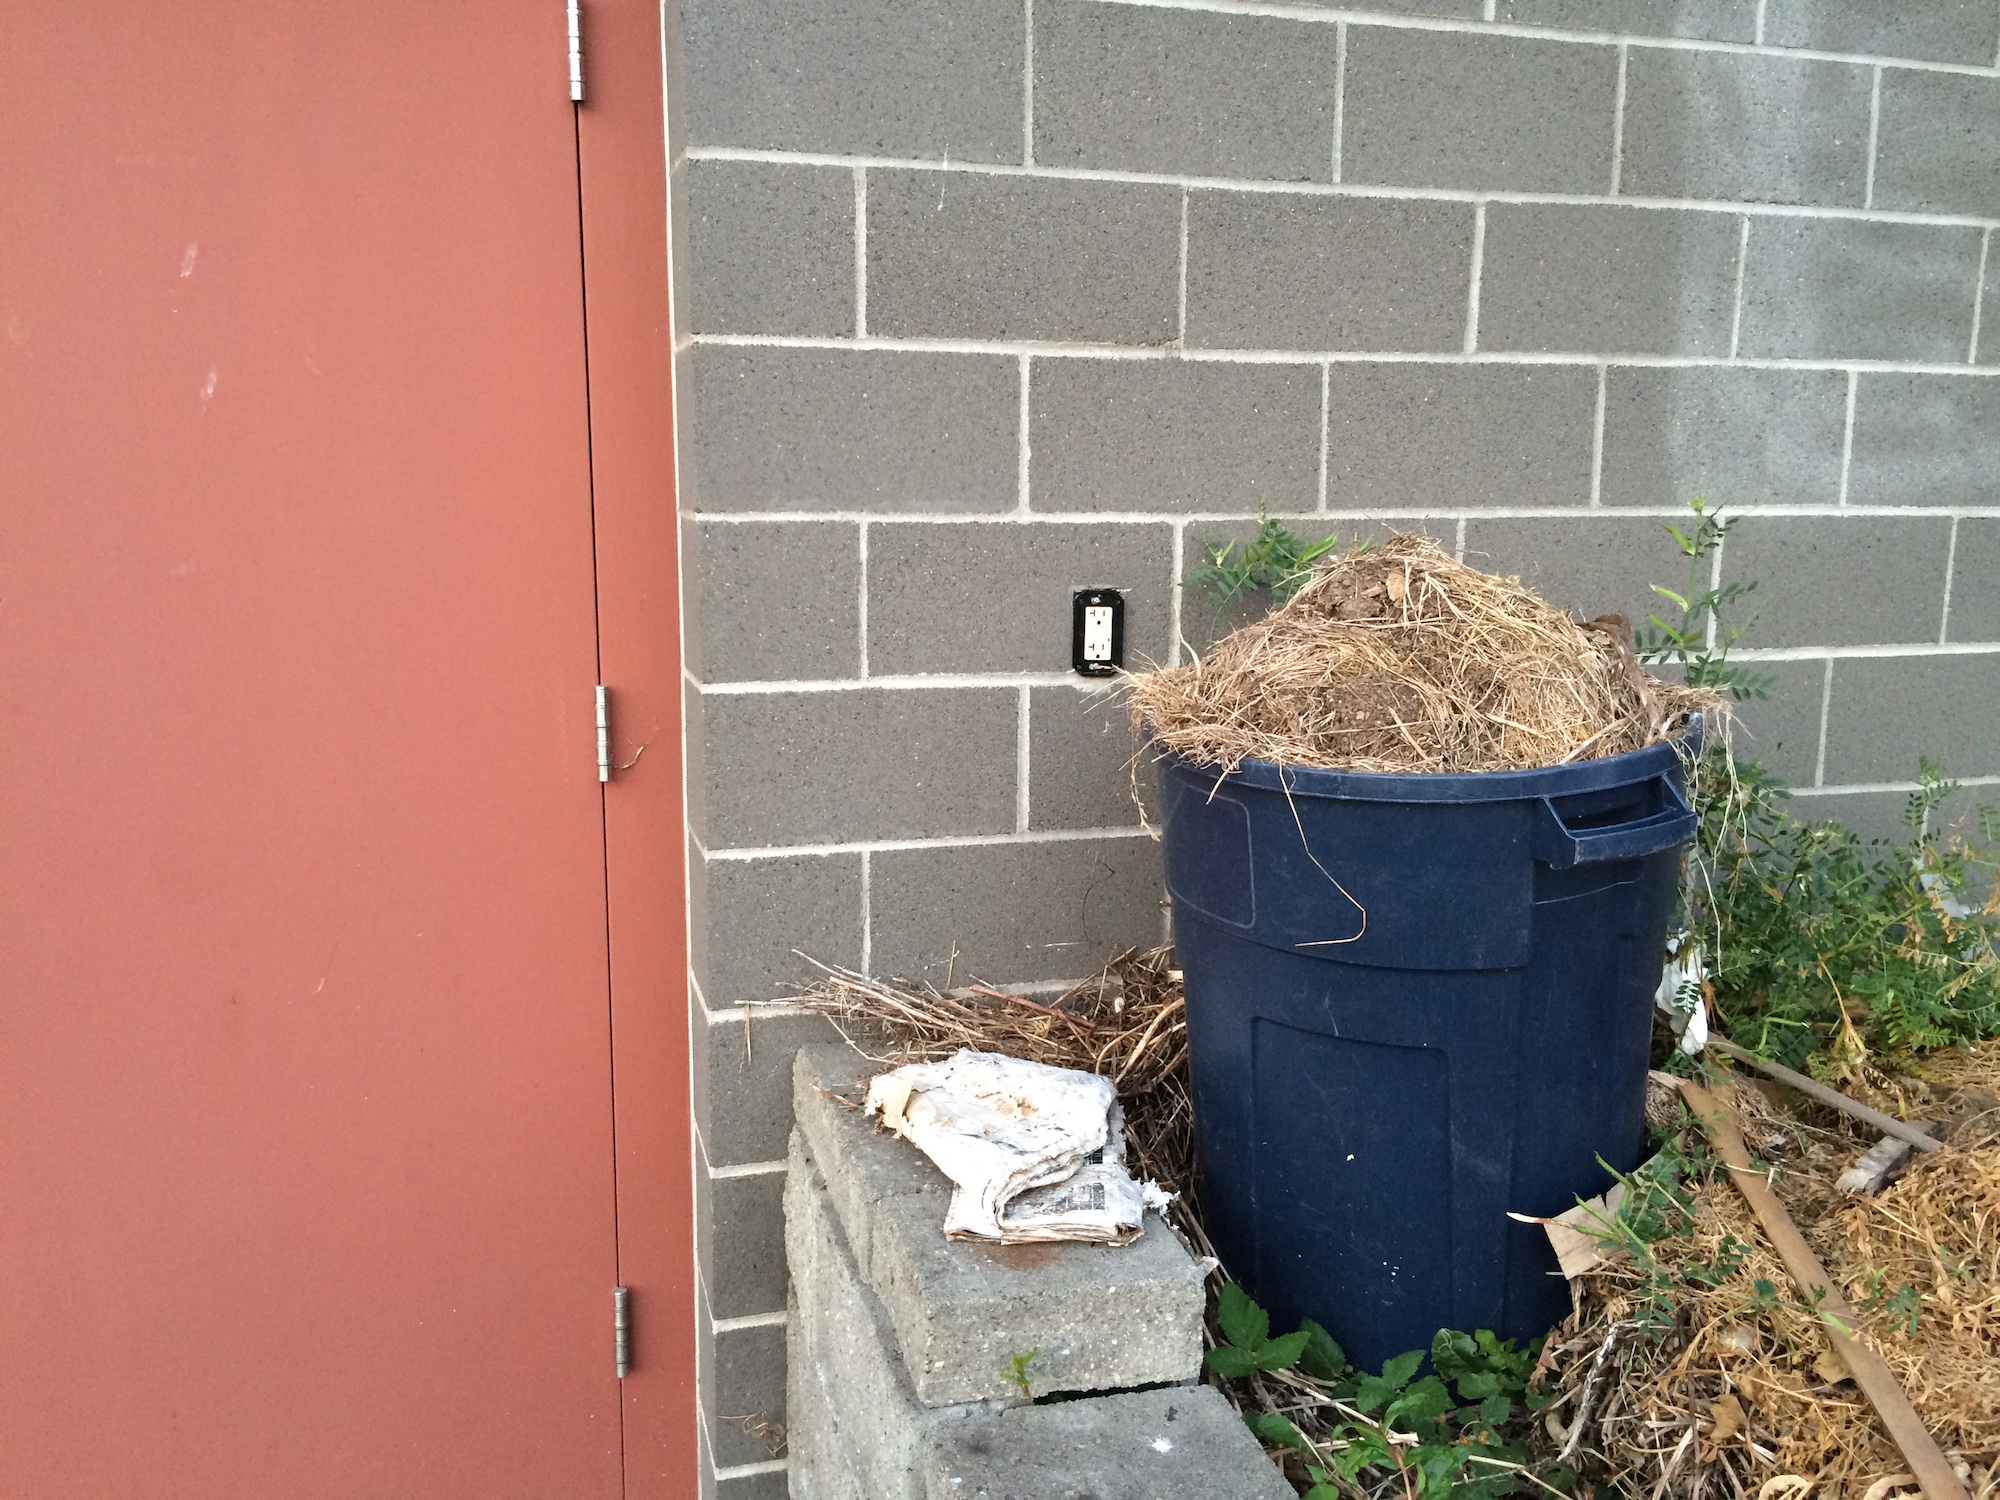


Seward Park
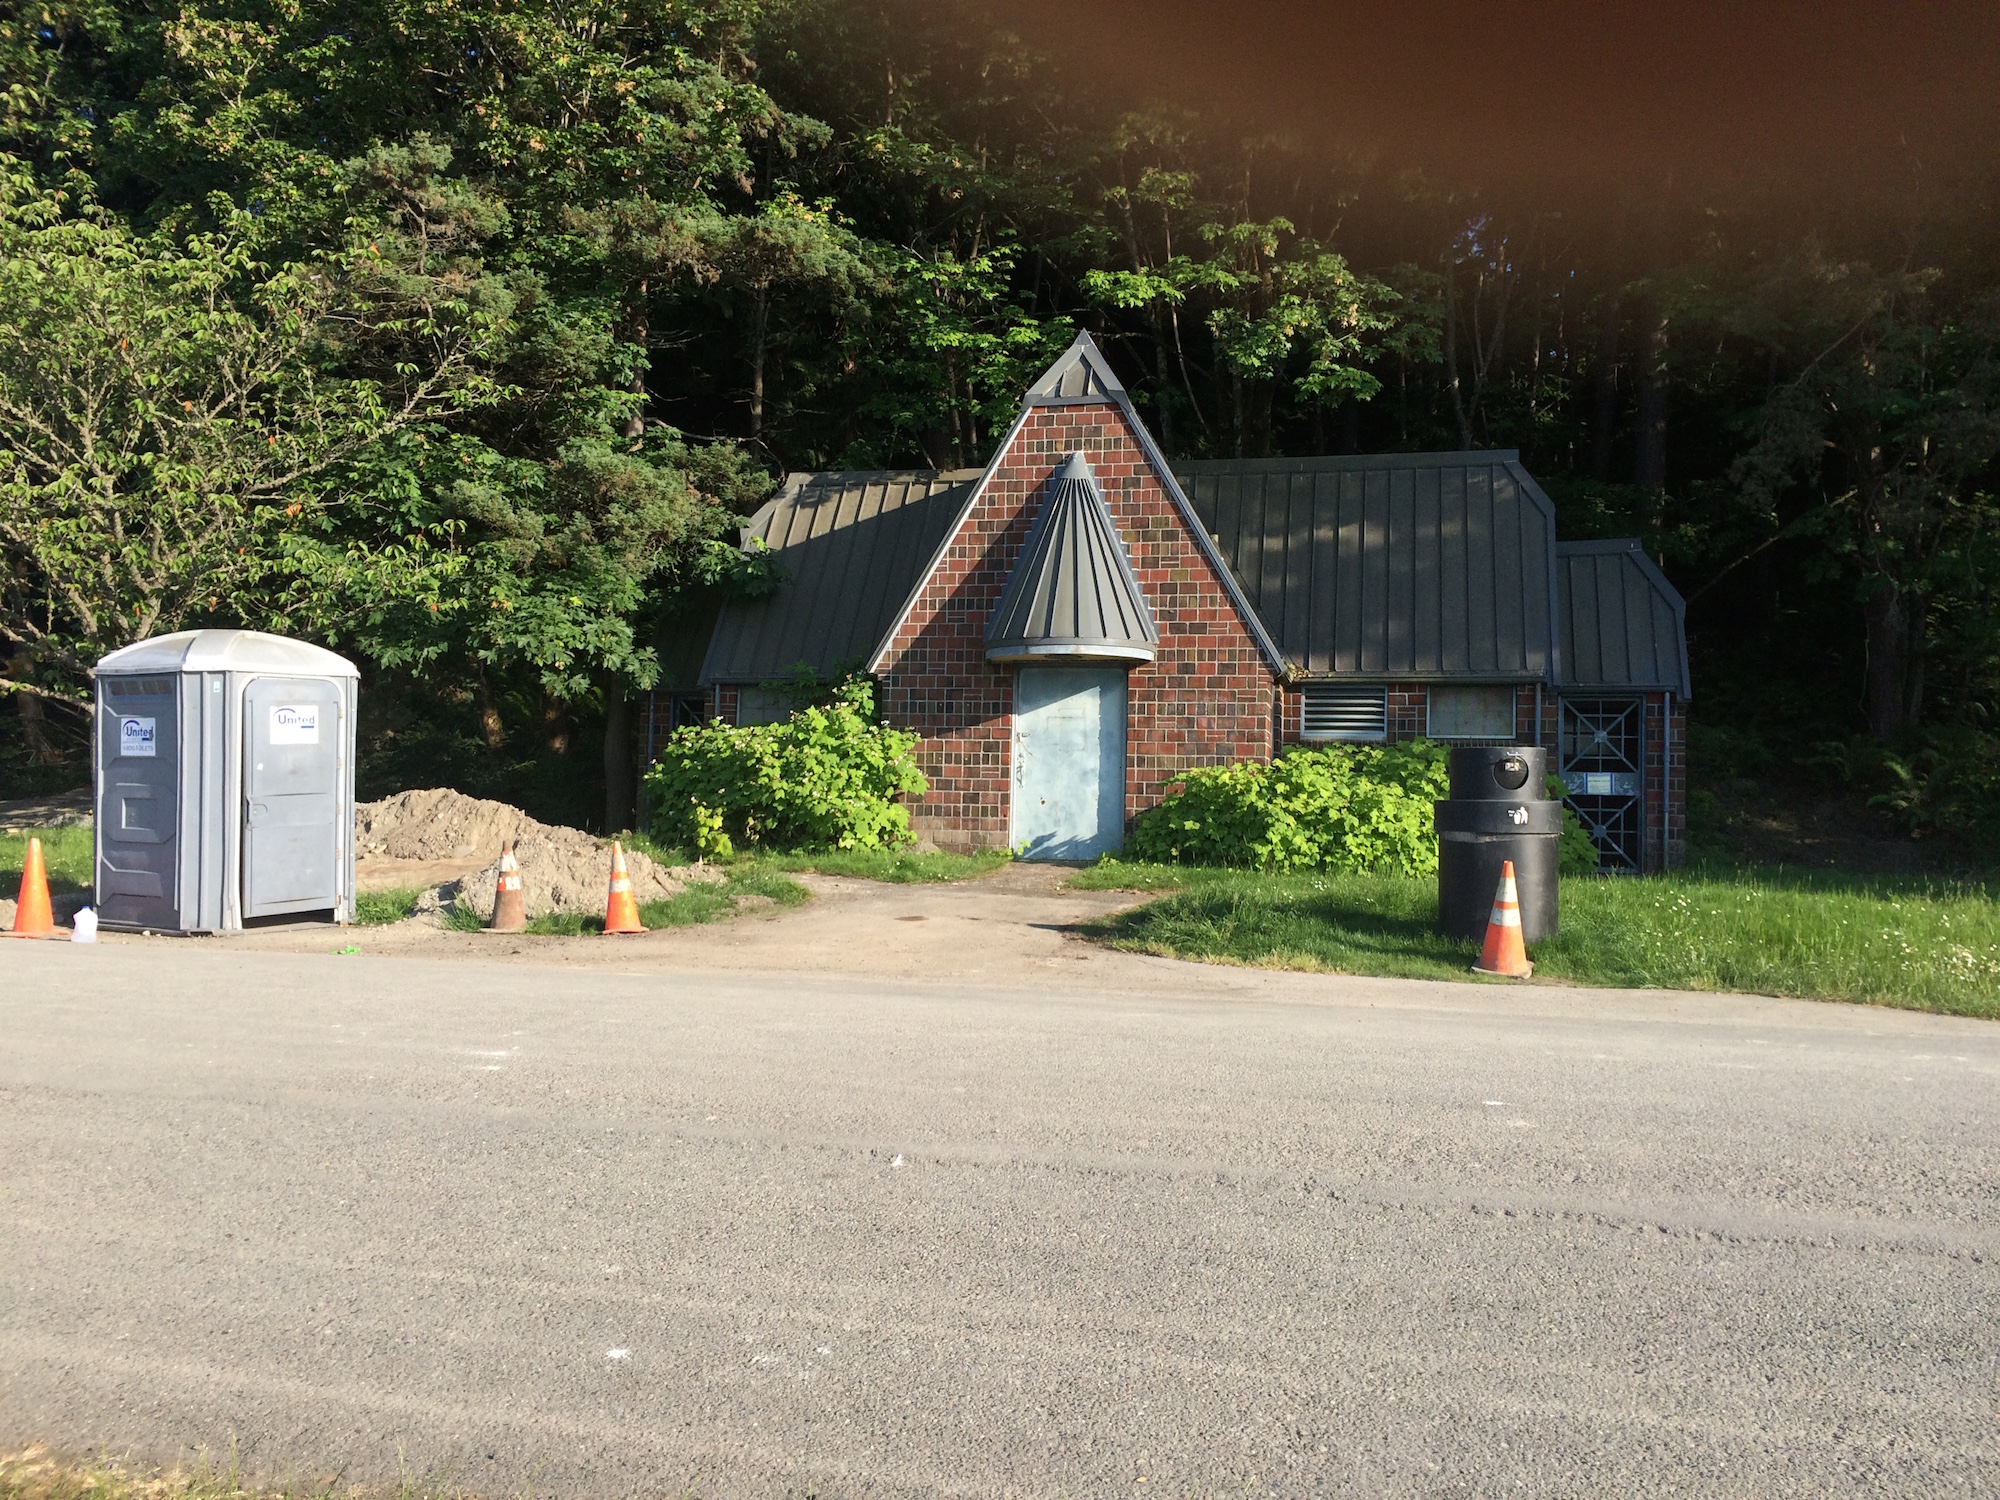
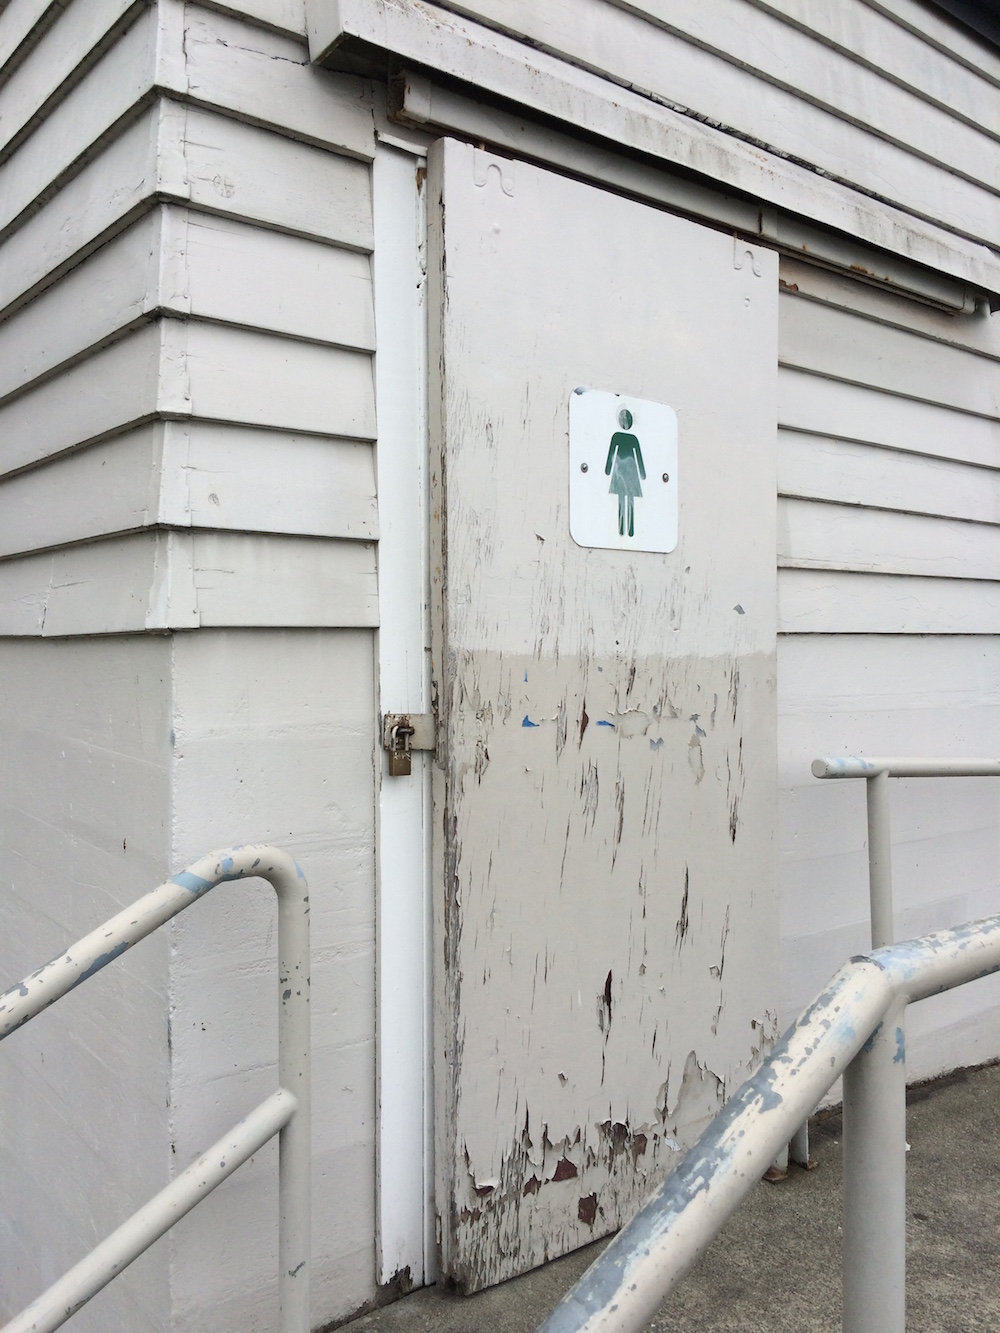
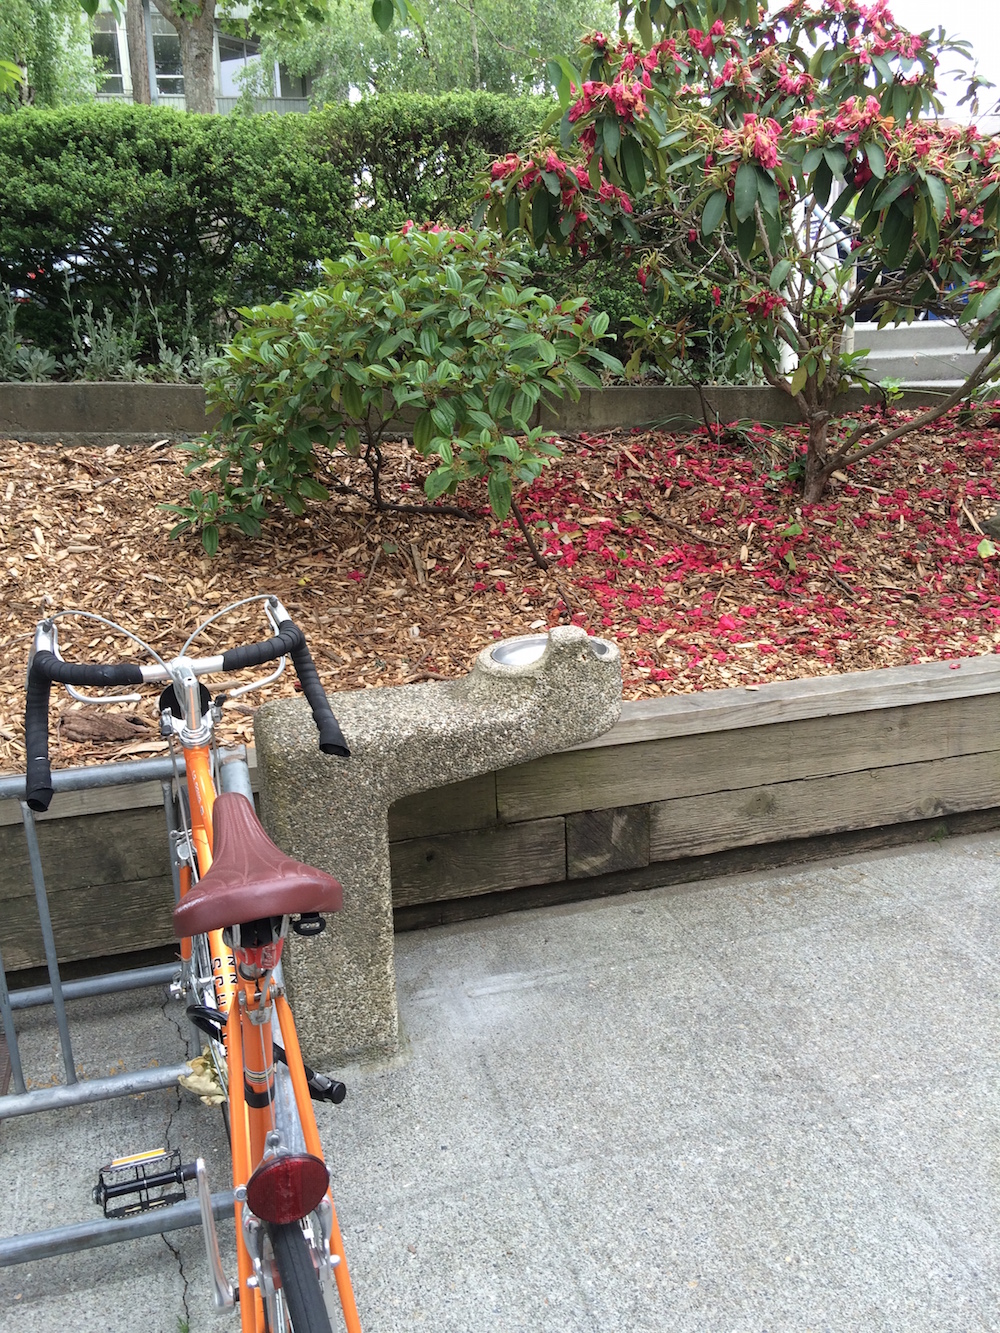
I biked to Steward Park with a friend and we ended up at the most northern part of the park sitting at the water’s edge (see the scenic documentation photos). I decided to check out the restrooms (freestanding building) that were located nearby where we were sitting, but found them to be closed. Next to the comfort station was a portable toilet with a line of a three people waiting outside. Two of the people were waiting for a small child inside (who they kept opening the door to check on). I waited to the side for a few minutes while the line died down. When I finally went inside I noticed that it was pretty large, the floor was relatively clean (compared to the other portable toilets we’ve observed for this study) and was outfitted with hand sanitizer.

Olympic Sculpture Park
Date: Monday, May 25
Time: 3:45 PM
Location: Olympic Sculpture Park, PACCAR Pavilion (upper story restrooms)
Later in the day, my friend and I (Kiley) went to Olympic Sculpture Park and before walking around, I went straight into the restroom to see what the difference was since it was an indoor facility. Part of me thought that it was possible there could be a dispenser in this facility since it’s part of the SAM, as opposed to a typical park, and the restroom was indoors. The restroom was well-kept and clean. There was a paper towel dispenser next to the sink and trashcans with paper bags in the restroom stalls. There were no dispensers. This time I explicitly searched for plugs in the restroom, and I found some under the sink, which made me excited again. However, power probably wouldn’t be a problem here since PACCAR Pavilion gets power throughout the building and there were plugs right outside the door too.
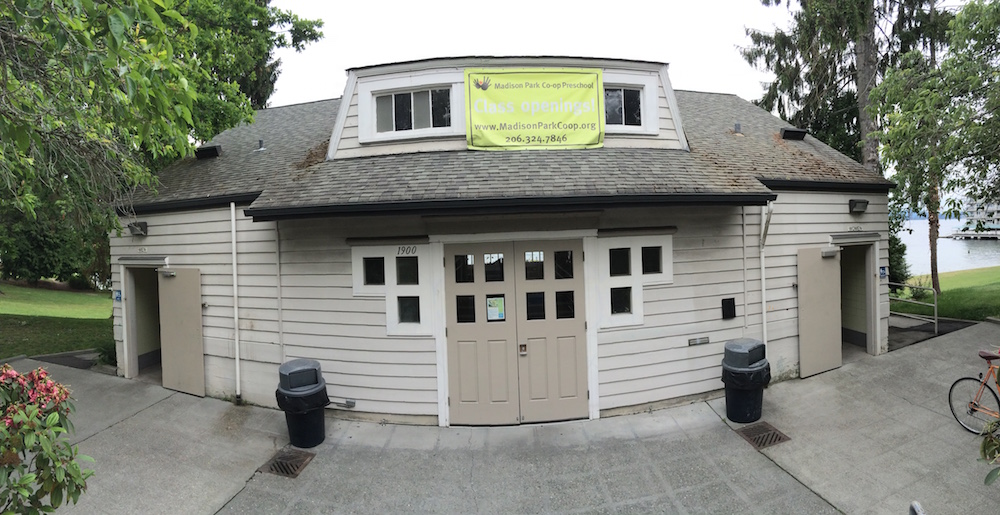
Madison Park
Date: Monday, May 25
Time: 1:15 PM
Location: Madison Park
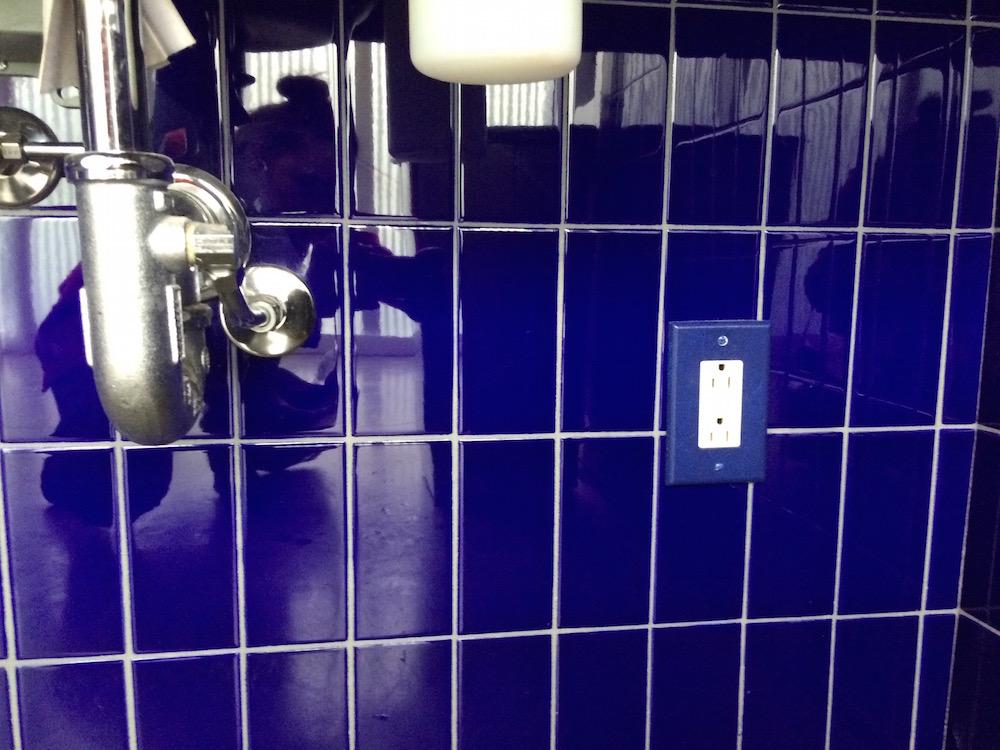
I (Kiley) went to Madison Park with my friend after we got lunch in the area. I didn’t think about the comfort station there until we walked up to the playground. It was Memorial Day Weekend, and the playground was full of families, both men and women, and young children. I gazed around the playground but didn’t see any restroom. We walked down to the water and sat down at a bench. I noticed behind us there was a building and realized it was a comfort station. There were two doors facing the water, one labeled a men’s restroom and the other a women’s, but both of these doors were locked with a bolt. I walked up the steps on the left to try to see if there was any other way to get in. There was a door on the side that was unlabeled. On the other side of the building, facing away from the water were two open doors to men’s and women’s restrooms. I went into the women’s restroom and it was fairly well-kept. No dispensers, as expected, and also no trashcans in the stalls. However, what I noticed was that there was a glowing green plug above the changing station in the bathroom. This is perfect for what we need in terms of power!


Gas Works Park
Date: Sunday, May 24
Time: 4:15 PM
Location: Gas Works Park
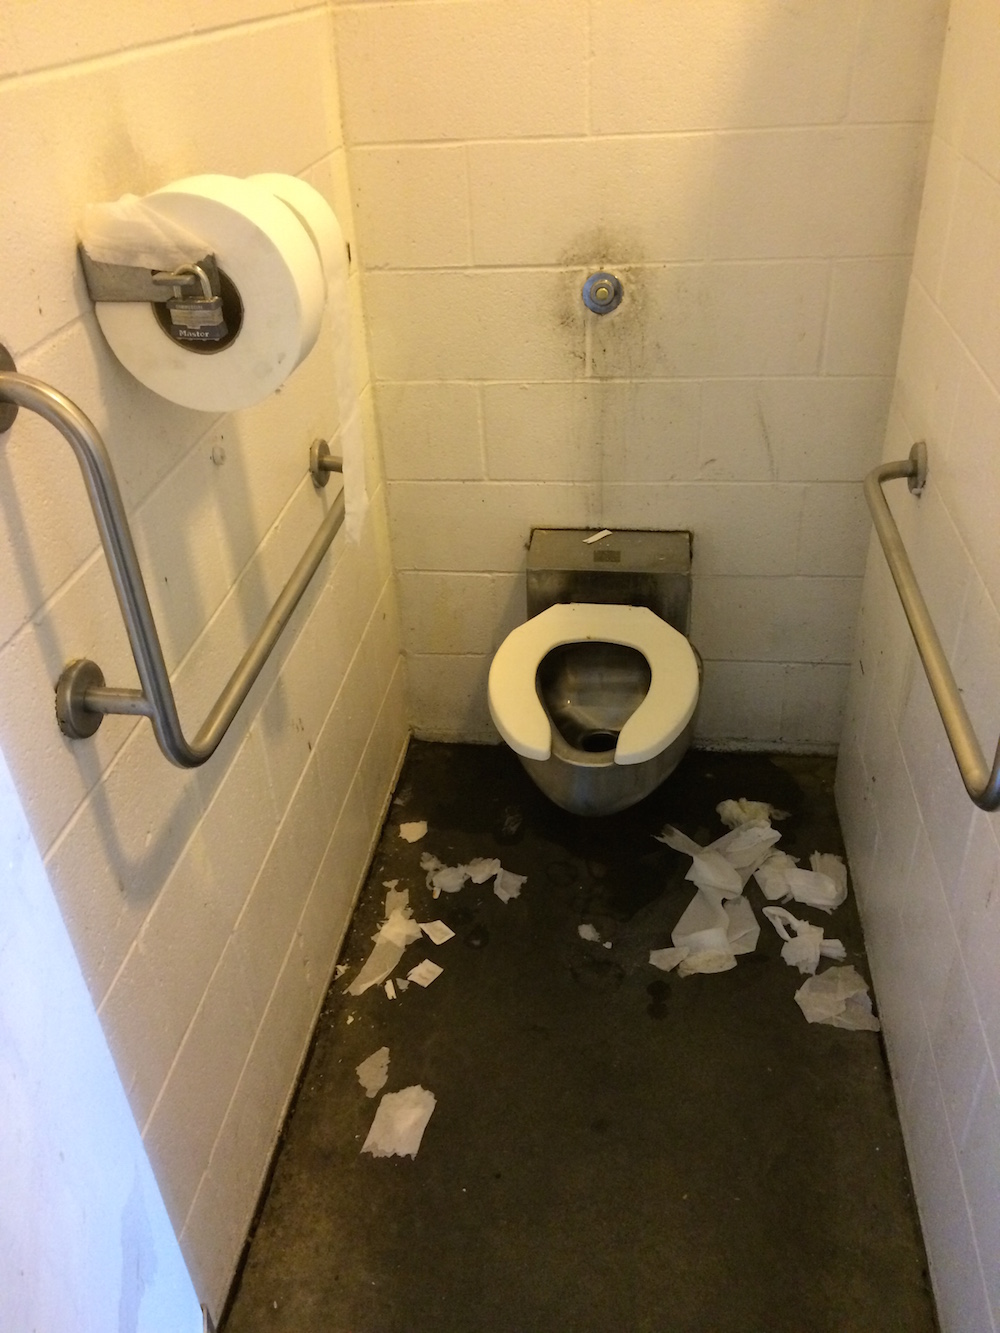
I (Kiley) went to Gas Works Park with a friend in the late afternoon on Sunday. When we were on our way out, he said he needed to go to the restroom, so I decided to take a look inside the women’s restroom. Even though I had been in there before, I had forgotten how sickening it was inside. There were gnats circling all around, and I didn’t breath out of my nose because I guessed it would smell foul. The ground was dirty and there was toilet paper on the ground. This bathroom didn’t appear to be serviced by anyone, at least not frequently. As we were informed before, there were no dispensers.

Sensor Meeting
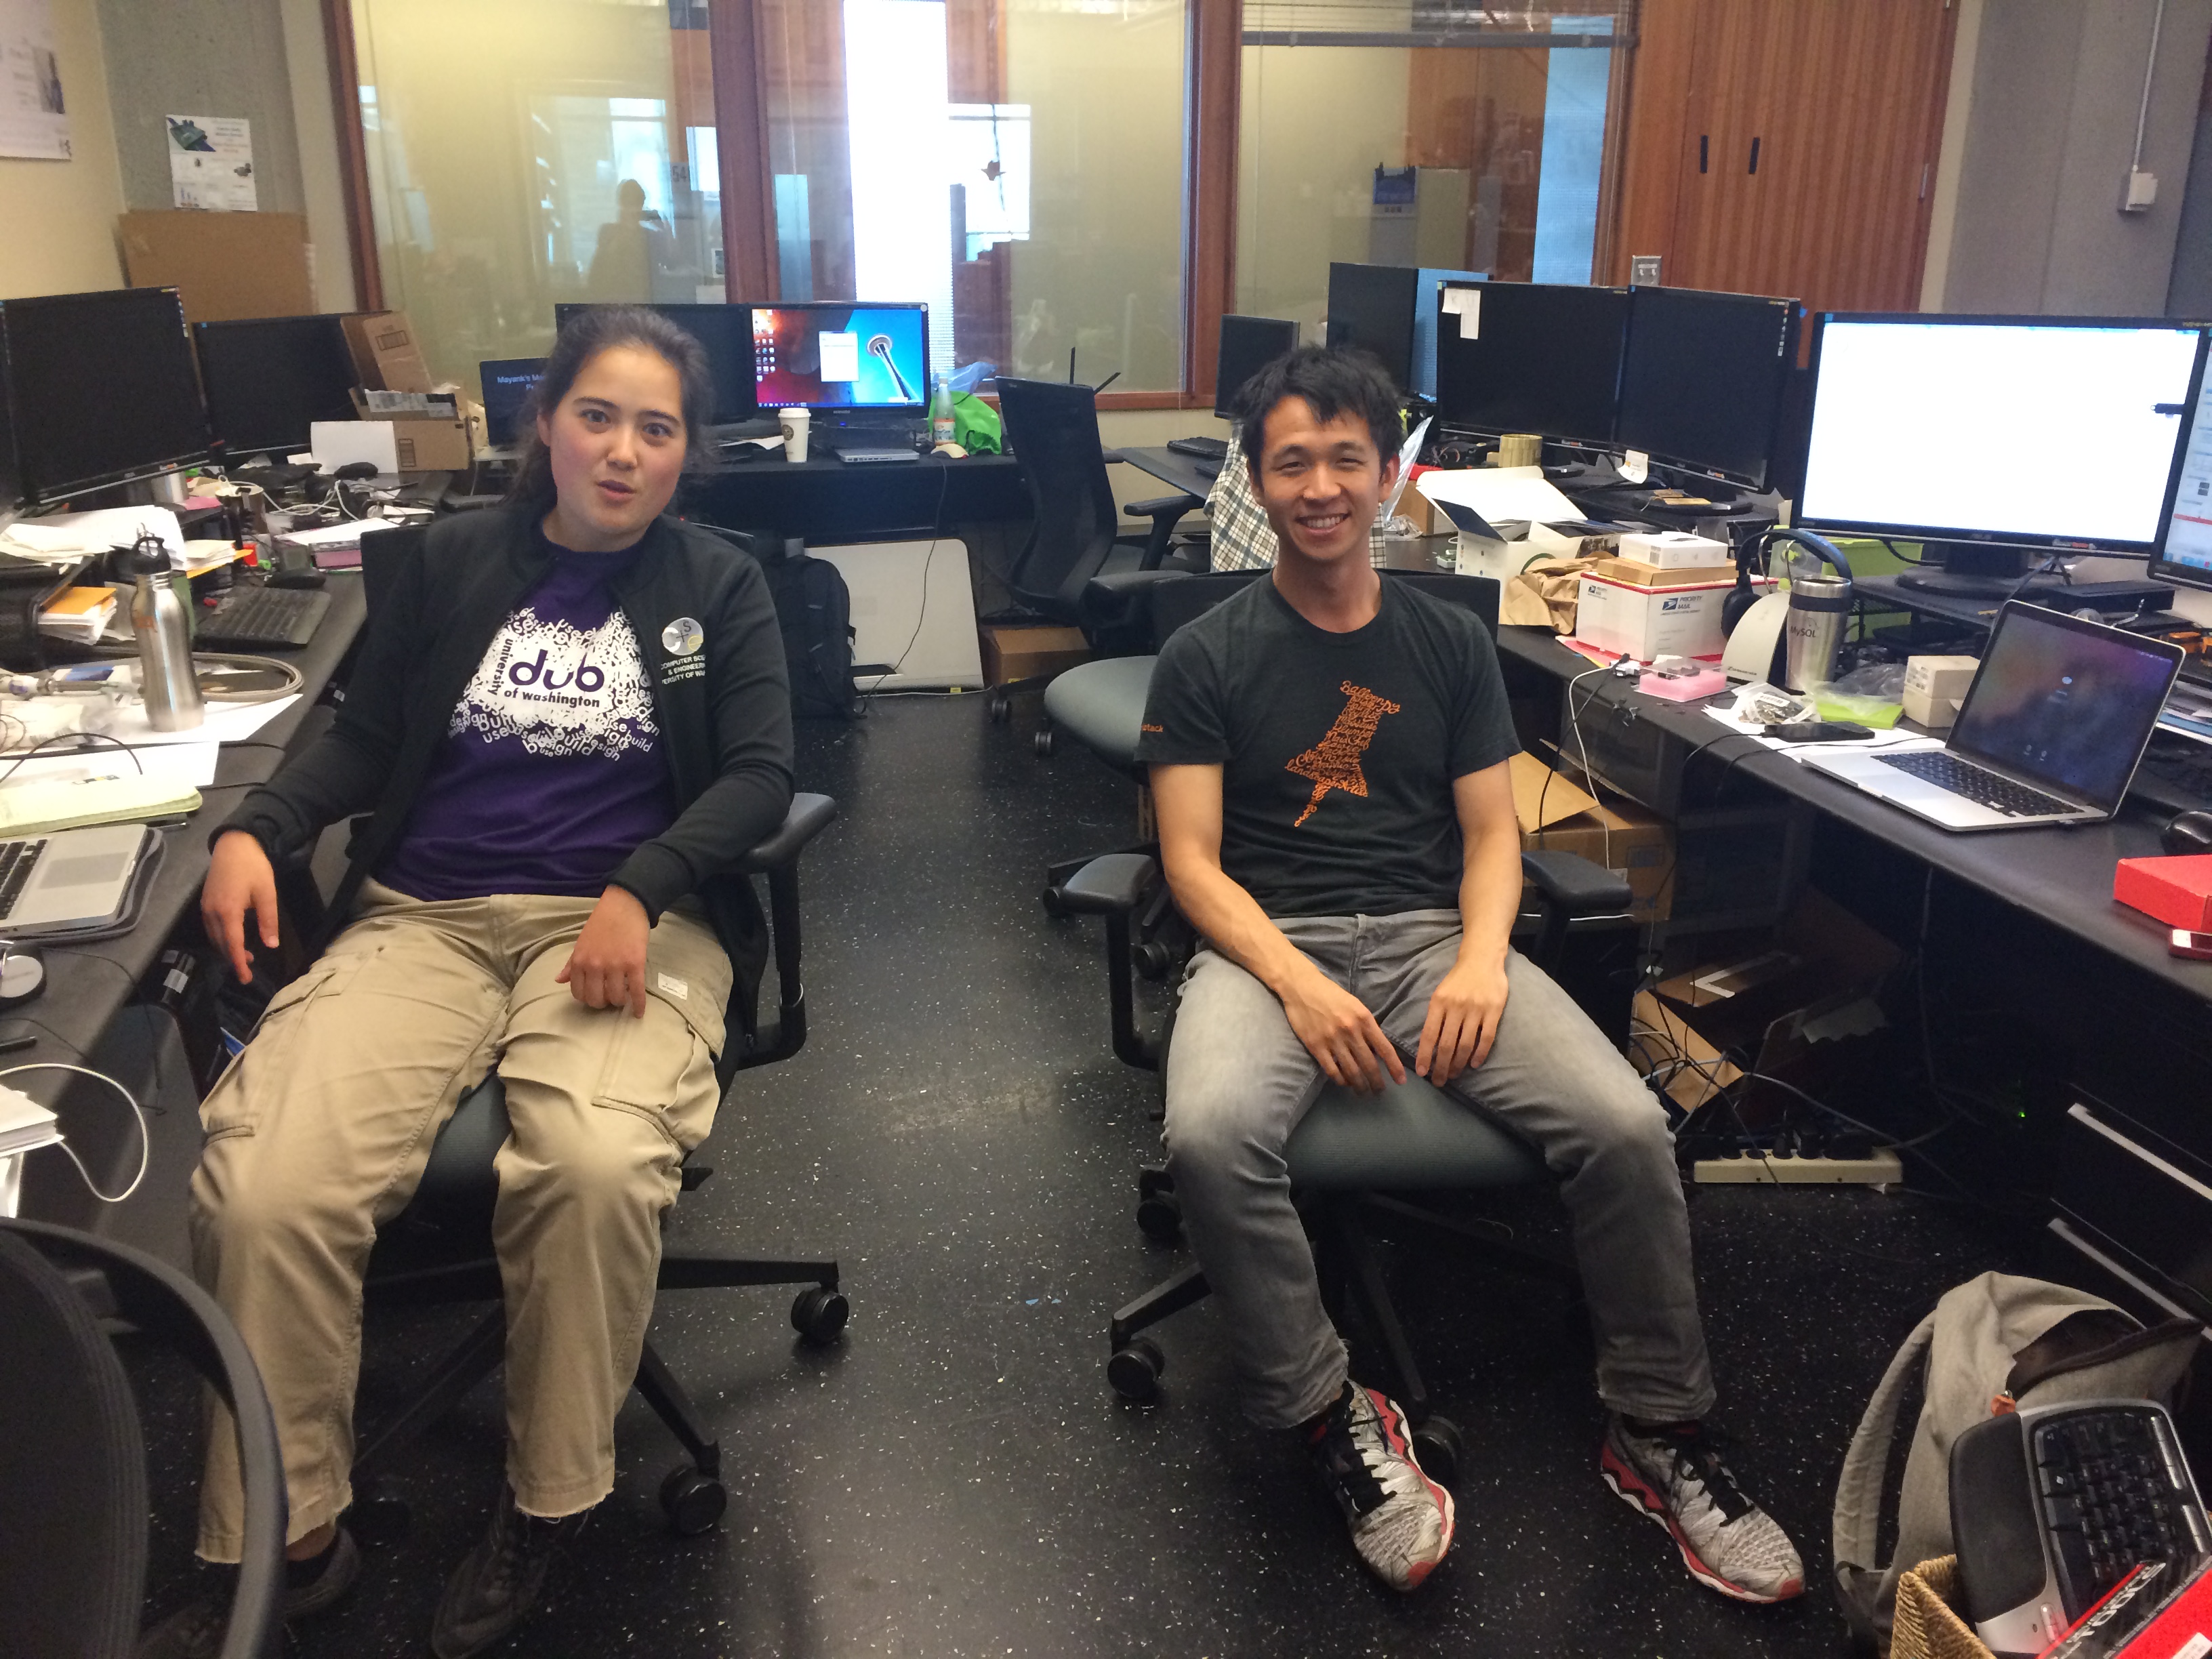 Kiley, Allie, and I met with Lilian de Greef and Edward Wang, both PhD students in the Ubiquitous Computing lab at UW, about possible sensors for tracking product levels in feminine hygiene dispensers. We began by showing them pictures of the dispenser we’d recently disassembled and they immediately offered a variety of options, which were then vetted by the group:
- Magnetic Sensor
- IR sensor
- Sonic – something from the top
- Circuit inside, resistance changes
- More material you cover, the more resistant it is
- don’t use dangerous amount of current! (what if the person servicing the dispenser is wearing a metal bracelet?)
- stretchable resistance, electrical resistance changes as it changes
- Sound sensor
- how many times was the coin operator turned
- at dispenser – switch bend (momentarily)
- momentary switches
- two magnets, one on the top, one at switch
- they will interfere with each other, so probably not a good idea
- sensor mounted at top moving toward
- magnet – not work because of cross talk (proximity between tampons and pads)
- *absolute sensor
- TDR – know what part of wire you’re pressing on
- slider – resistive material – more material more resistive
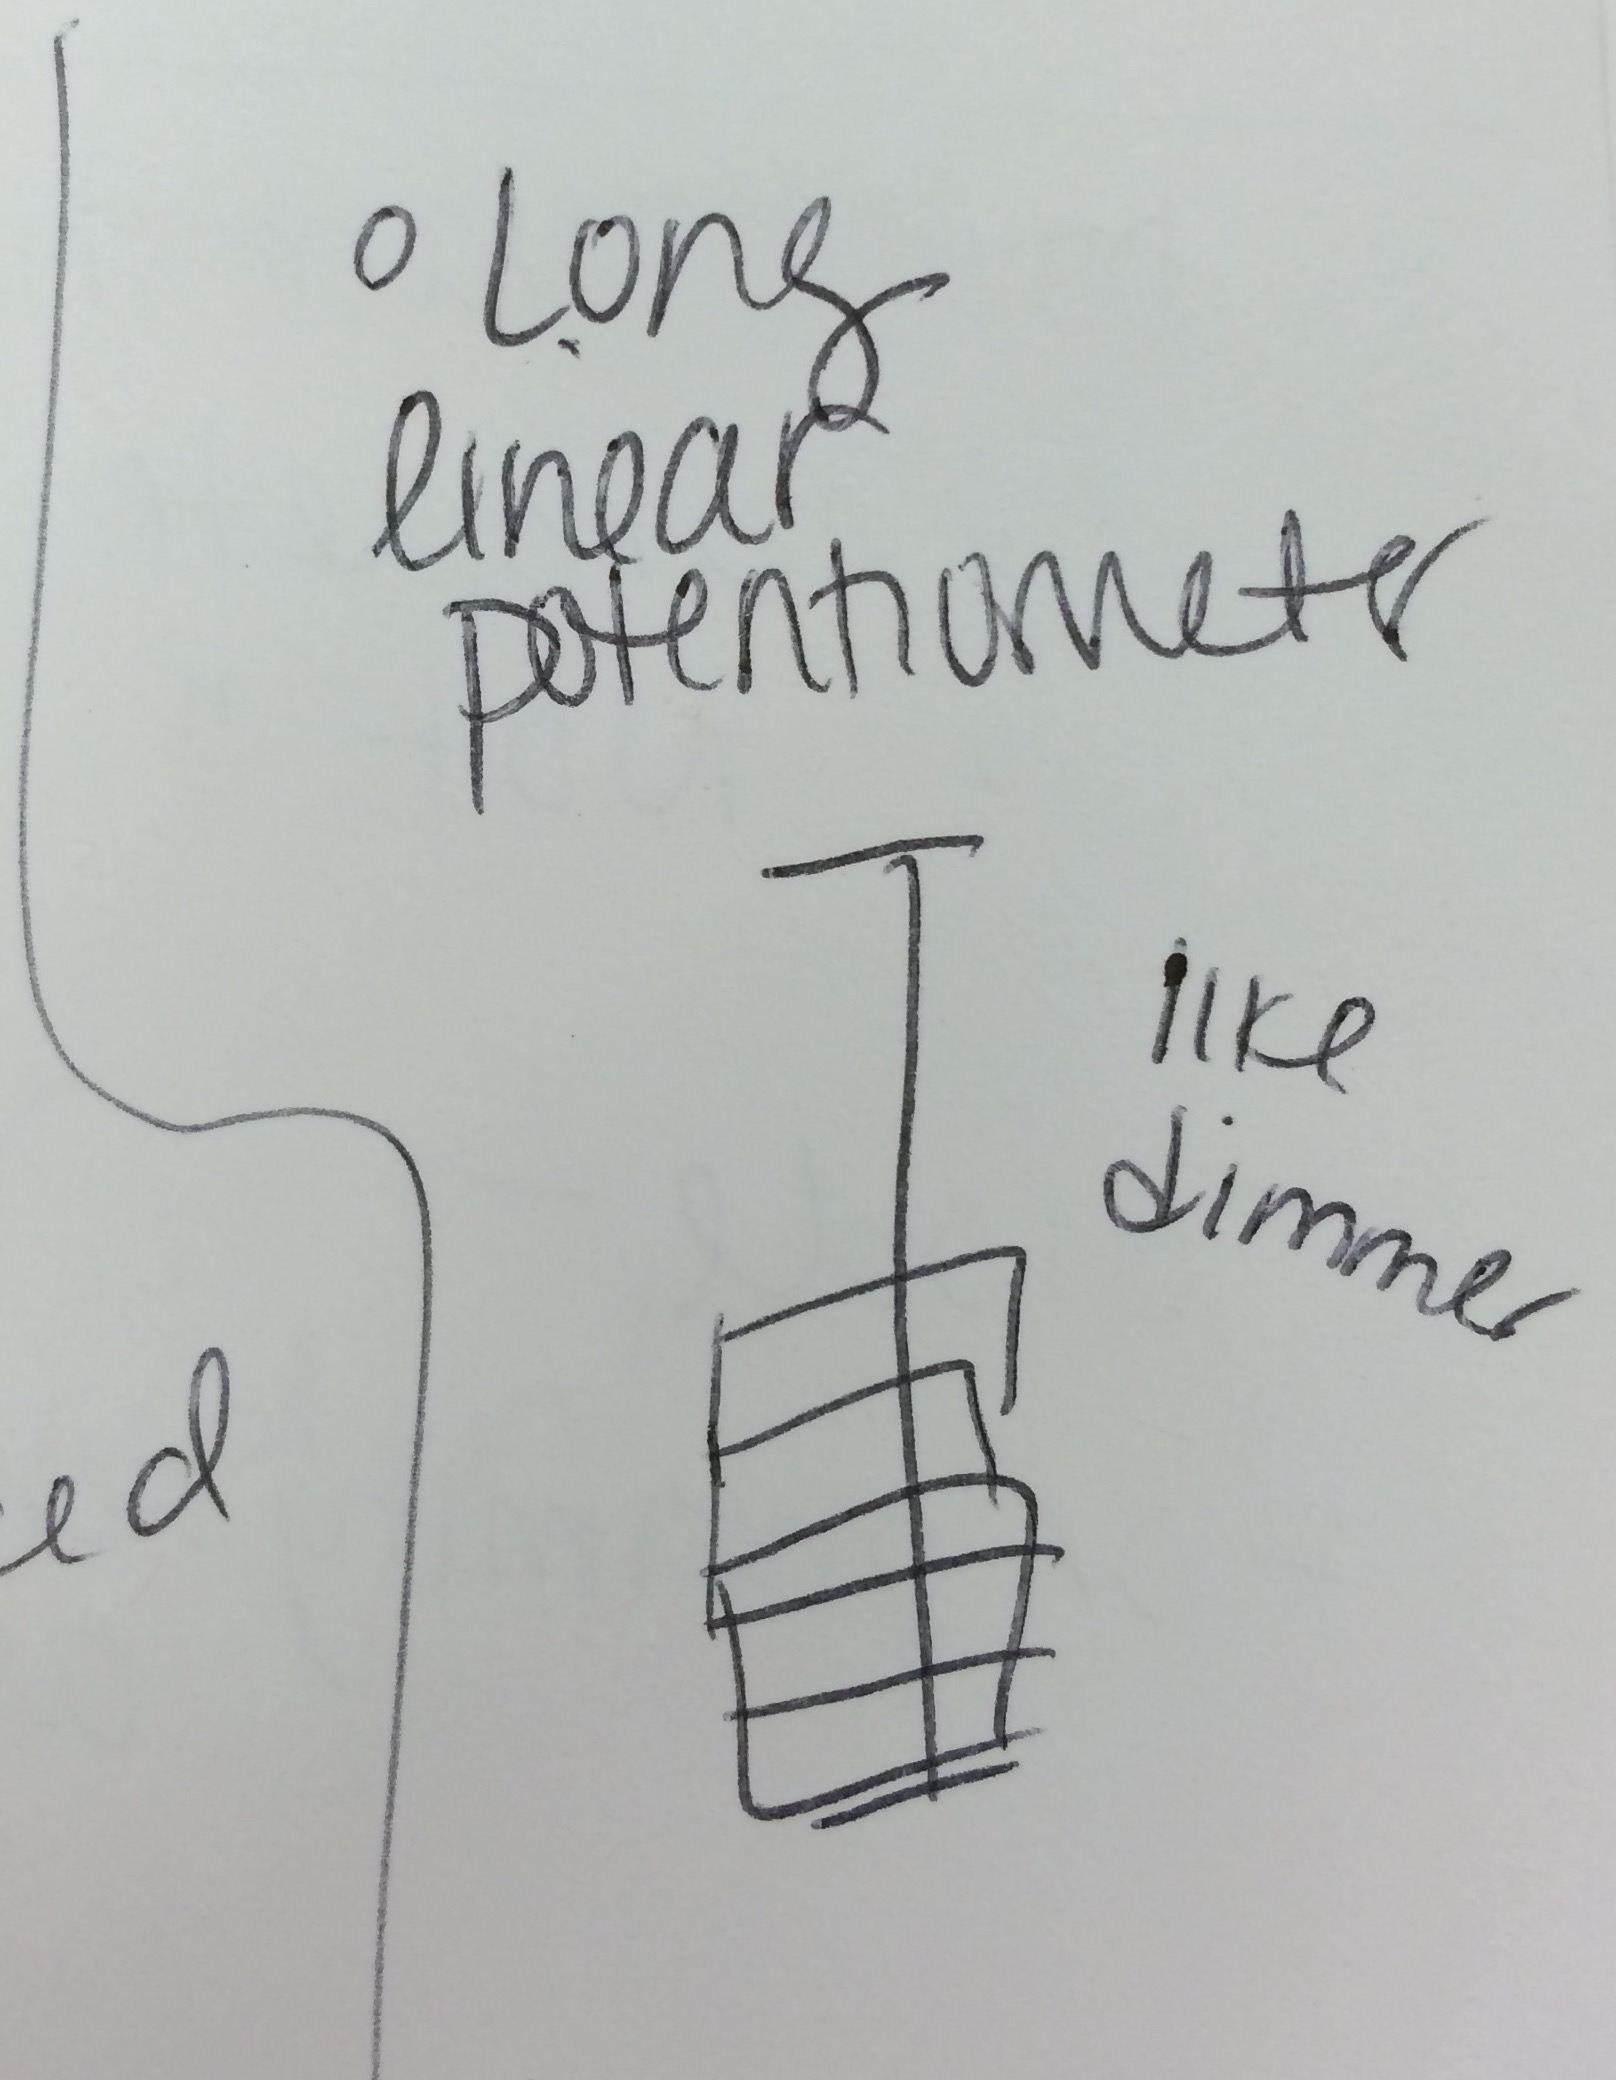
- long linear potentiometer (like a dimmer)
- multiple switches as it goes down
- could approximate # of tampons from that
- IR proximity sensors array – calibration/threshold for tampons
- covered → something there
- not covered → not there
- uses “lasers”
- whole array is 2 types of signals → make threshold between them
- make sure to calibrate with door closed
- but we might want to know what the signals are when the door is open and closed (so we know when it’s serviced)
- can tell if door is opened or closed (serviced)
- complete circuit → the door is closed
- not complete → door open
- contact sensor
- magnets – complete the circuit
- light sensor – note every time it’s exposed to light (door is opened)
- not good because we don’t know dispenser would be filled all the way every time
- magnetic proximity sensor w/ coil inductors
- change in magnetic field
- draw wire to IO channel on Arduino

Power & communication concerns
- turn on and off by itself – idle and wake up after a certain amount of time
- trigger each time the dial is turned and reads tampon levels
- OR do a reading once when dispenser is refilled, count every time you turn dial
- wifi might be the right route
- less energy hungry
- problem: concrete bathrooms (cell signals are usually bad w/ concrete walls b/c there is metal inside them)
- cellular will drain power faster
- base station – wifi or cell, plug it in
- solar? phone could serve as communication & power harvesting
- stuck w/ cellular if can’t get access to power
- radio – no towers to receive it
- use dumb phone
- with big car battery?
- steal power off lights?
Feminine Hygiene Product Dispenser Disassembly
On May 4, 2015 from 3:05 – 3:59, Sarah and I opened up the feminine hygiene dispenser that we had bought from eBay.
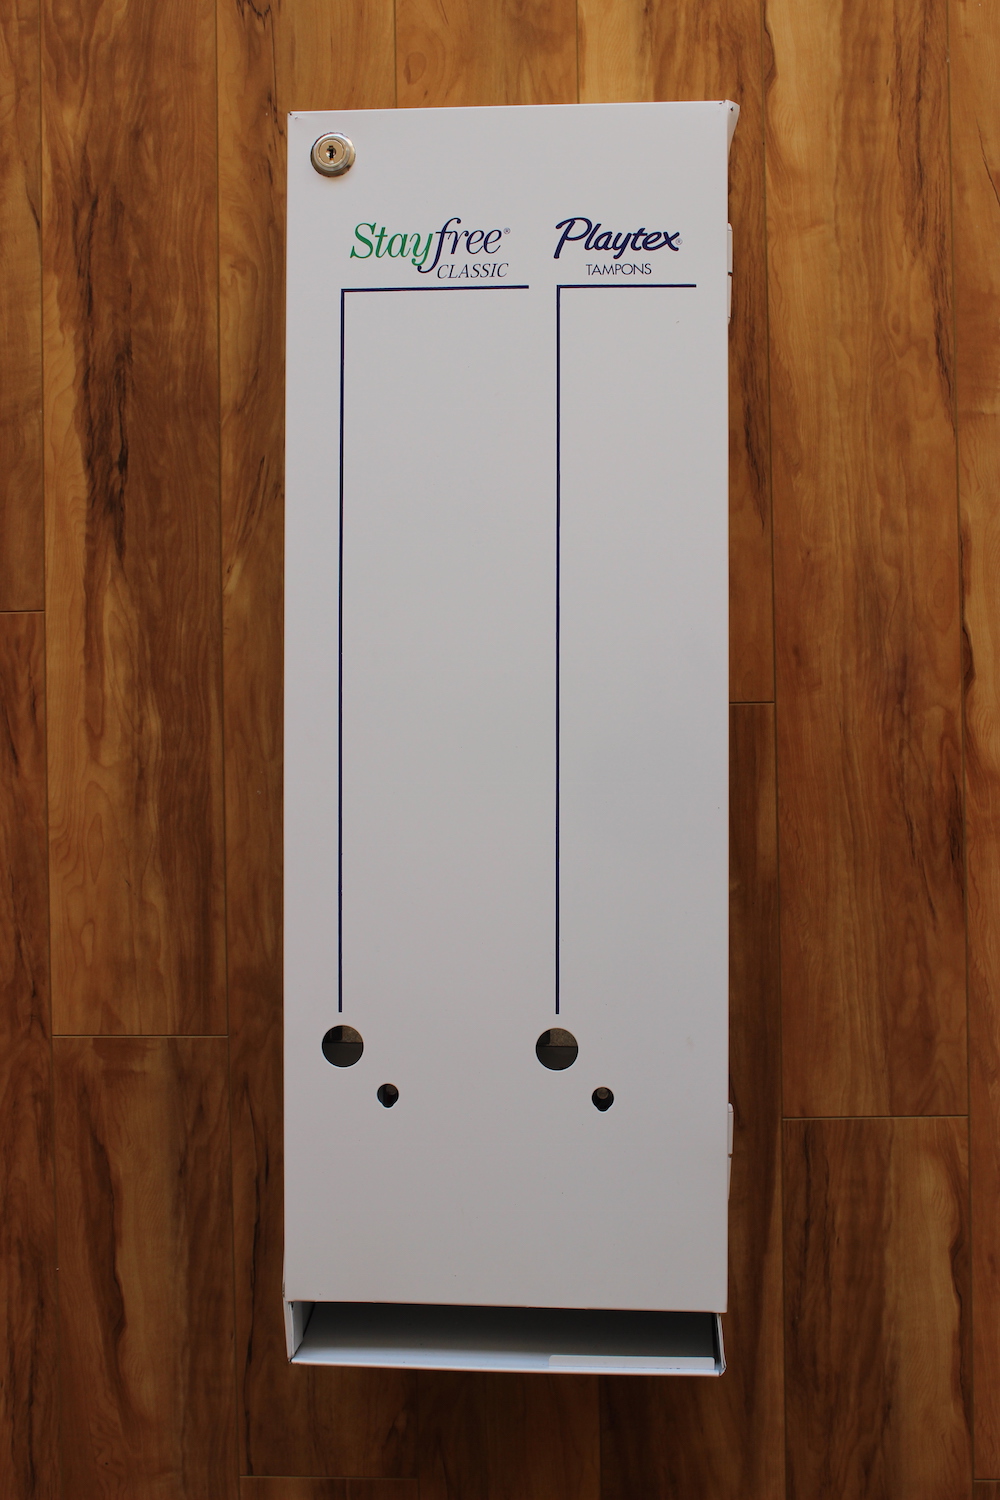
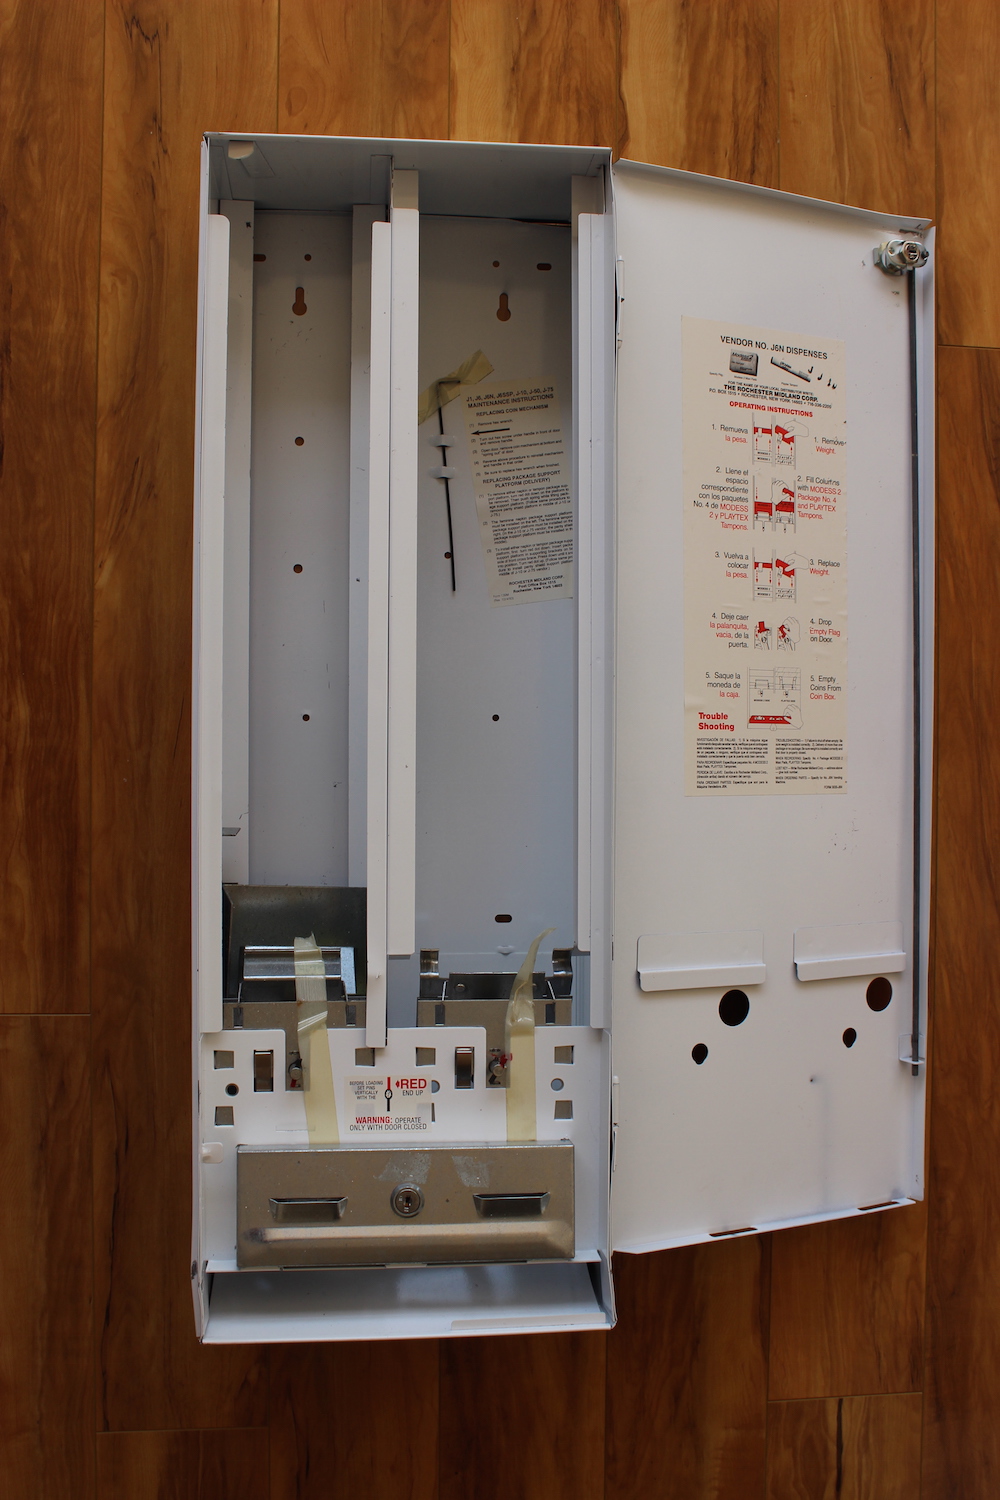

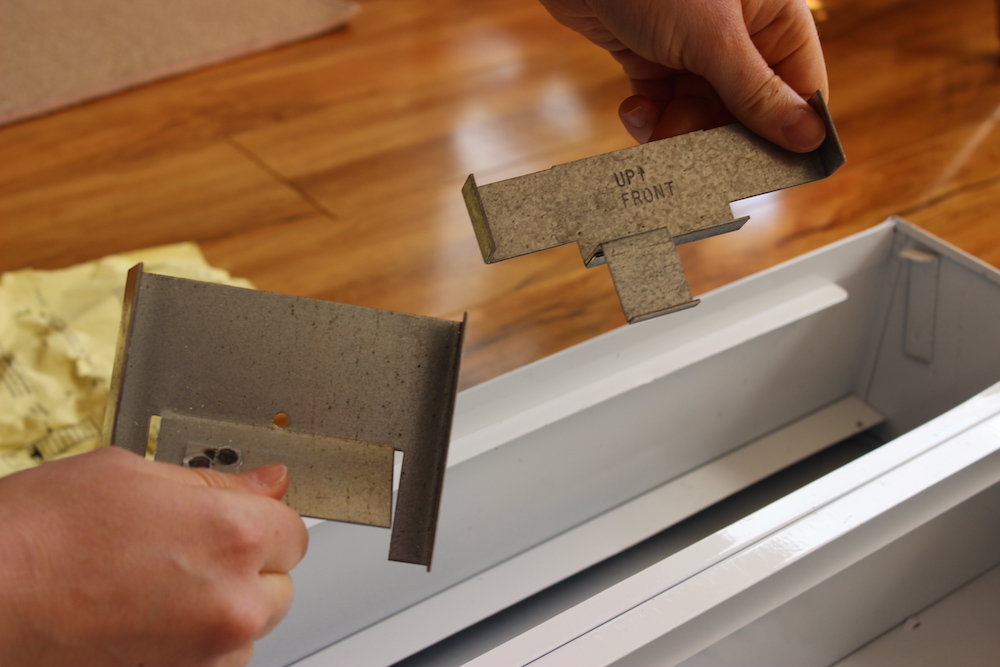
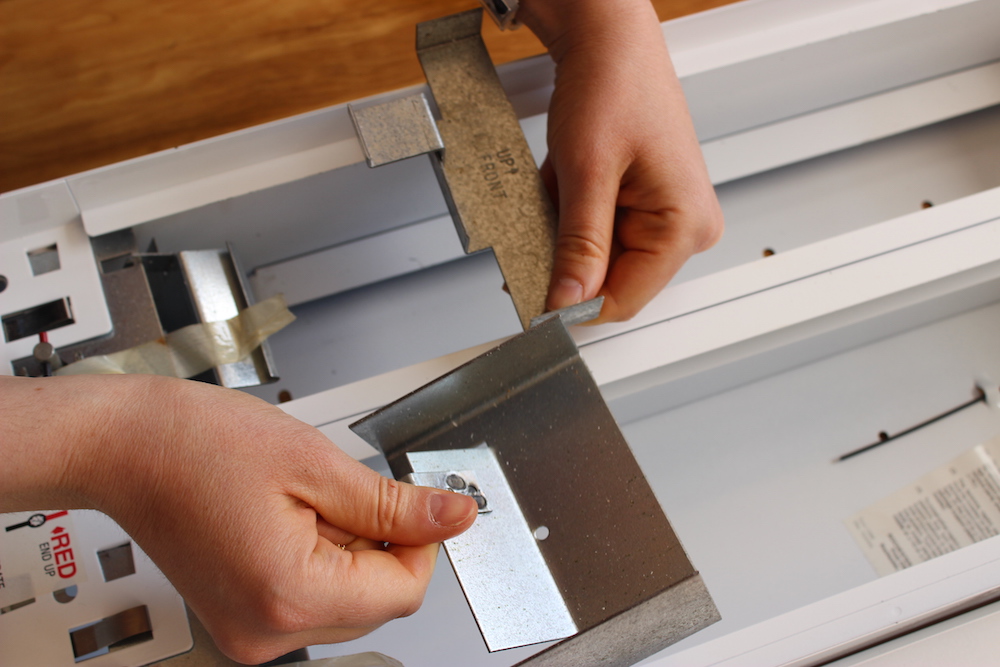
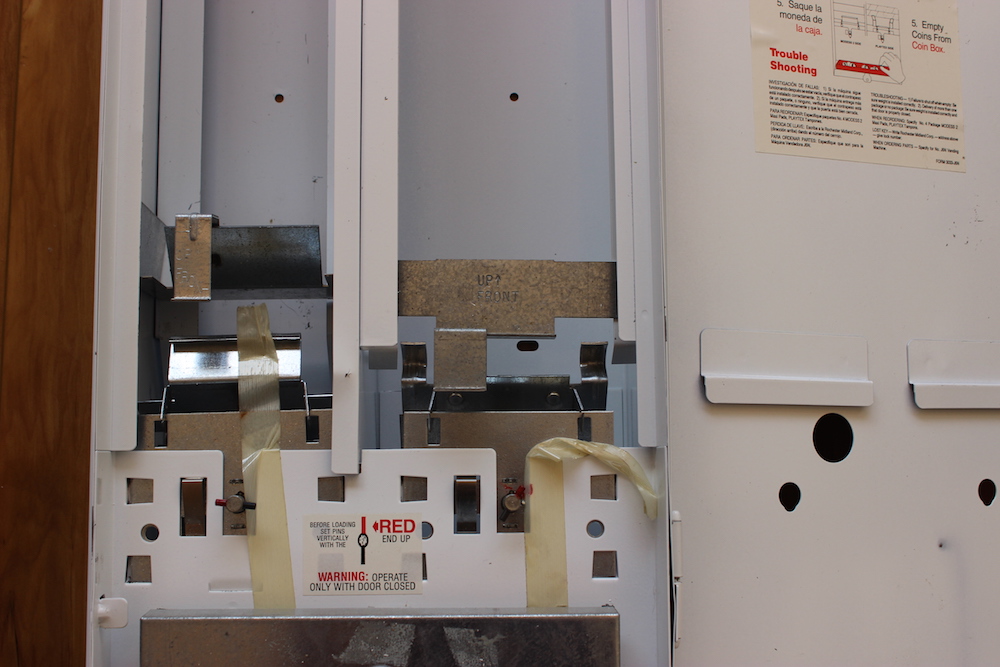
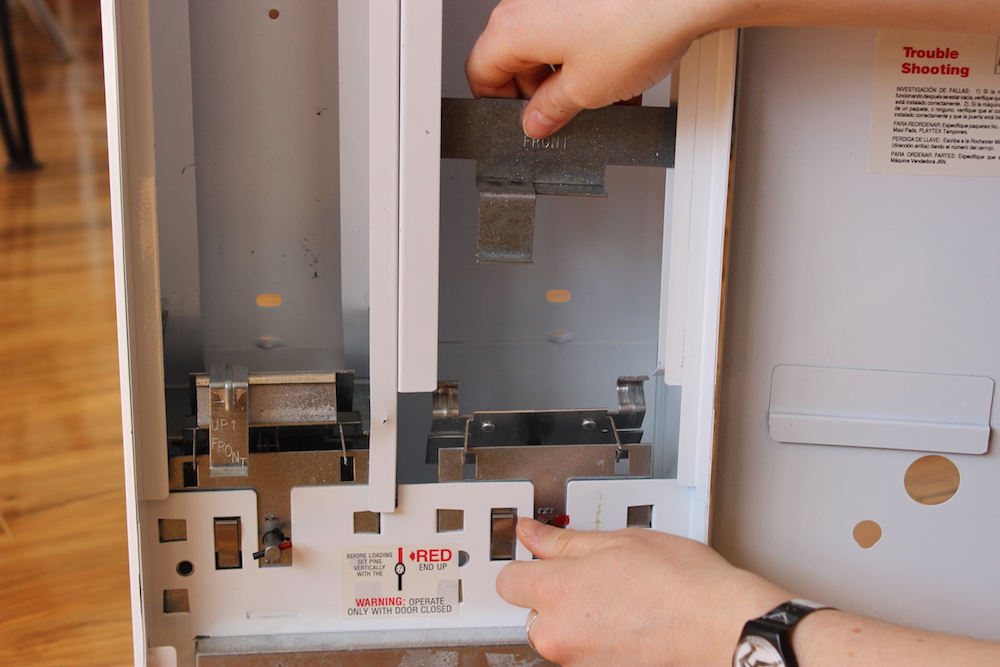
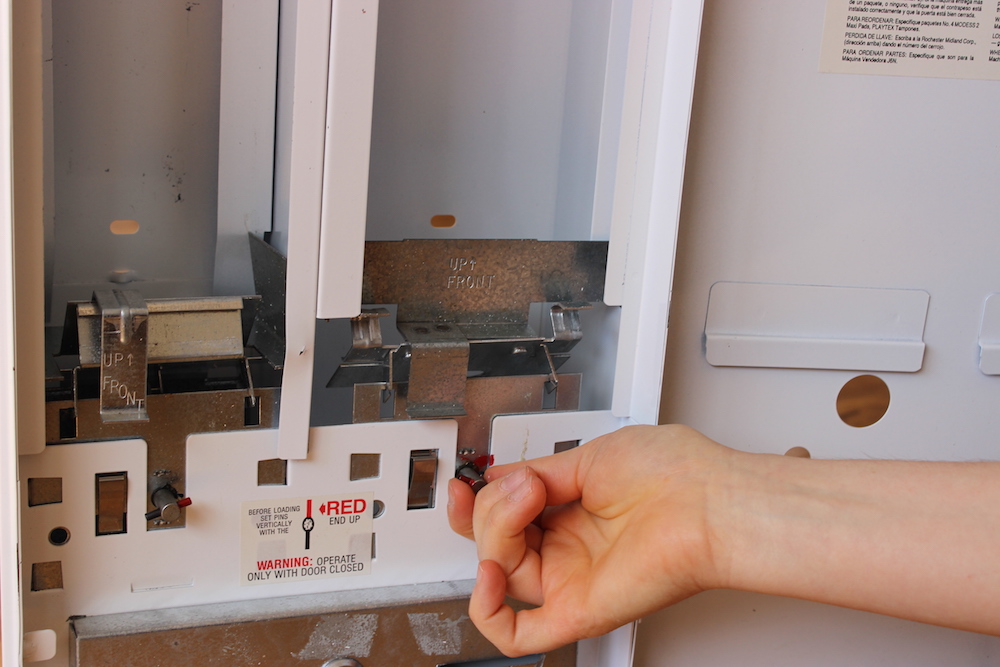

Below are my (Kiley’s) listed notes as we unlocked the dispenser and examined the mechanisms inside:
– Sarah takes pics of outside
– Use key to unlock it
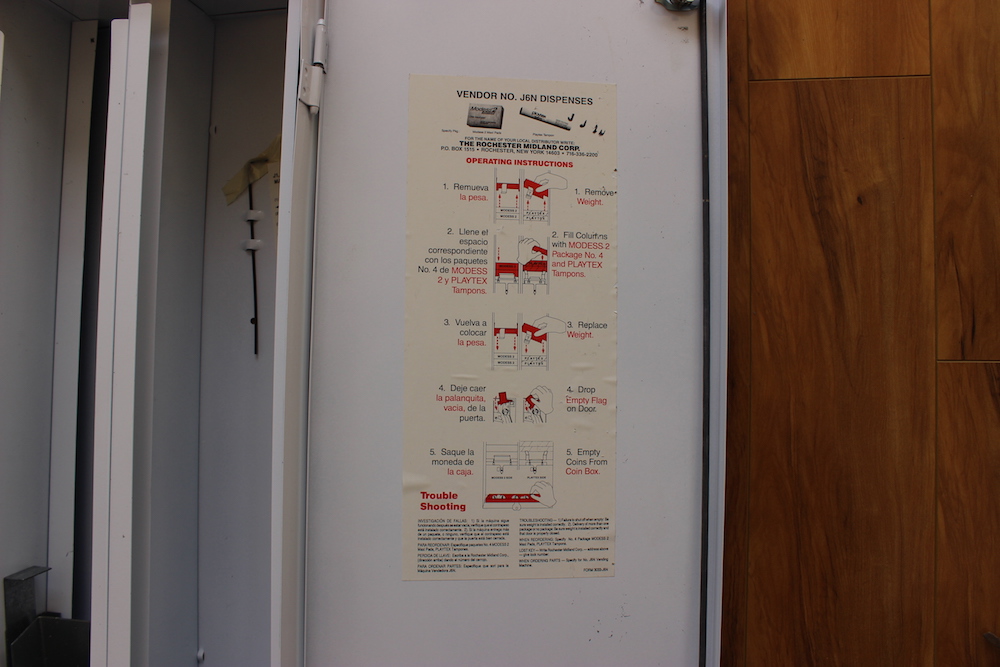
– The directions on the inside are in English AND Spanish. This seems interesting/pertinent but ultimately not surprising.
– The second set of directions on the inside of the dispenser aren’t very good because there aren’t any pictures.
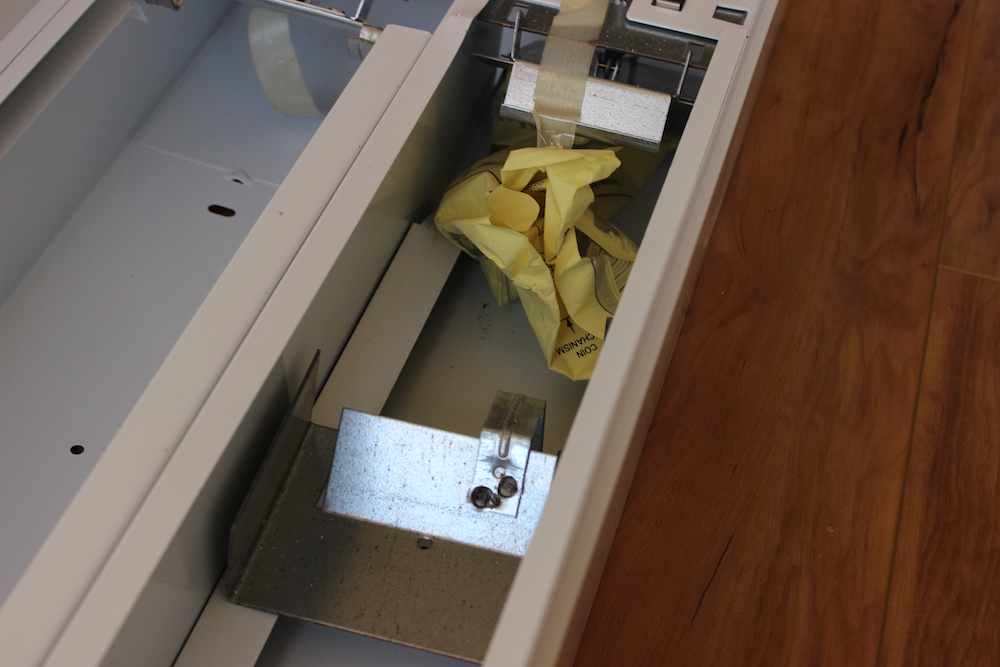
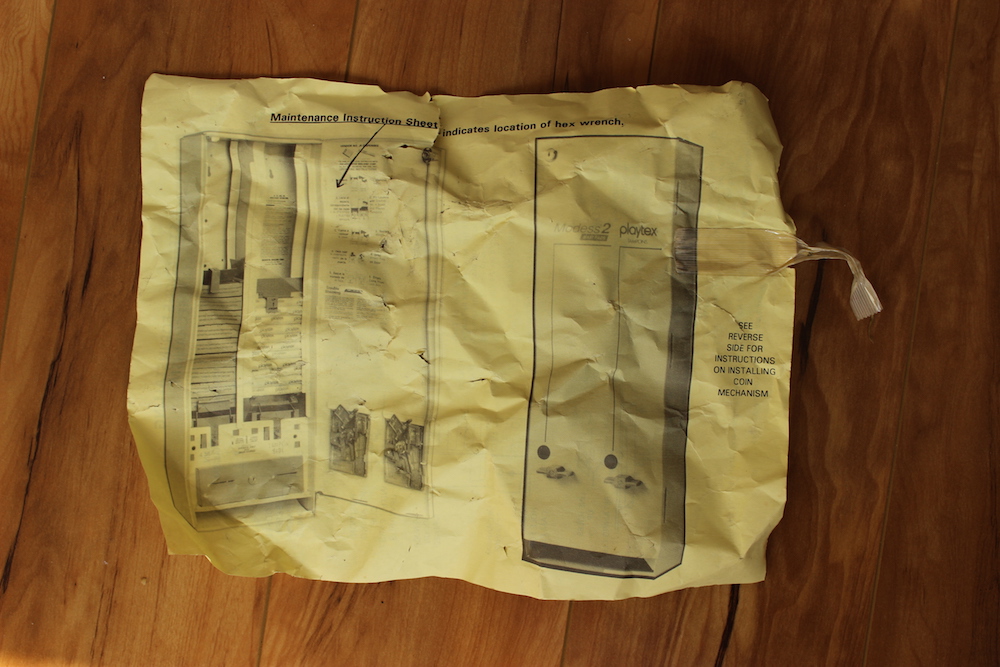
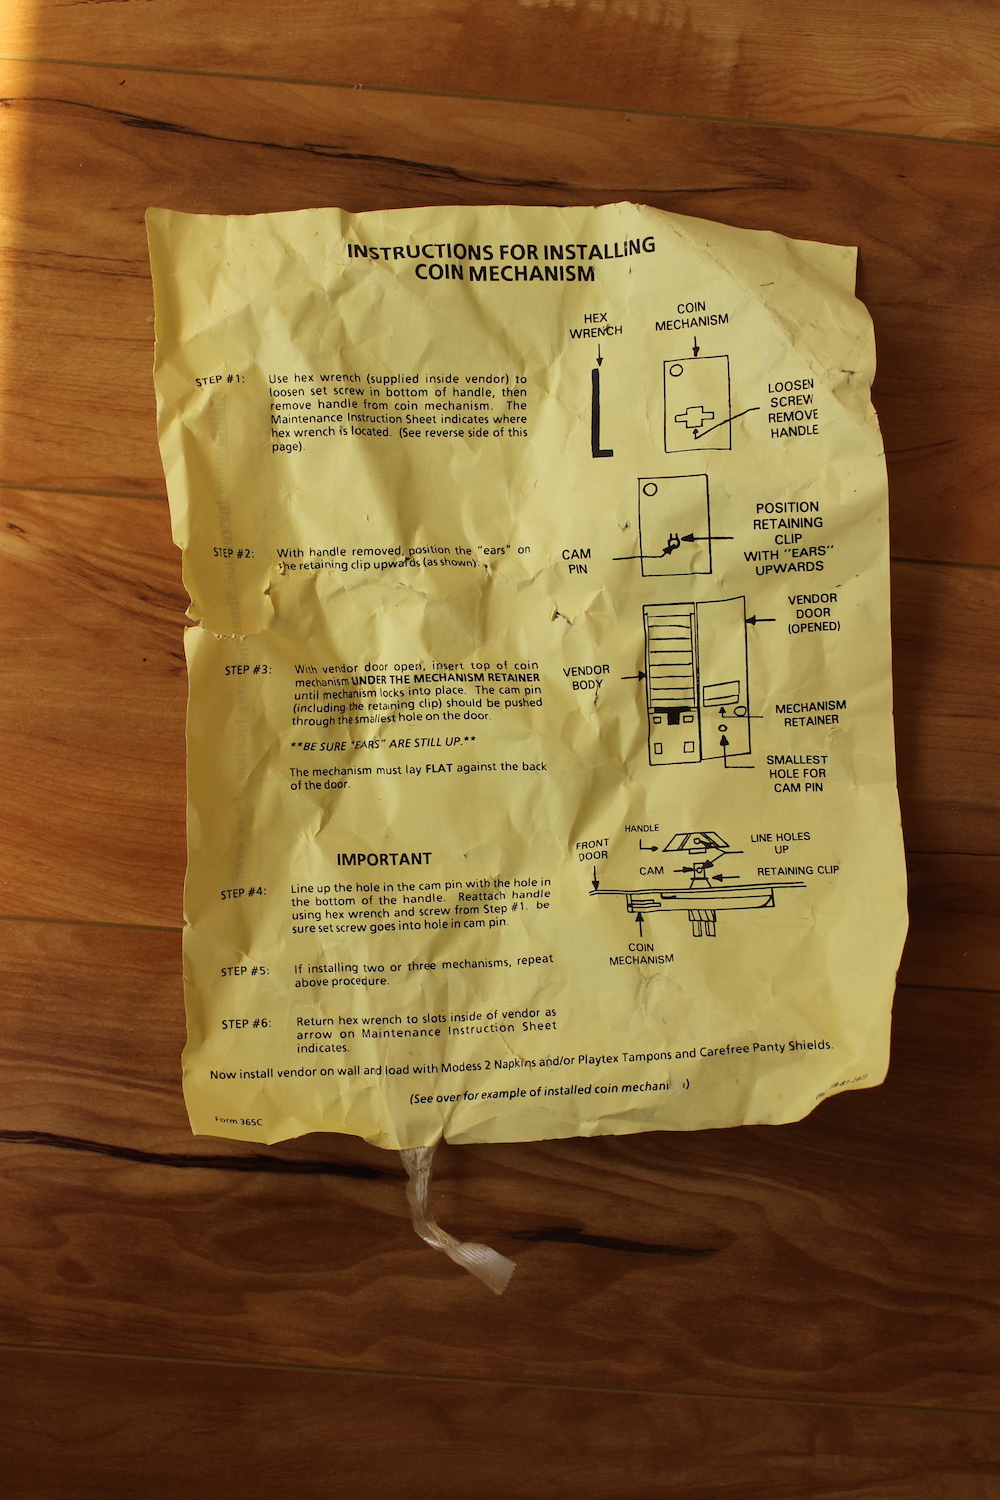
– There is a crunched up yellow something at the bottom.
– We got it out (it was taped accidentally down there so it took a while), and it seems to be the same instructions as the set of directions on the inside but with pictures.
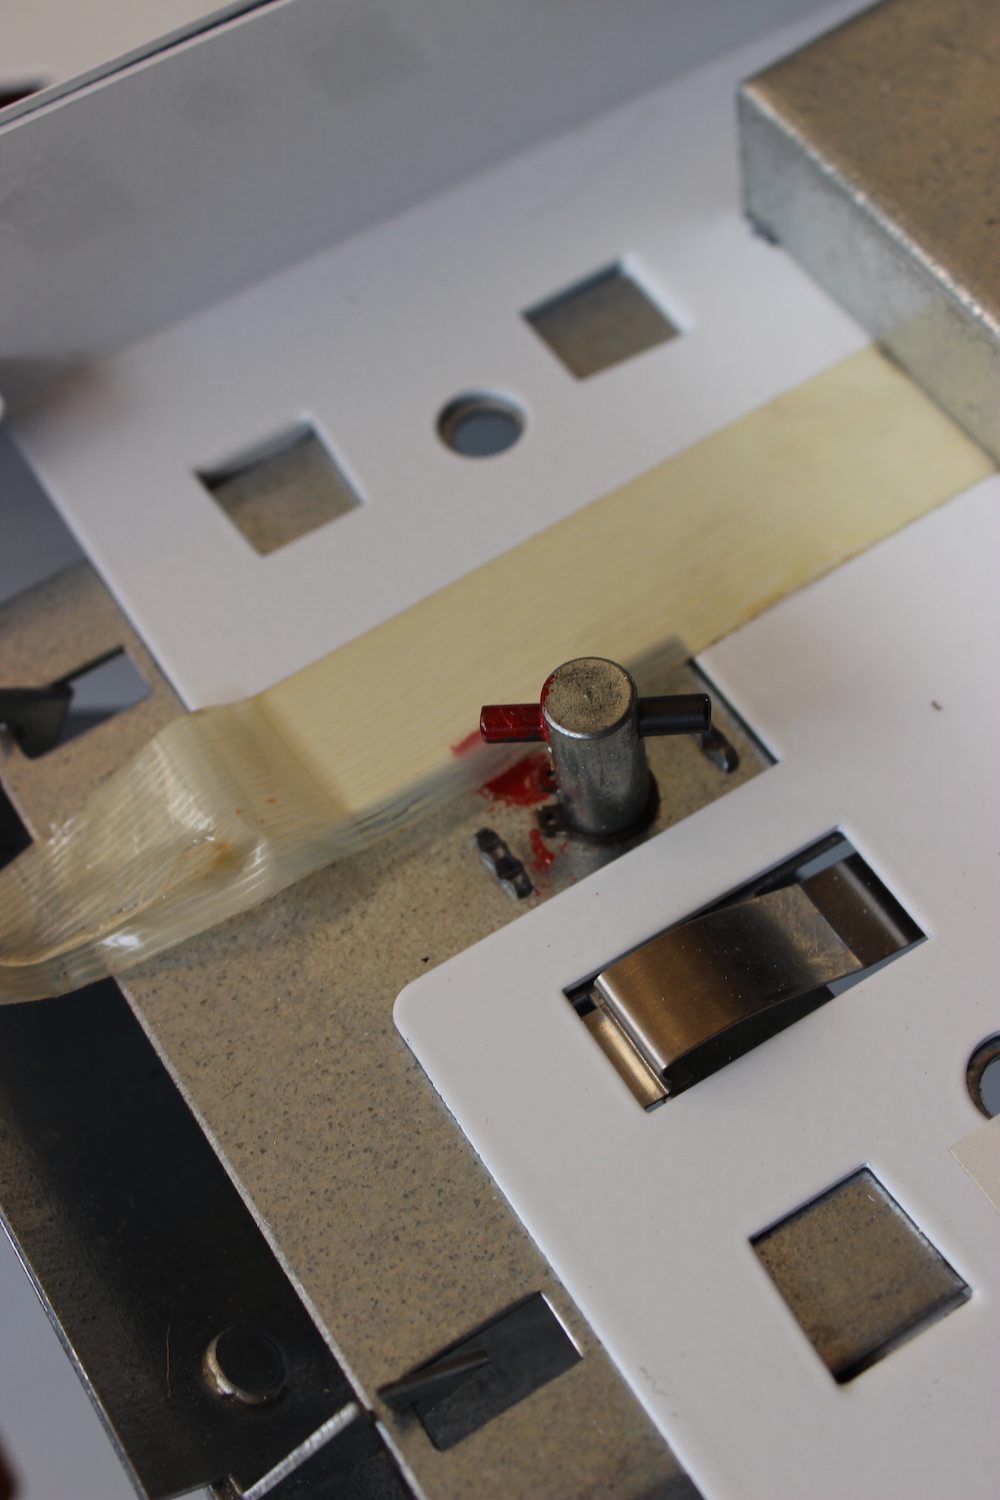
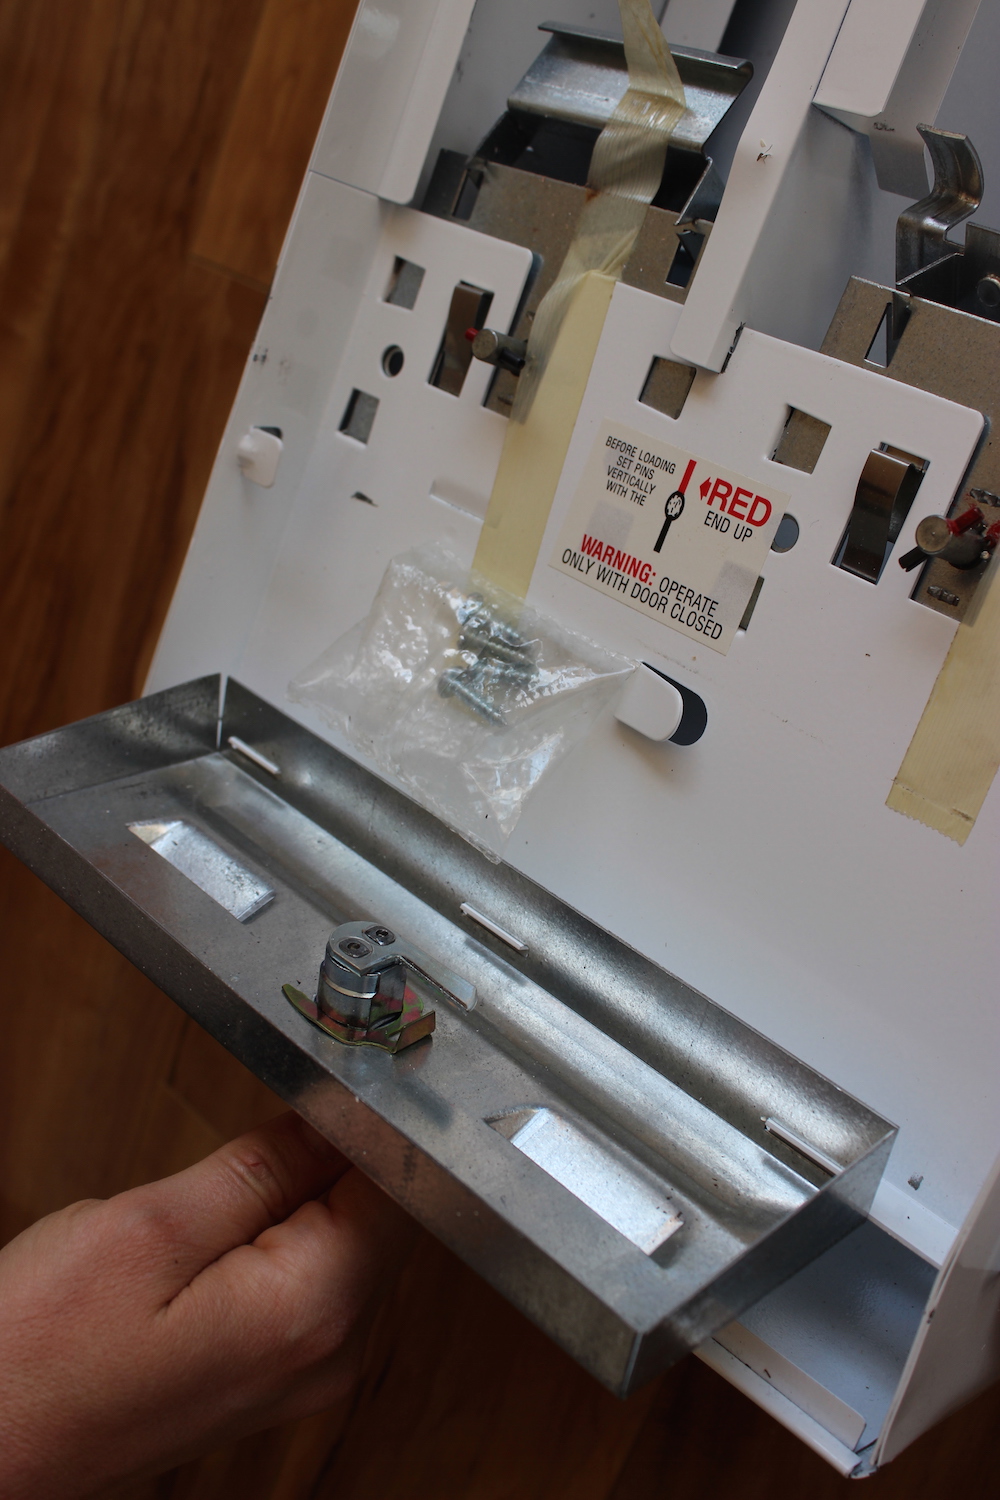
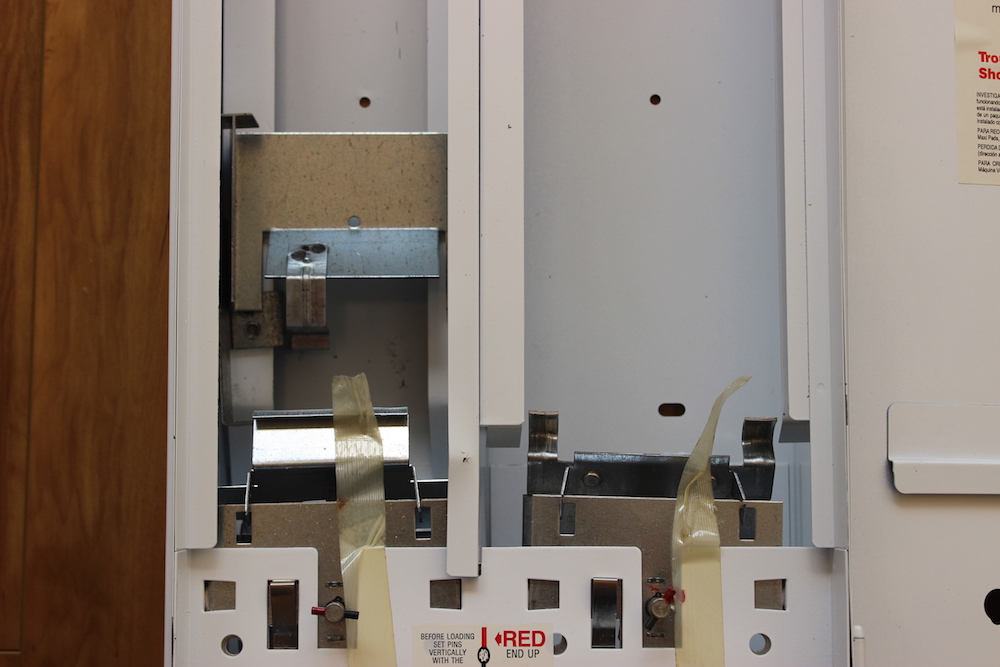
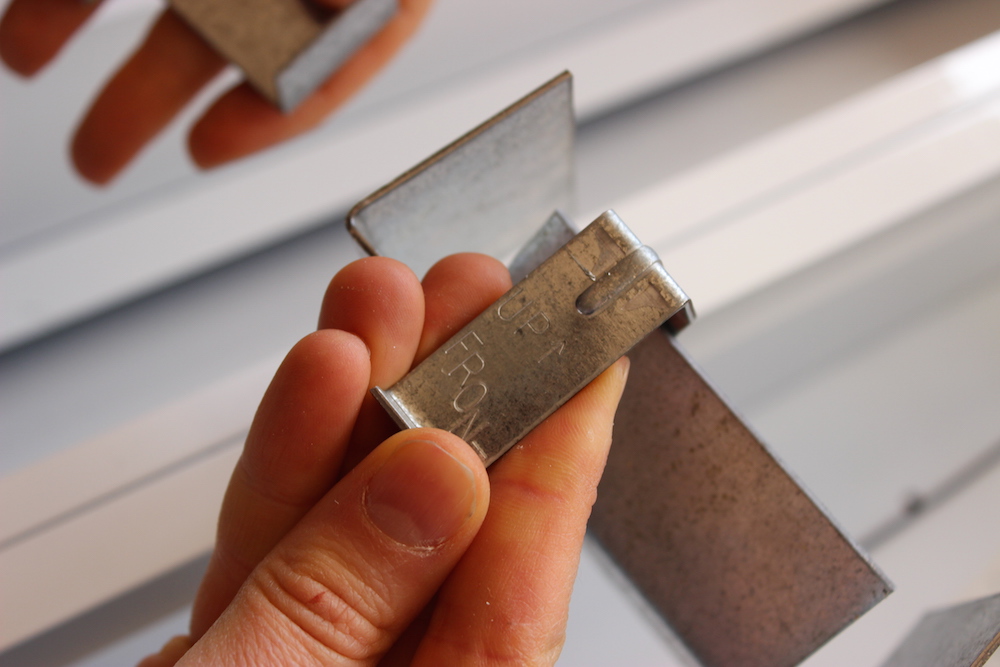
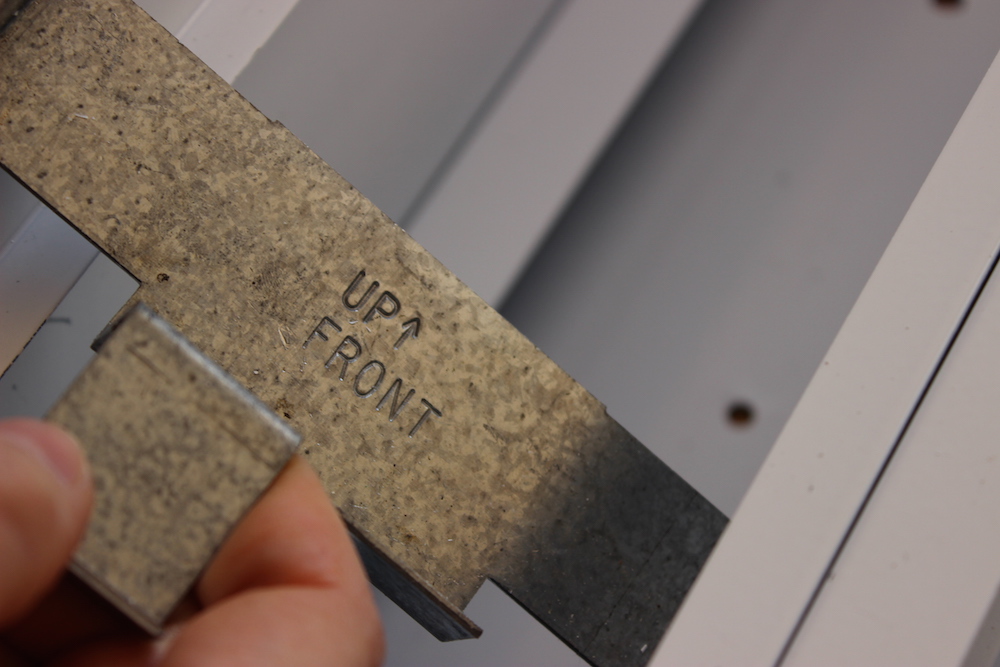
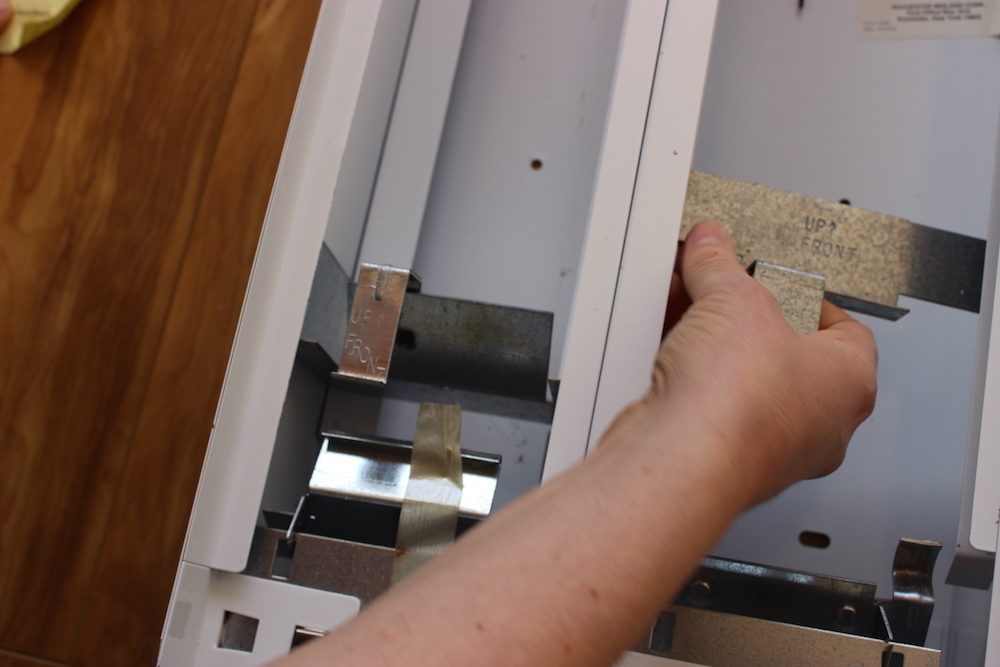
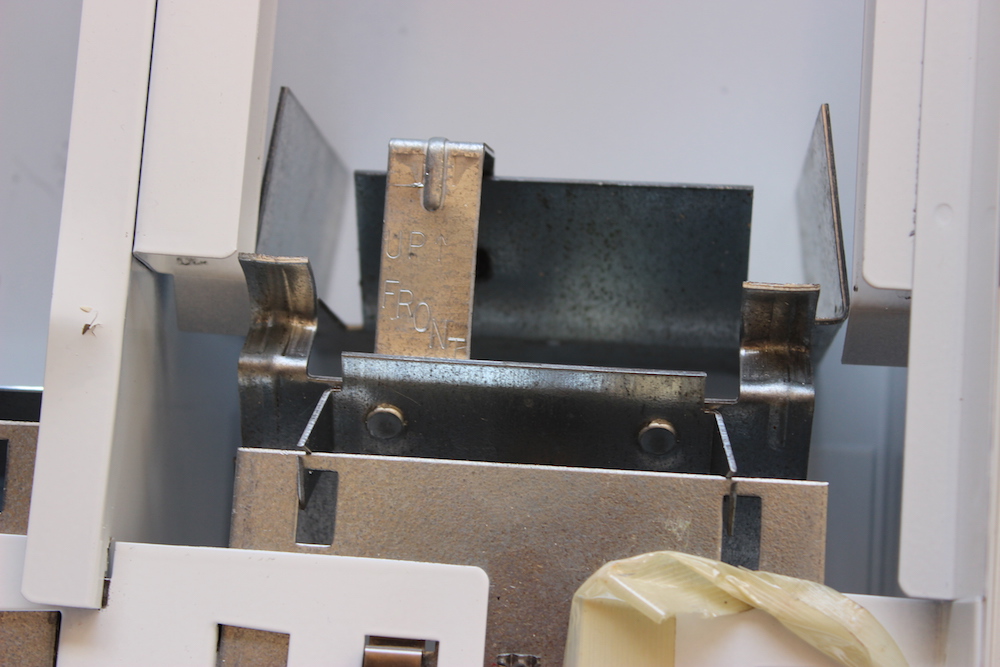
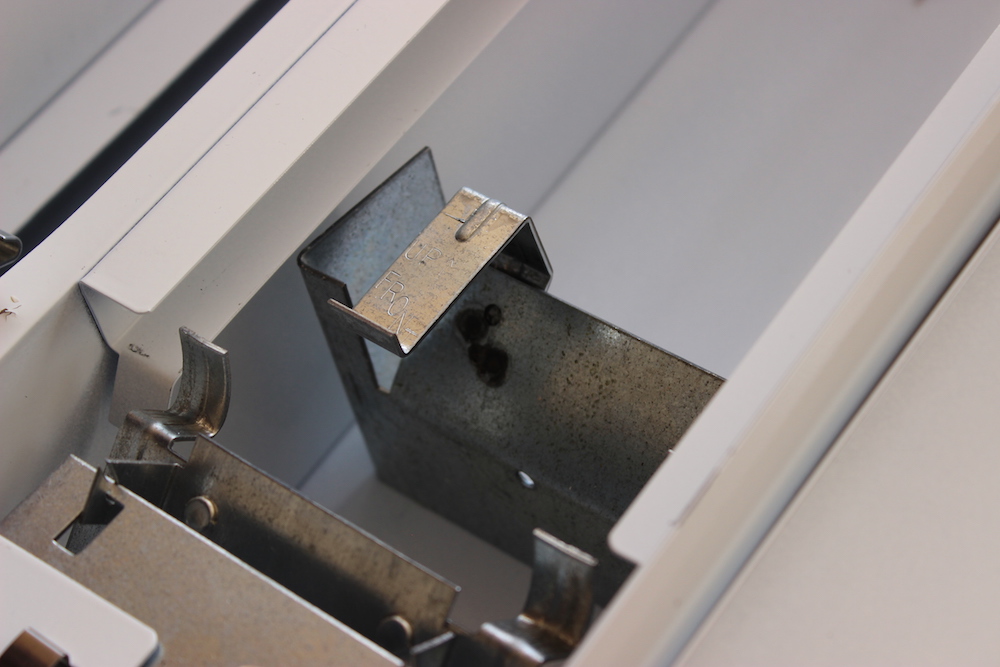
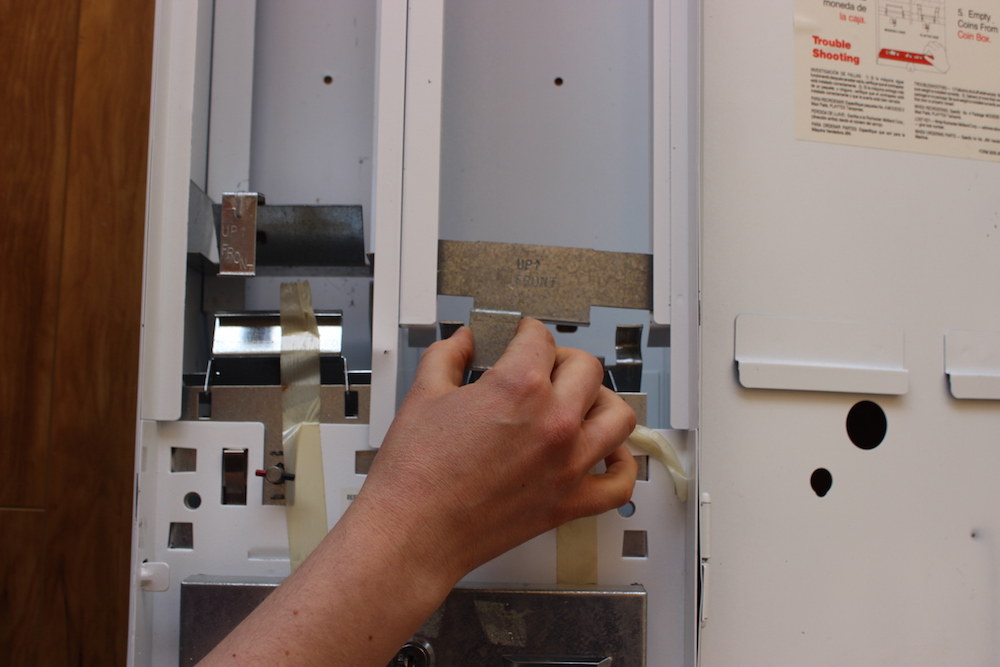
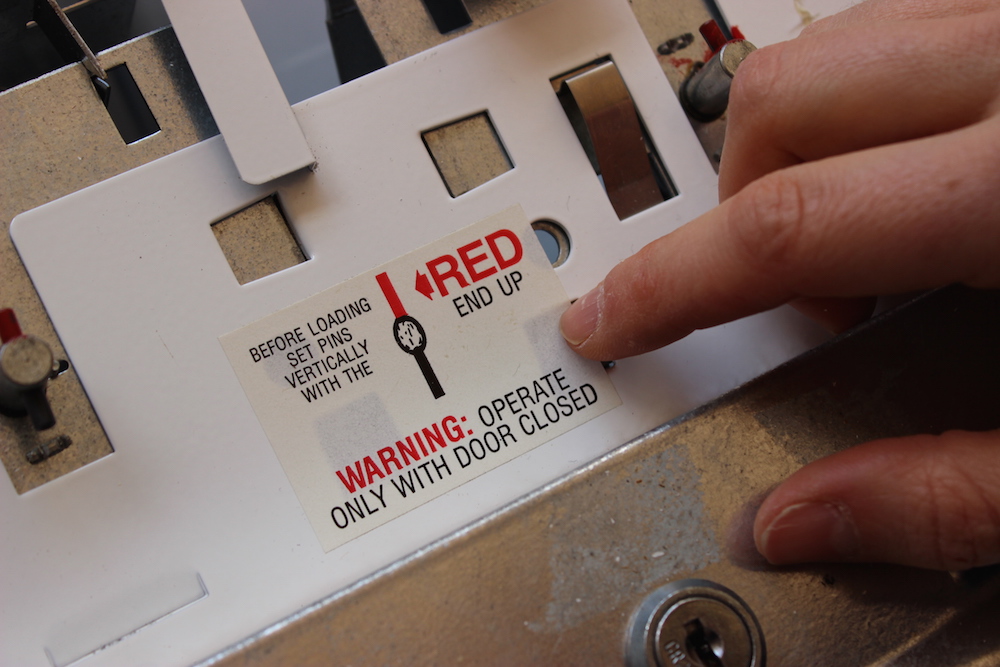
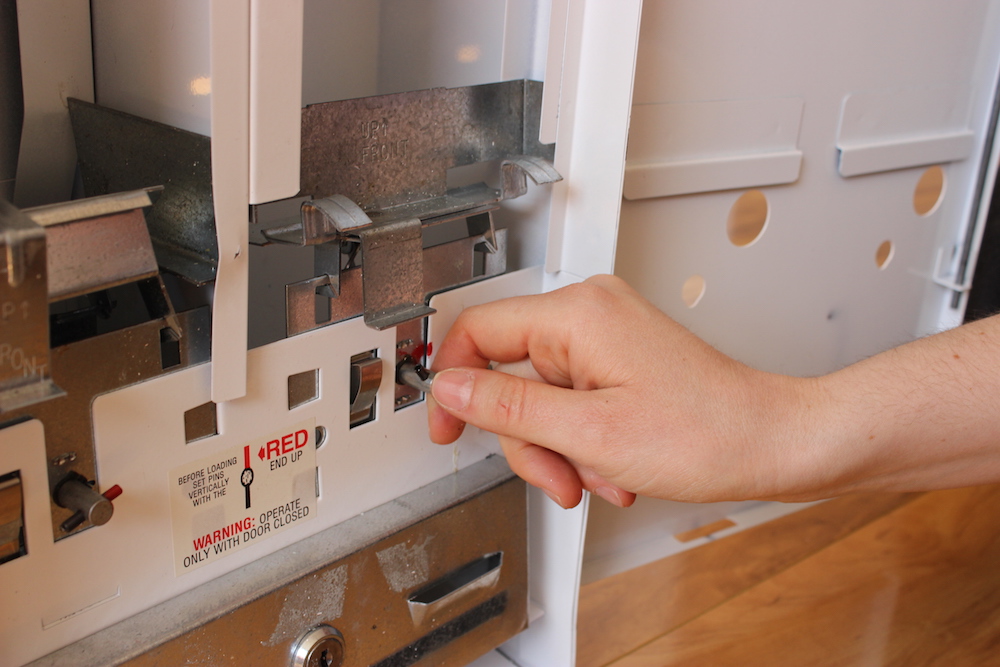
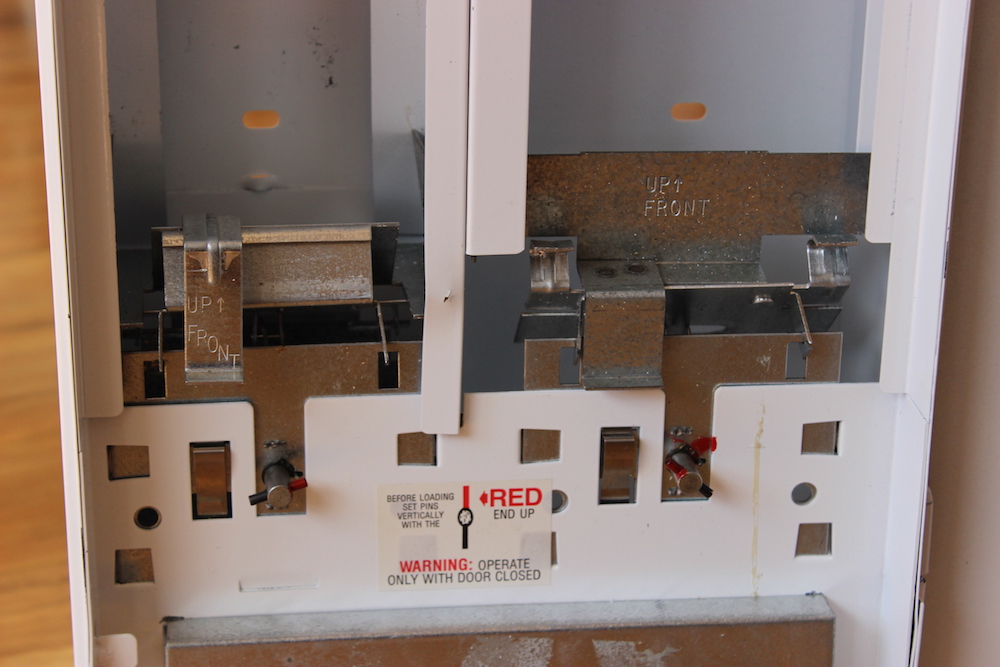
– We unlocked the coin compartment and there were 4 screws. We think that they are for hanging up the dispenser.
– We thought that there was only one set of the weights, but both of them were just on one side. The pictures on the door of the directions make it clear which went where.
– Nevermind, the directions did not make it clear which went where because I tried to put it in opposite. I feel stupid now because it’s obvious that one is wider than the other and one column is wider than the other!
– Figured out how to spin the red lever things all the way around, clockwise. I didn’t know why they would need to go down all the way, but Sarah pointed out that it’s because it’s how the tampons and pads are dispensed. That makes sense now.
– The pins are kind of difficult to spin and hurt our fingers while we were spinning them.
– We simulated a non-empty and empty dispenser to see what happens with the weight and when you try to turn the lever. As expected, the weight gets in the way of the lever so it’s unable to turn when the dispenser is empty.
– We are missing the levers for spinning (after you put the coins) from the outside and the red flags that say empty. This is the coin mechanism that the instructions on the inside and the crumpled up yellow sheet of paper are about.
– I think there are a couple ways of going about alerting when the dispenser is empty or close to empty. I assume we’d want to alert when it’s close to empty AND when it’s completely empty. Actually, we will want to say exactly how many are left in it.
– Since there is a standardized size for the machine and a standard set of tampons and pads that go into it, we can either:
(1) build a sensor that can sense how high up the products are and then does some math to say how many there are in it.
(2) build a machine that counts how many times the coin mechanism is turned with coins in it.
(3) build a machine that counts how much money has been put into it and senses which product was chosen.
– Besides the fact that we don’t have the coin mechanisms anyway, Sarah pointed out that (1) would probably be the best because it wouldn’t require any resetting by the person who refills the machines and so their jobs wouldn’t be changed.