How to install the
A11 Ricoh Printer
Click the right edge of this box to advance
or use the buttons below.
The RICOH copier/printer in A-11 is available to you as a department employee.
Given our limited supplies budget, please use it only to produce materials for the courses you teach — not those you take.
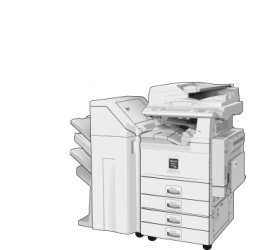
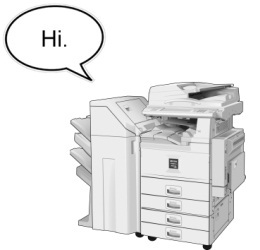
You print to the RICOH via the A11 print queue. Installing it requires 2 steps.
First, make your computer aware of the printer.
Second, make the printer aware of you.
So, this tutorial shows how to
- Install the A11 printer driver
- Add your user code to the printer's preferences
NOTE! Be sure to follow these directions when you are logged in under your own account.
Step 1: Install the Driver
-
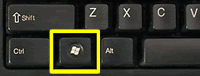 To see the printers installed in Windows, find the Start key left of the spacebar. Hold it and tap R to open a "Run" window.
-
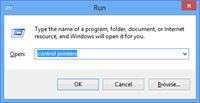 In the Open field, enter:
control printers
-
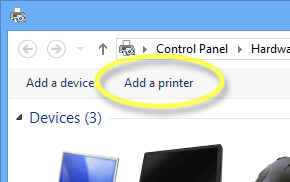 In the next window, click "Add a Printer".
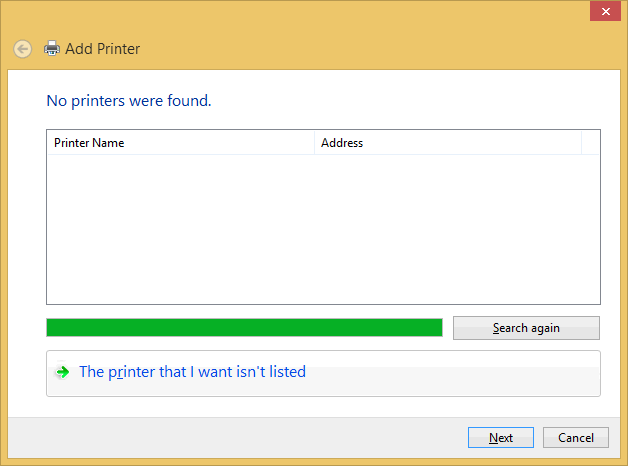
- Your computer will search for available printers. Ignore its efforts.
Instead, click The printer that I want isn't listed.
- click to enlarge -
 - click to enlarge -
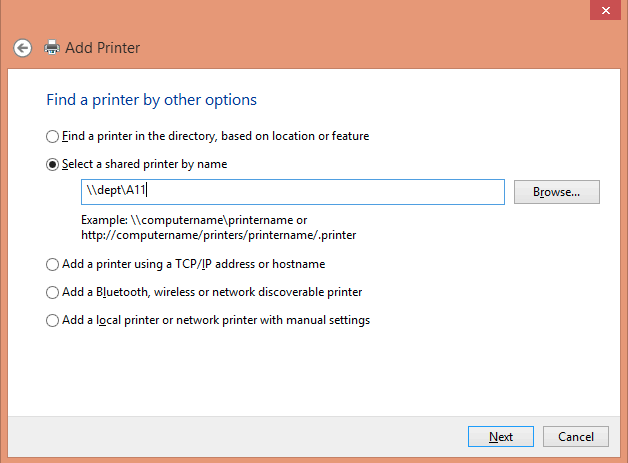
- In the Select a shared printer by name field, enter the name of the print queue:
\\dept\a11
- Click Install driver.
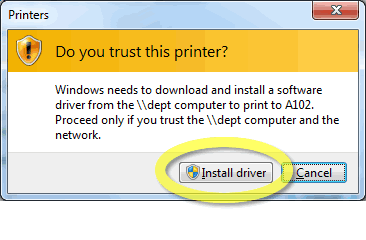
- Windows will now copy files from our server to your computer. Wait for this process to complete.
- In the next window, click "Finish" to close the printer installation wizard. (You probably don't want A11 as your default printer.)
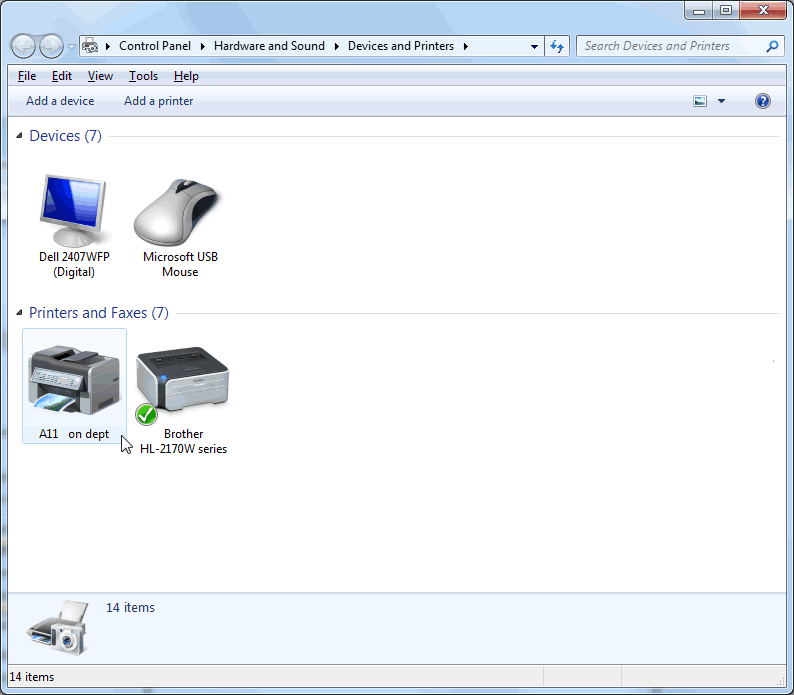
You should then see the newly-added A11 printer in the bottom portion of your Devices and Printers window.
 - click to enlarge -
Step 1 is complete!
Your computer can now send jobs to A11.
However,
the RICOH will quietly throw them away,
UNTIL
you complete the next step.
Step 2: Add your user code
The RICOH ignores jobs that have no valid user code attached to them.
The code it needs is the same one you use to make copies.
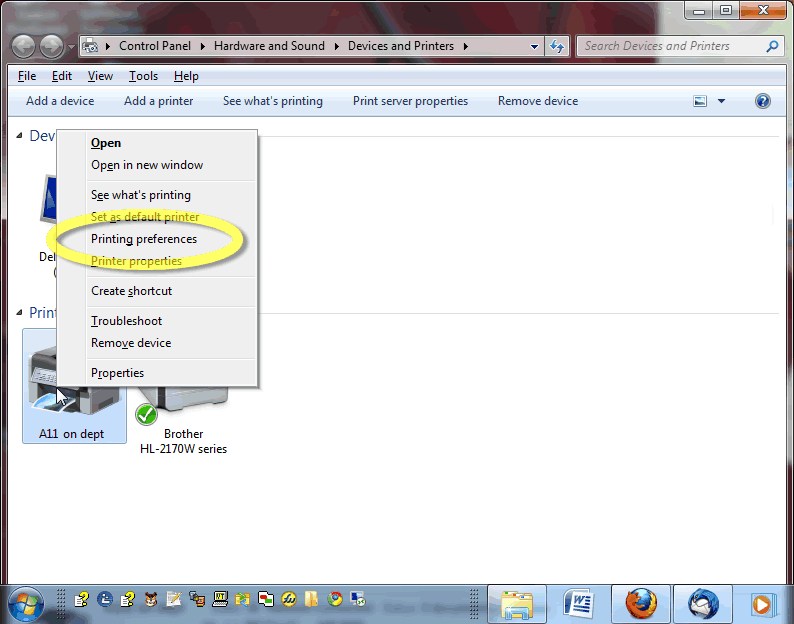
- To add yours, open the printer's preferences by RIGHT-clicking the newly-installed A11 printer.
- In the menu that pops up, click Printing Preferences....
 --click to enlarge--
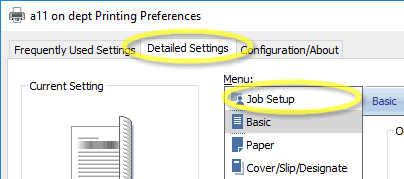
- In the Printing Preferences window, click the Detailed Settings tab.
- Then click the Job Setup menu.
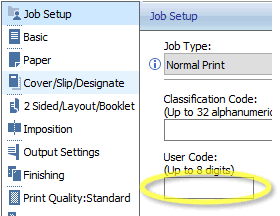
- Finally, in the User Code field, type your RICOH code, the same code you enter when standing in front of the machine.
-
Click OK until you return to your desktop.
Done.
Your computer can now print to A11.
(You might want to repeat the steps above for any departmental computer from which you might print, such as those in the graduate lounge or in A-101.)
There's just one other thing you'll want to know...
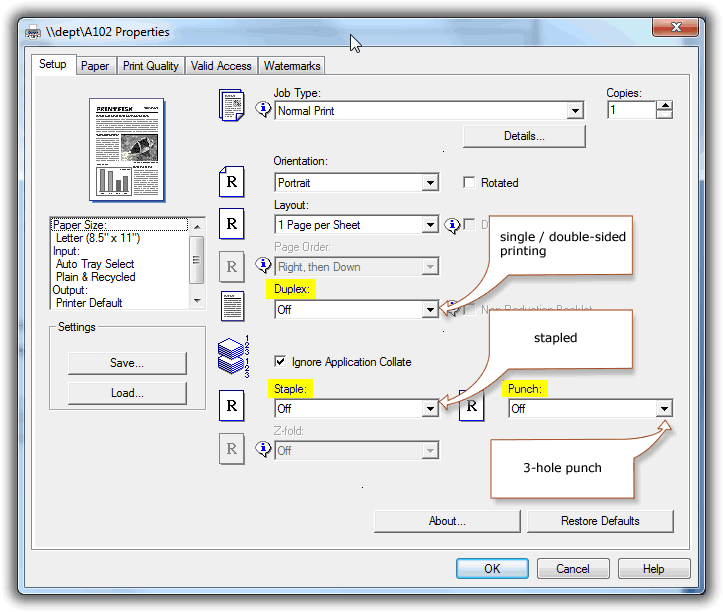
You can select double-sided, stapled, or 3-hole-punched printing from your computer.
To do so
- click File then Print
- then click Properties
- select the options you want
- then click OK
 --click to enlarge--
That's it.
Just remember to log out when you're done using your computer.
If you don't, other folk's printing might appear to come from you.


