
iTunes is able to work with AAC, AIFF, Apple Lossless, MP3, and WAV sound file formats. In this example, we will take a WAV file (like those produced in Sound Recorder) and convert it into an MP3 file that can be easily posted on the Web, used to create podcasts, or be transferred to portable MP3 players for later consumption.
The first step is to add your sound file to the iTunes library. To open iTunes, go to Start > All Programs > iTunes >iTunes
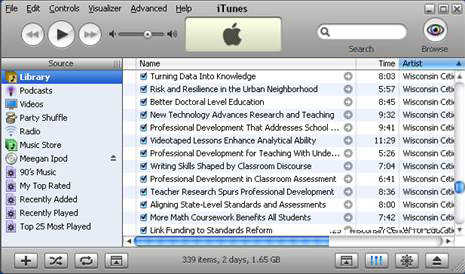
Audio files in iTunes are stored, not surprisingly, in the Library. To view these files, click on Library under Source in the left panel of iTunes as shown below:
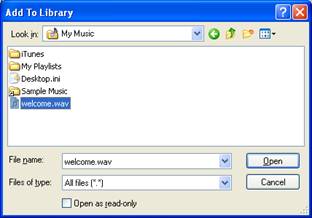
To move your sound file to the iTunes library, choose File > Add File to Library. Locate your sound file (the default folder in Windows is My Documents > My Music). Click Open. The file you selected should now appear in your Library.
To play your sound file in iTunes, double click on it. To learn more about this sound file, right click it, and choose Get Info.
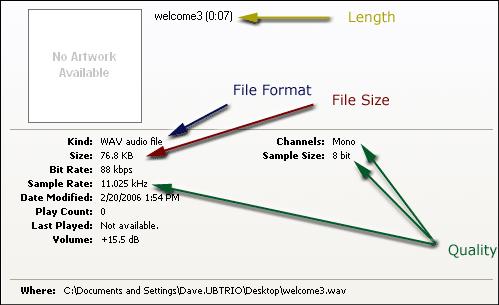
You determined the parameters of the sound file as shown below when you recorded the sound file (example shown is a "Telephone Quality" file created in Sound Recorder):
Click OK when you have examined the sound file properties.
iTunes is a powerful tool for converting audio files and optimizing them for online use. In this step, we will set up iTunes to convert sound files into MP3 format and deliver them at a quality appropriate for speech.
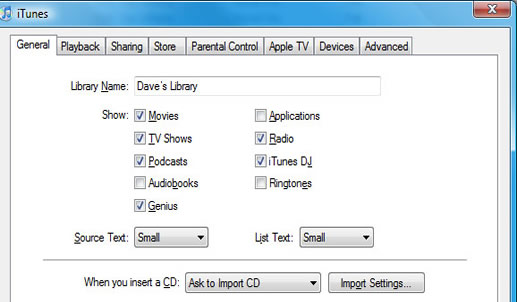
In iTunes, go to the Edit menu and choose Preferences. Click on the General tab, and then on the Import settings button.
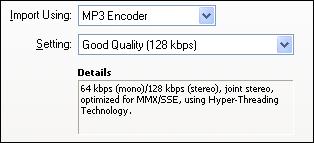
From the Import Settings menu, choose MP3 Encoder.
From the Setting Menu, choose Good Quality. Note that you could reduce the size of your audio files even further by using the Custom Setting on this menu.
When you've made your selections, click OK to save your selections.
There is only one step left to convert your recording to an MP3 file! Right click on your file and choose Convert Selection to MP3 from the menu that appears.

If this option doesn't appear, try going back and redoing the last step. As soon as the conversion is complete, your sound file should start playing automatically.
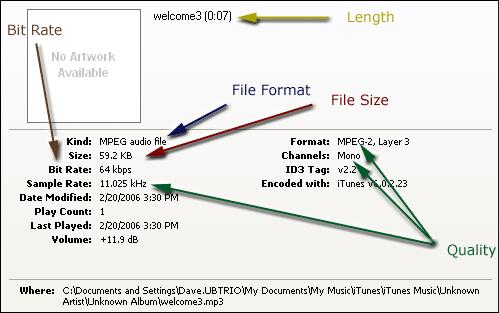
To see how we've changed this sound file, right click on the new file and choose Get Info. Notice how the Kind, File Format, File Size, and Quality parameters have all changed. Also note the Bit Rate. This is a measure of the rate at which data is transferred when the file is played. Wonder why the bit rate is 64kps even though we choose 128 kbs in iTunes? It's because we recorded the original sound in mono (one channel) instead of stereo (two channels).
You can use the newly created MP3 sound file to post on the Web, include in a Podcast, or transfer to a portable MP3 player.