Next
NEED: Picture of air filters, diagram of input and export holes on plug, and completed closed system
Parts
 Male Luer Lock
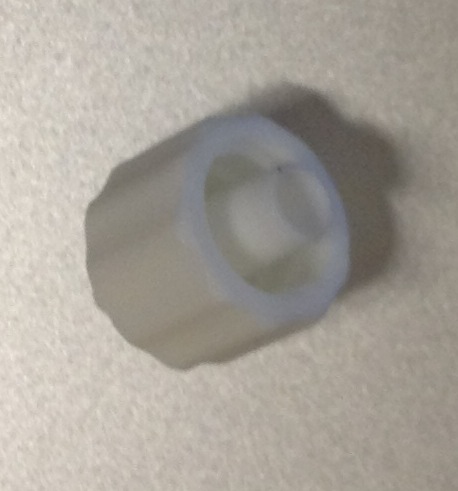
 Female Luer Lock
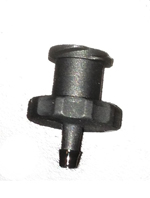
 Six Way Manifold
 Assembled Tubing
 Input port connection
TUBING PREPARATION
If preparing for the first time.
- Cut Tubing (1/16" ID 1/8" OD silicone). Note: you may adjust the length of tubing as needed for your configuration.
- (1) 1" tube
- (1) 3" tube
- (8) 2' tube
- (1) 5' tube
- Assemble tubing manifold
- Attach two 6-way barb manifolds end-to-end with the 1" section of tube.
- On the two other ends attach the 3" and 5' tubes.
- On the remaining 8 ends of the barb manifolds attach the 8 2' tubes.
- On the 8 2' pieces of tubing attach male Luer-barb connectors.
- on the 2 remaining pieces, connect female Luer-barb connectors.
If reusing tubing.
- Inspect the tubing.
- Check the tubing for holes and leaks.
- Check the tubing for fatigue cause by the pinch valves. Look for dents in the tubing, if it looks bad enough or tears when stretched, replace the tubing.
- Rinse tubing system
- Rinse with ethanol
- using a squeeze bottle flush ethanol into each opening of the 10 way tubing manifold.
- Rinse with DI water.
- Note: It's important to thoroughly rinse all tubing. Any left over media will burn in the autoclave and may discolor the media used to blank the system.
AIR FILTER PREPARATION
Execute steps bellow only if no air filters are created or need replacing
- Cut tubing (1/8" ID x 1/4" OD)
- Fasten a Male Luer lock connector to tubing created in step 1
- Attach the female end of the Teflon air filter to other end of the tubing
CULTURE VESSEL PREPARATION
Body
- Clean culture tube
- Wash with soap and water using a tube brush
- Rinse culture tube with DI water
- Clean magnetic stir bar with soap and water
- Rinse with DI water
- Place stir bar into culture tube with a little bit of DI water (whatever is left from rinsing is okay)
- Repeat steps 1-5 for the 7 remaning culture tubes
Stopper
- Rinse out input ports with ethanol from a squeeze bottle
- Rinse out export port with ethanol from a squeeze bottle
- Securely place Stopper into culture tube
- Repeat steps 1-2 for the 7 remaning culture tubes
CLOSED SYSTEM ASSEMBLY
- For each culture tube
- Connect one of the Female Luer ends from the culture tube to one of the male ends on the tubing manifold.
- Connect an air filter to the other Female Luer port on the culture vessel
- After this step, the culture vessels should only have their effluent ports open
- Wrap all open ends of the tubing system in aluminum foil
- Wrap all culture vessel effluent tube openings in aluminum foil
- Wrap the air filter in aluminum foil
- Double check that all open ends of the tubing system, effluent ports, and air filters are properly wrapped in aluminum foil
NOTE: All aluminum foil wraps should be tight enough so that no liquid is able to enter the now enclosed tubing-culture vessel system
AUTOCLAVE CLOSED SYSTEM
- Place closed tubing-culture vessel system into an autoclave
- Set the temperature to 121 °C?
- Run autoclave for 30 minutes
- Setting is a preset called "Packs" on some autoclaves
- As soon as the autoclave finishes remove the foil from only the air filters. This will allow them to dry. Only dry filters will pass air.
Next


